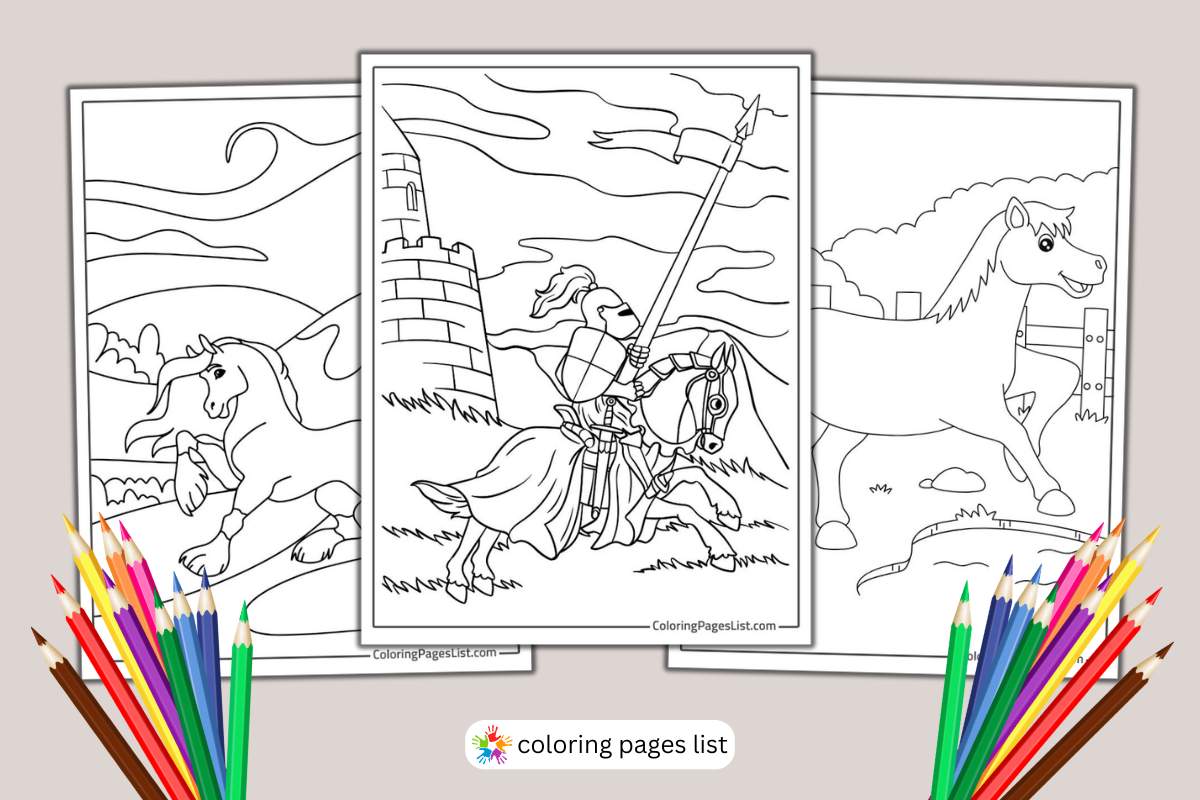
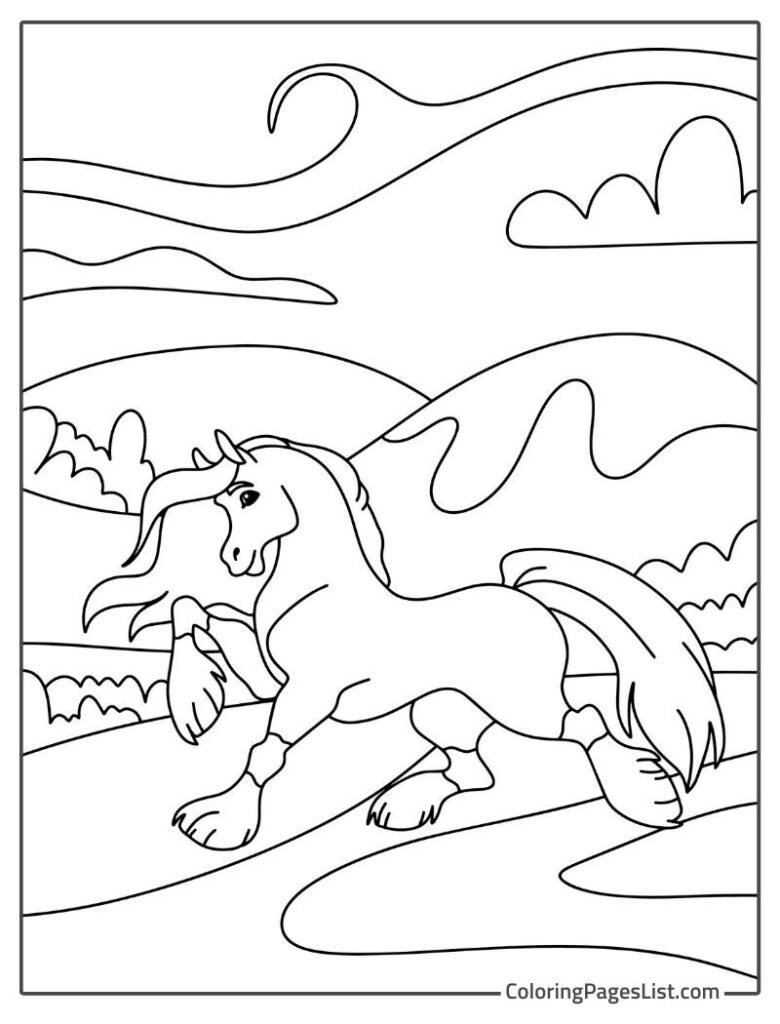
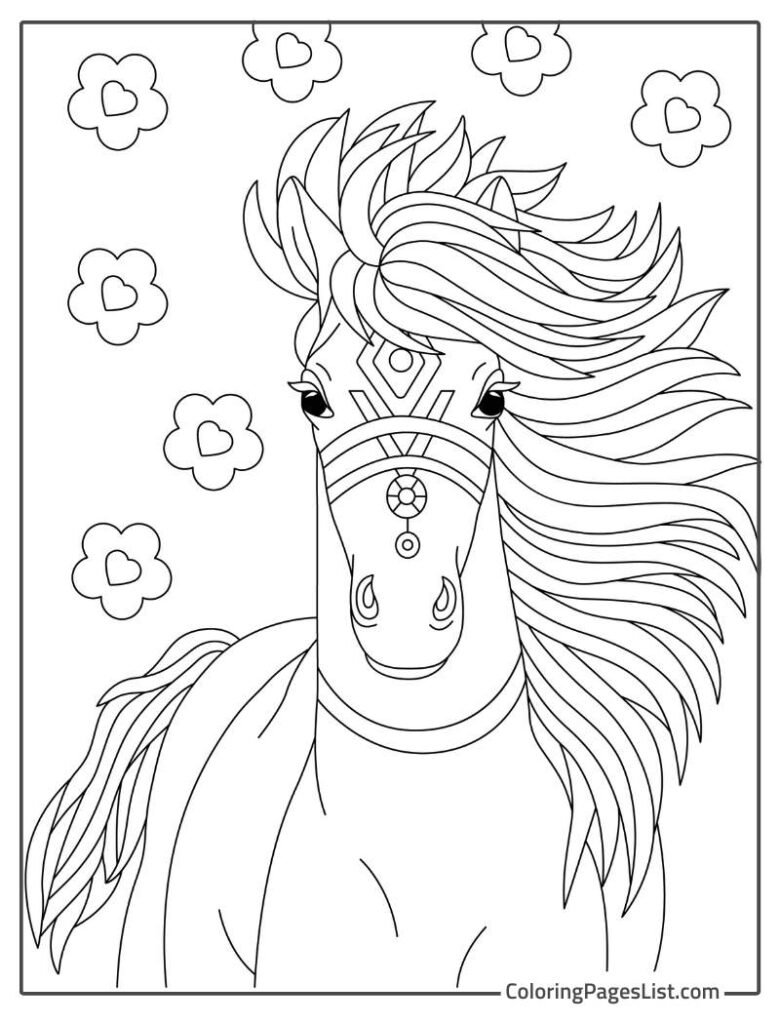
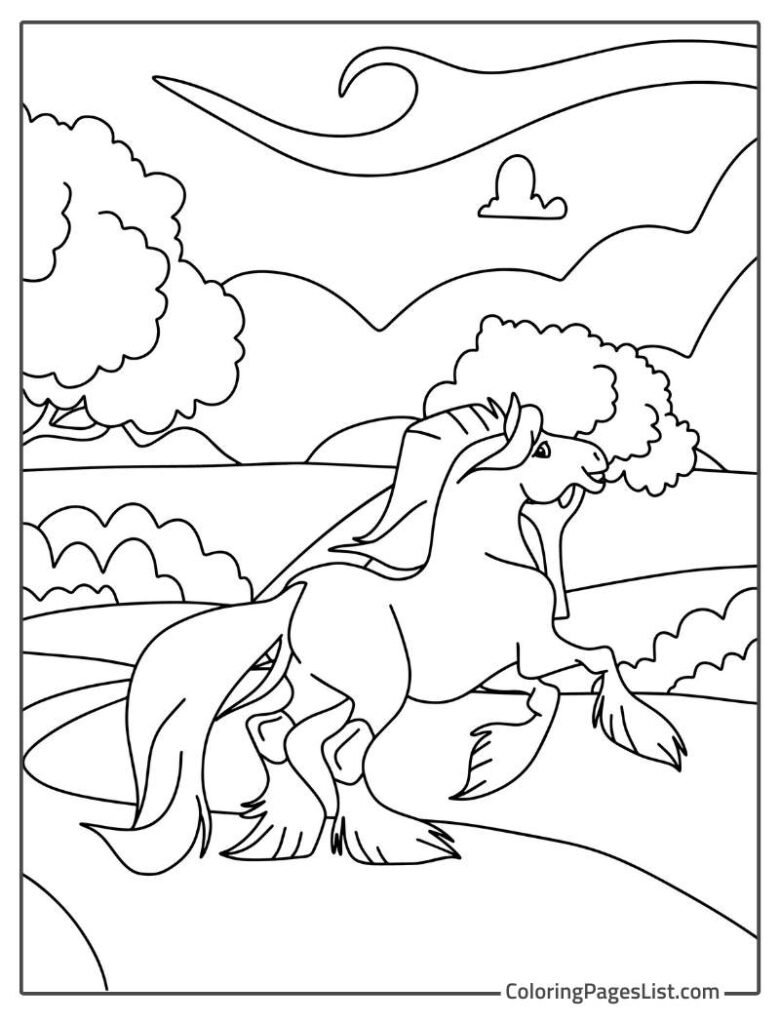
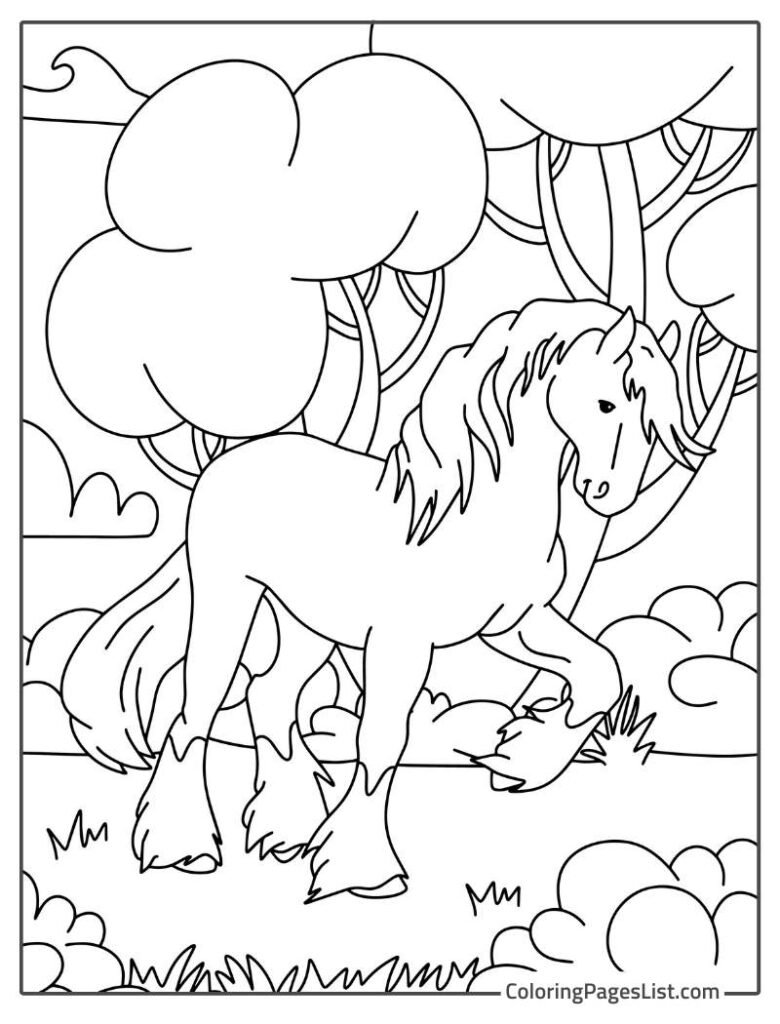
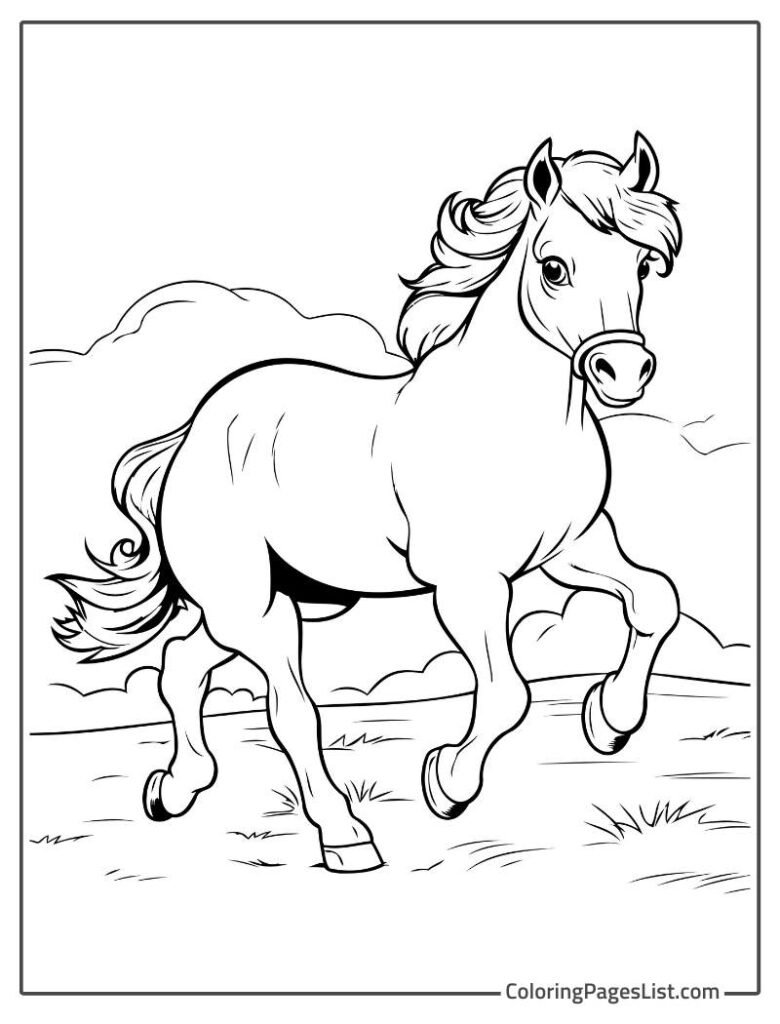
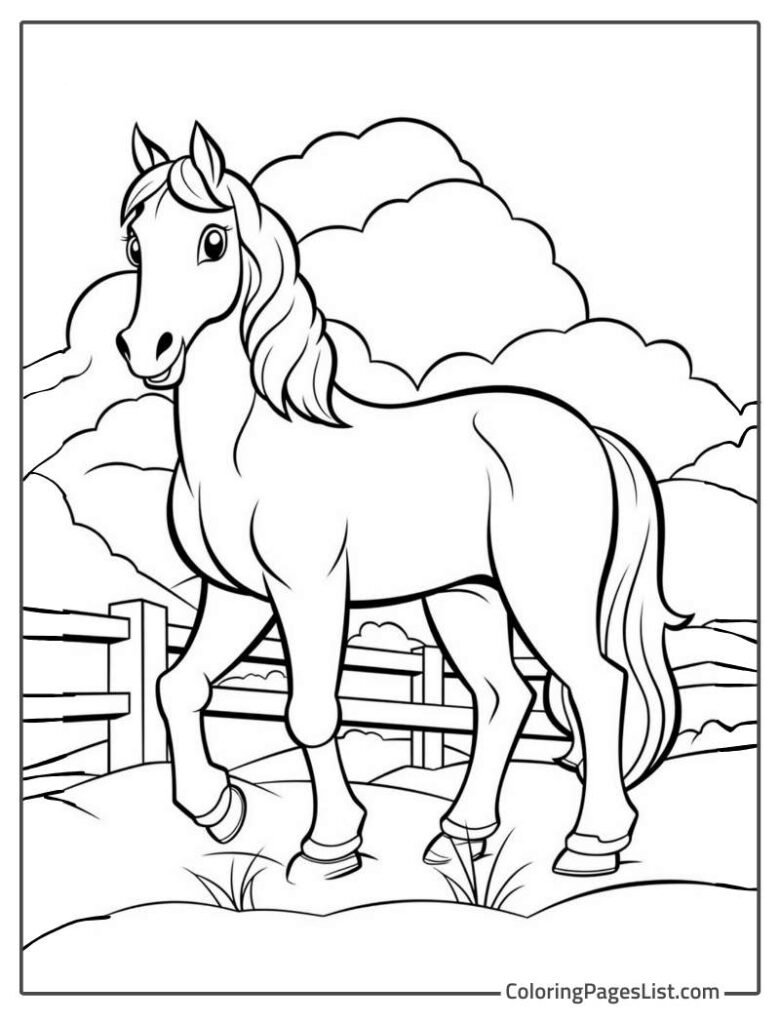
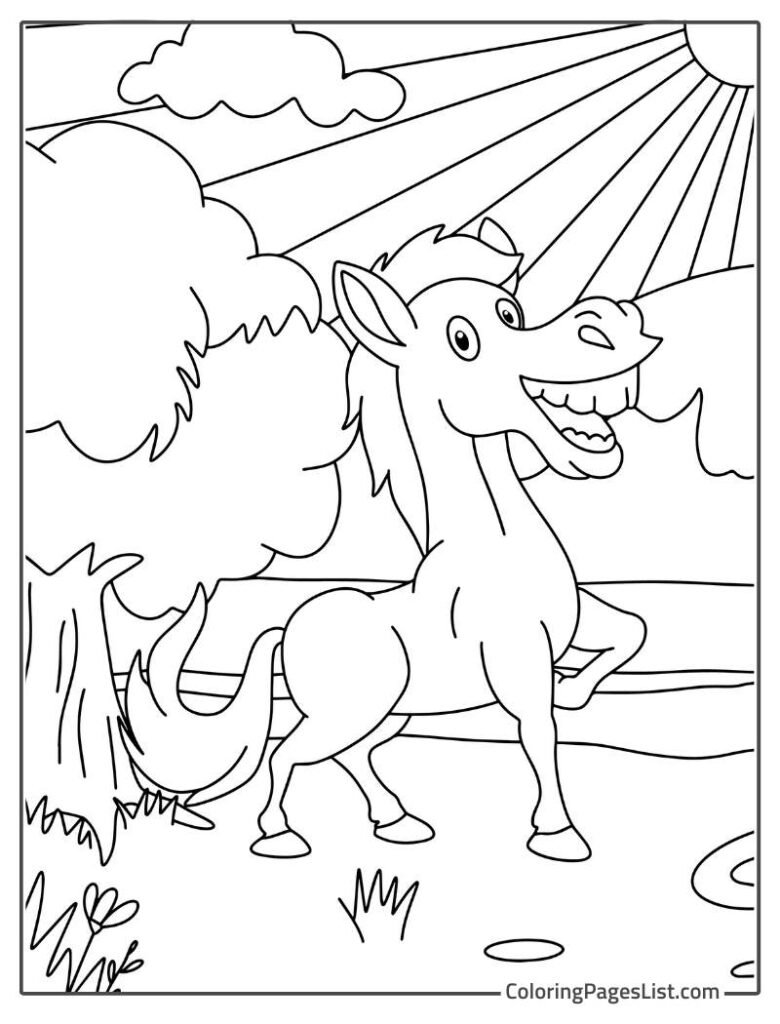
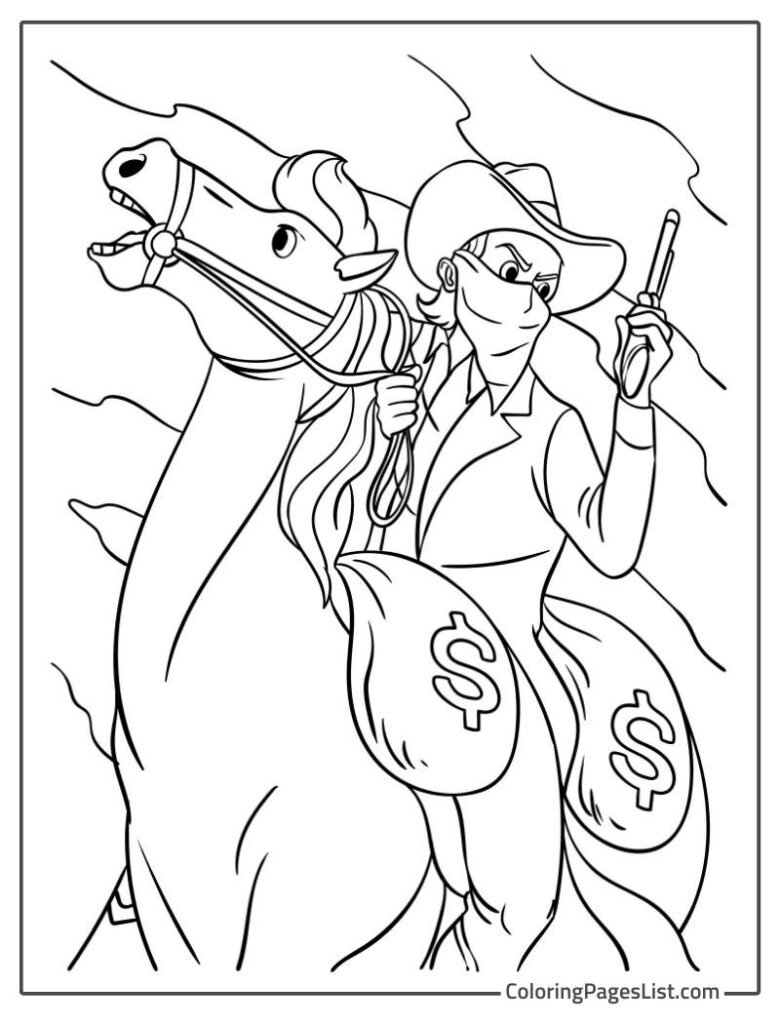
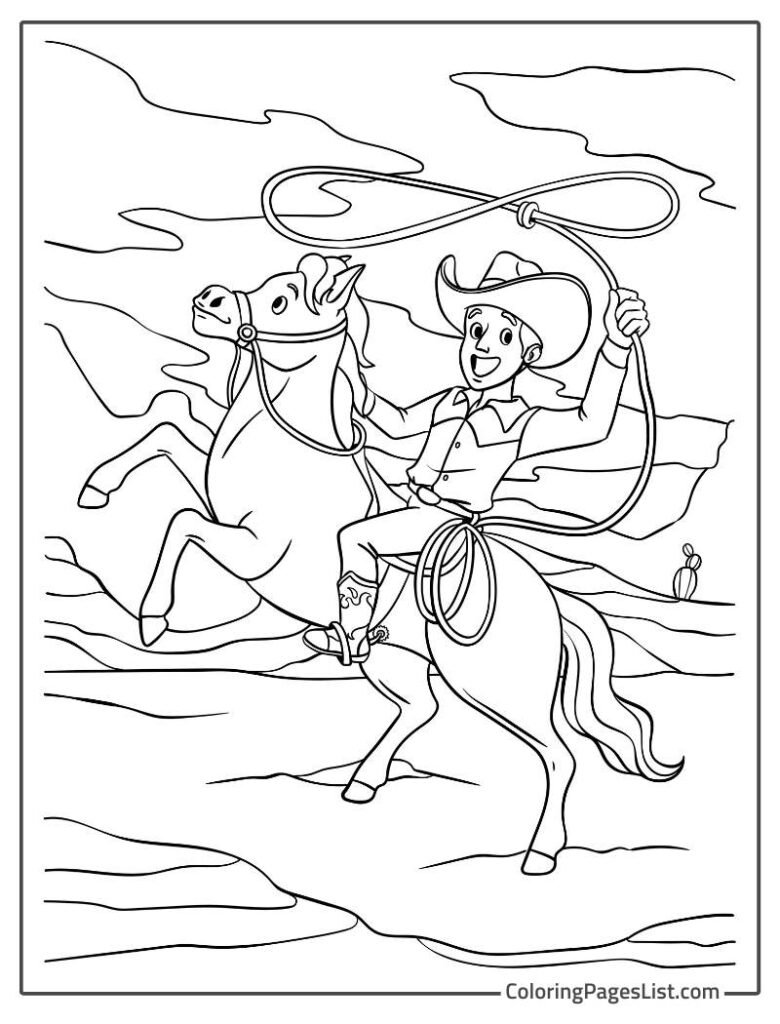
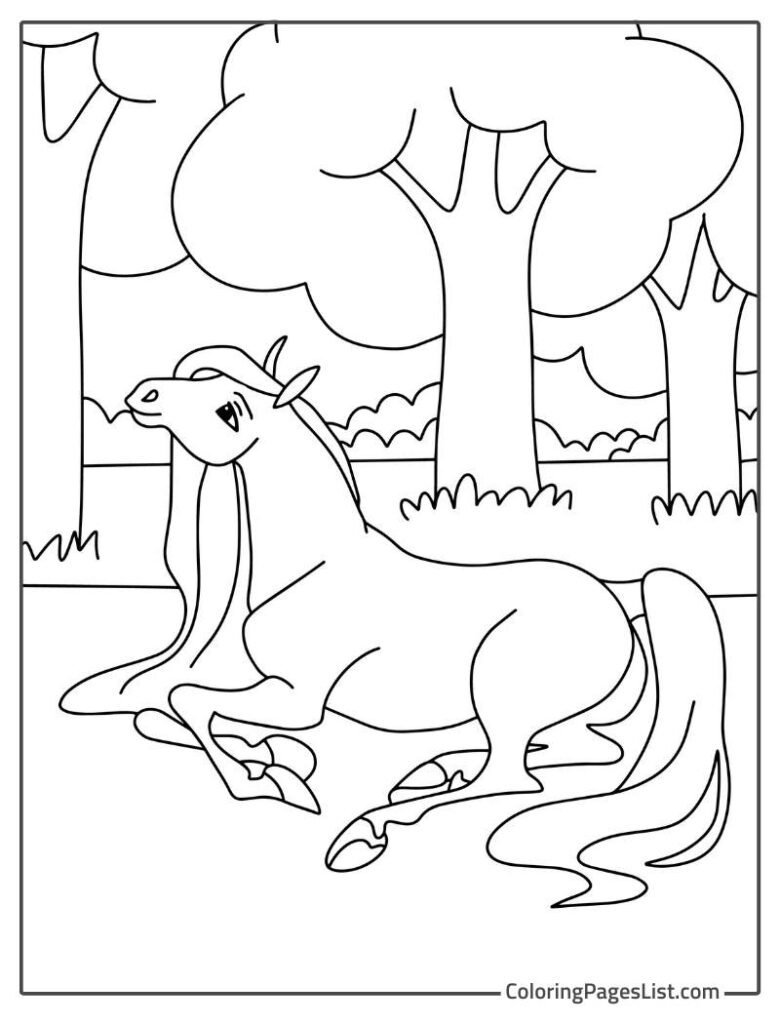
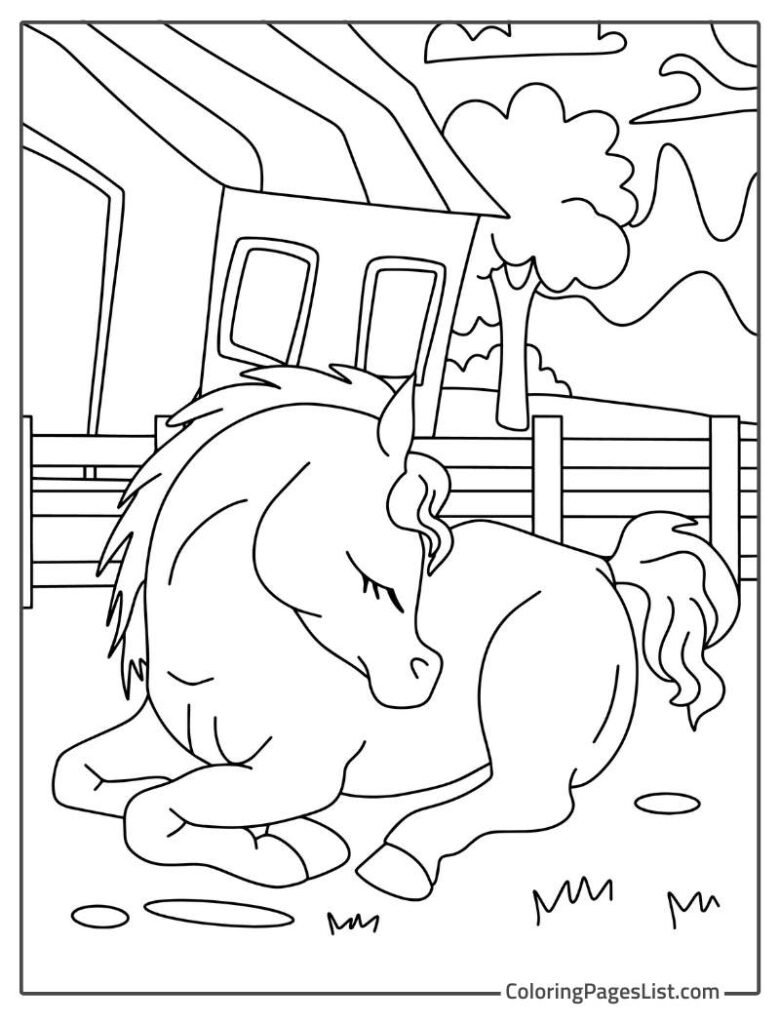
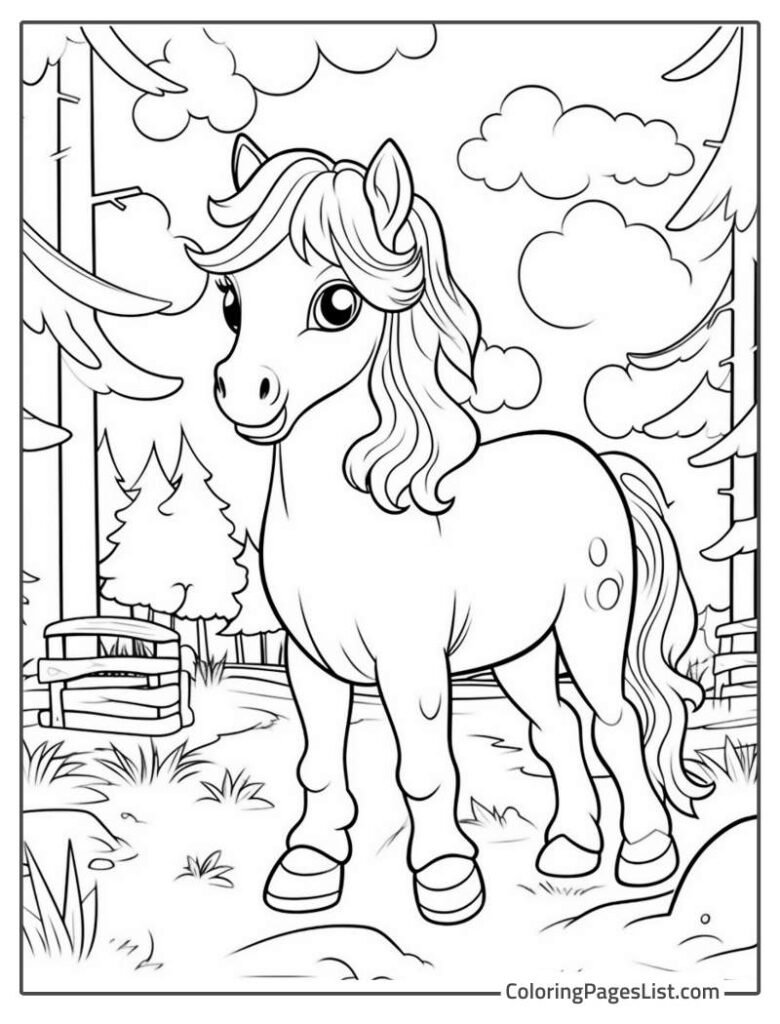
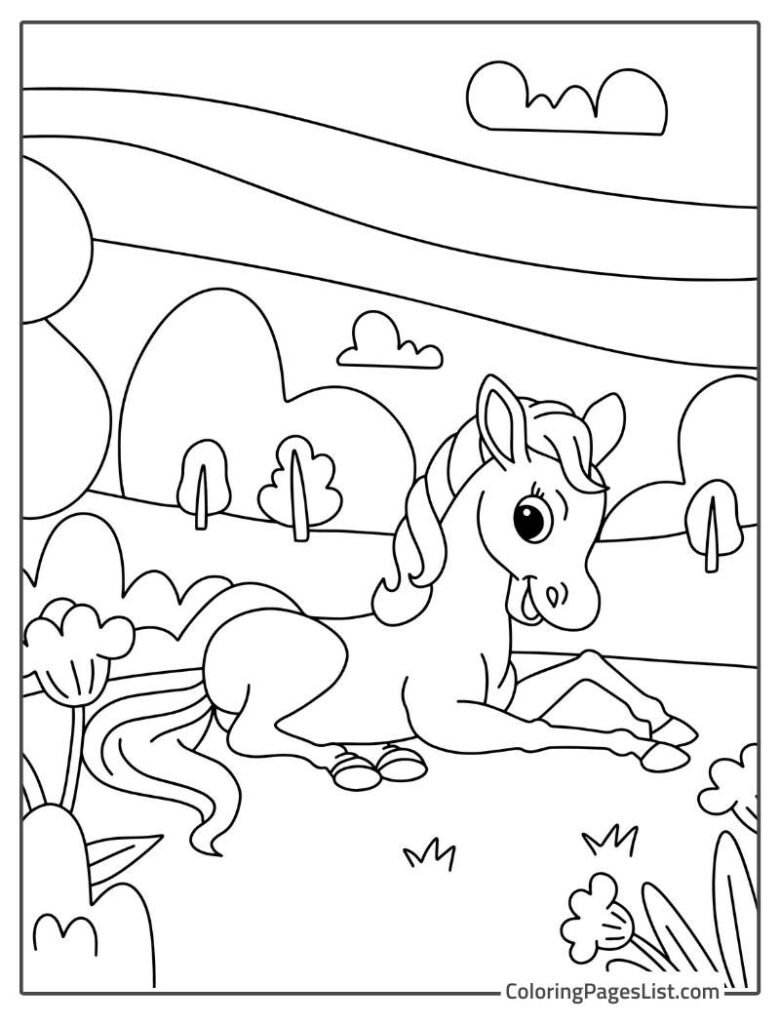
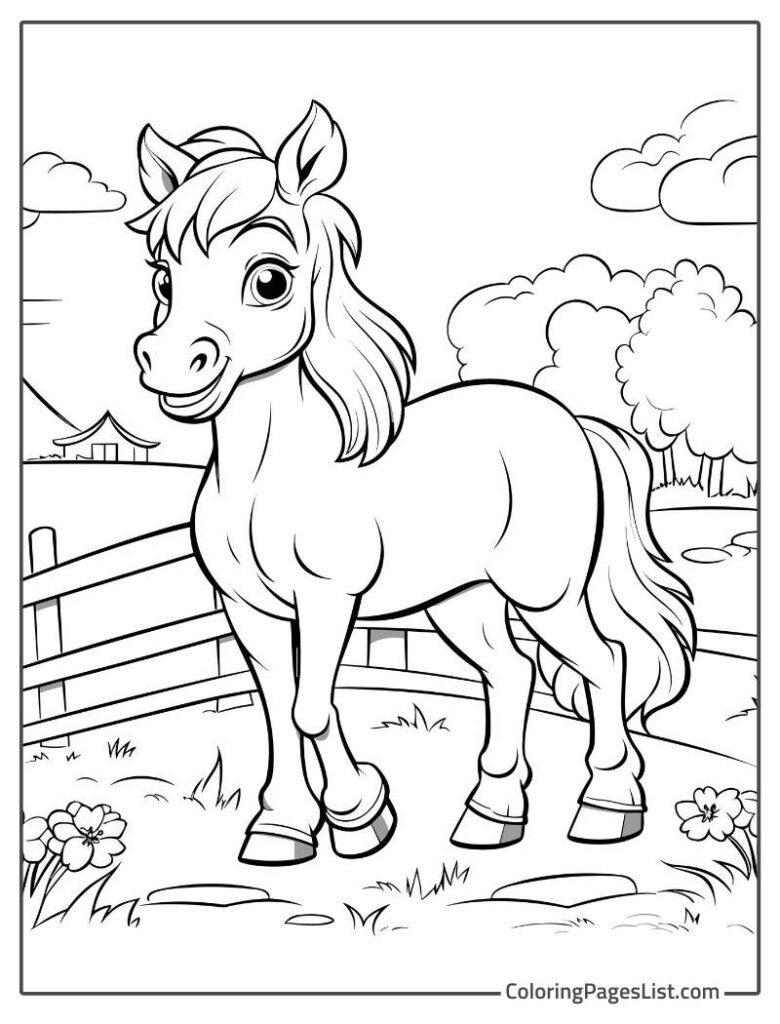
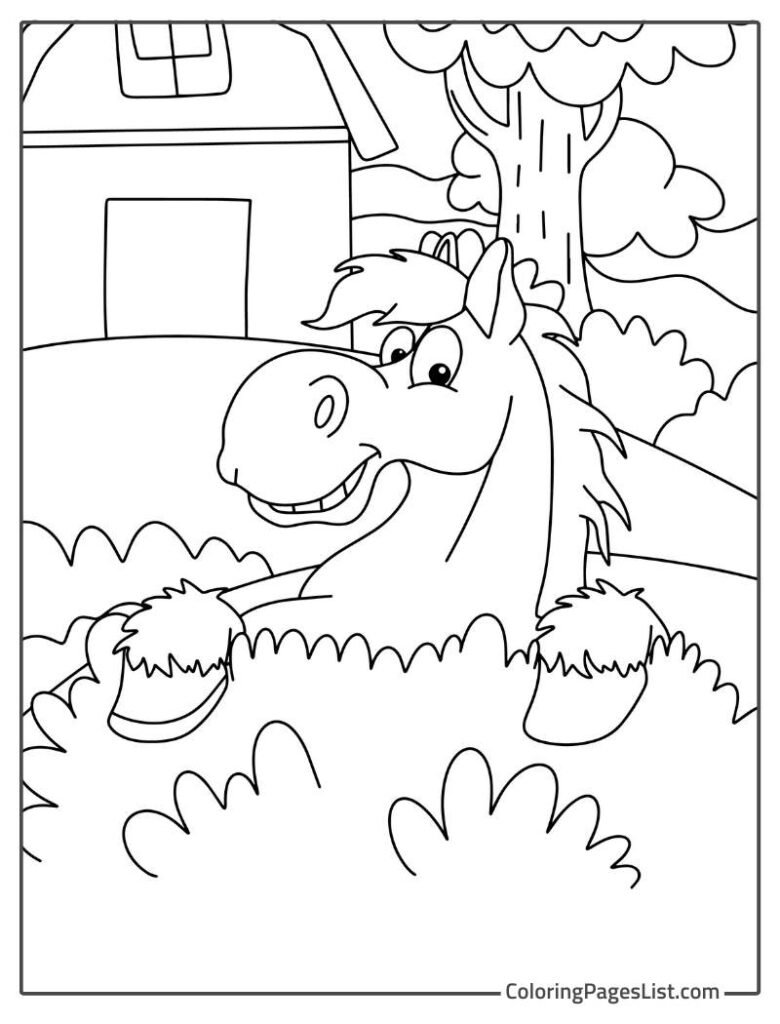
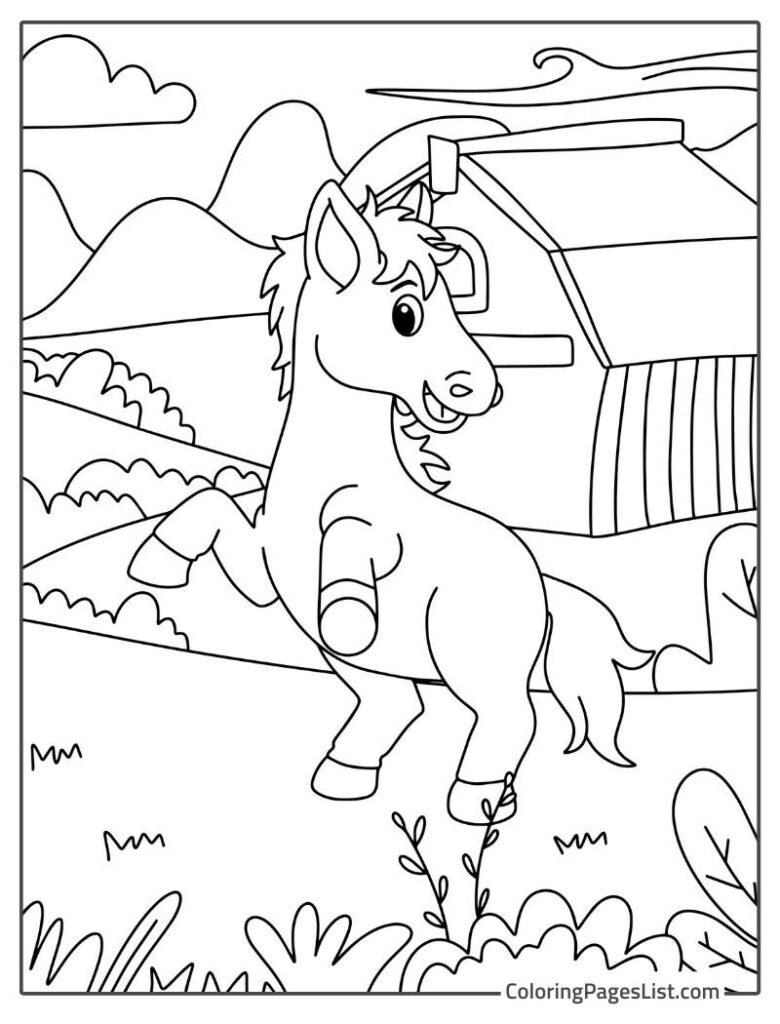
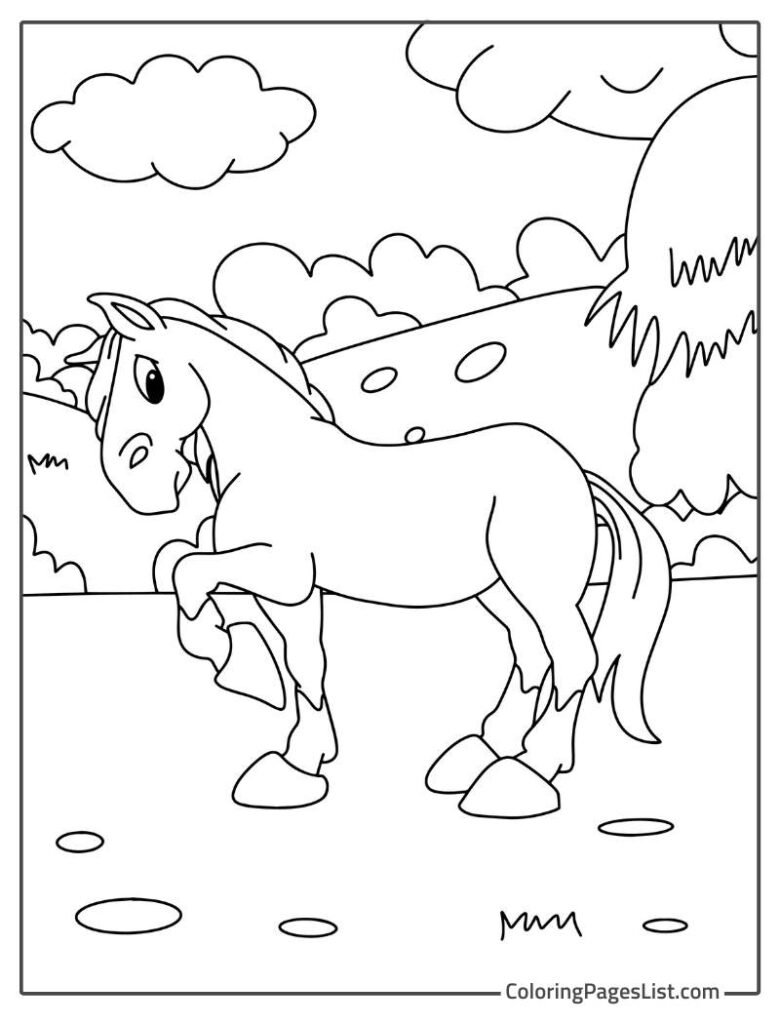
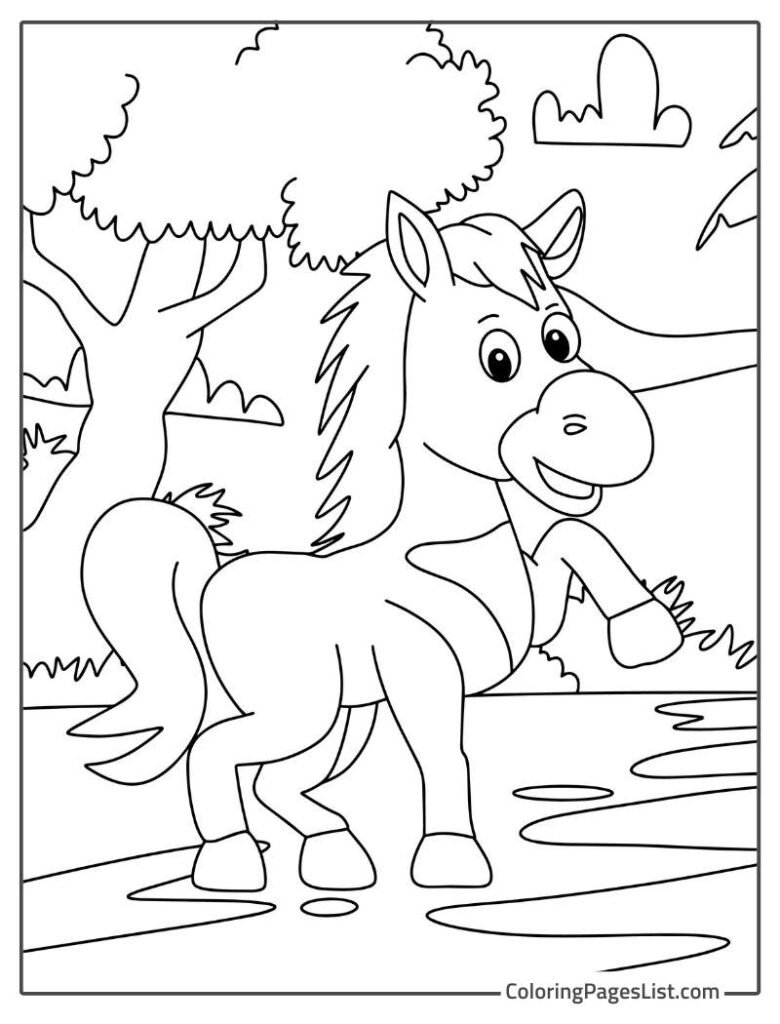
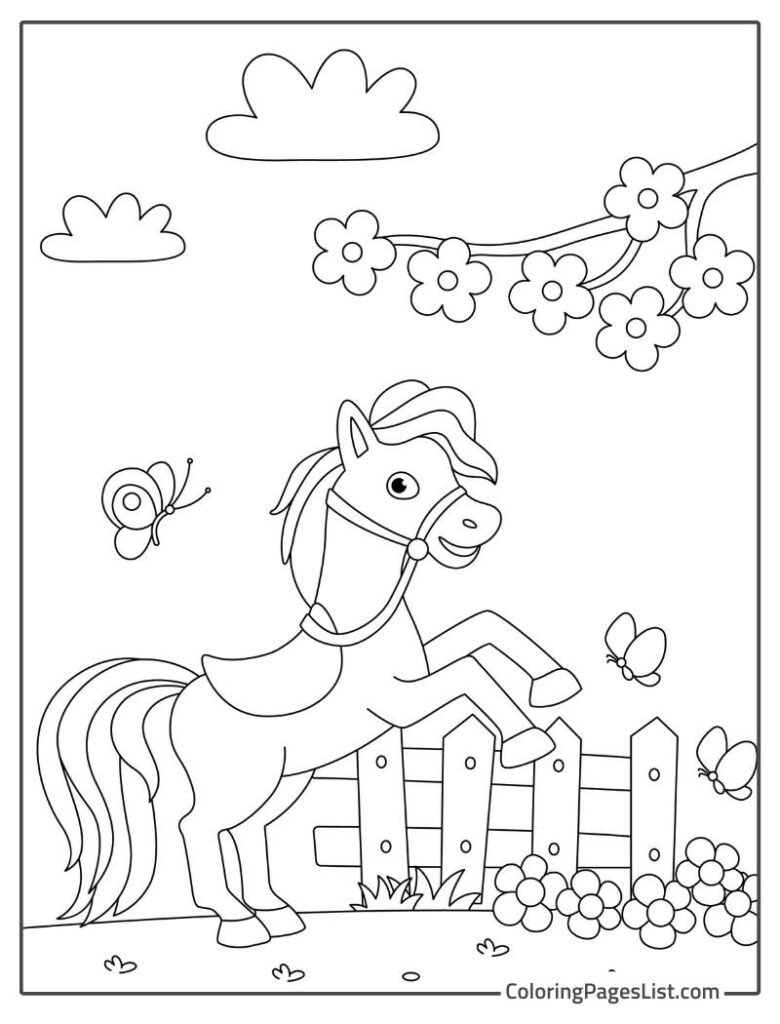
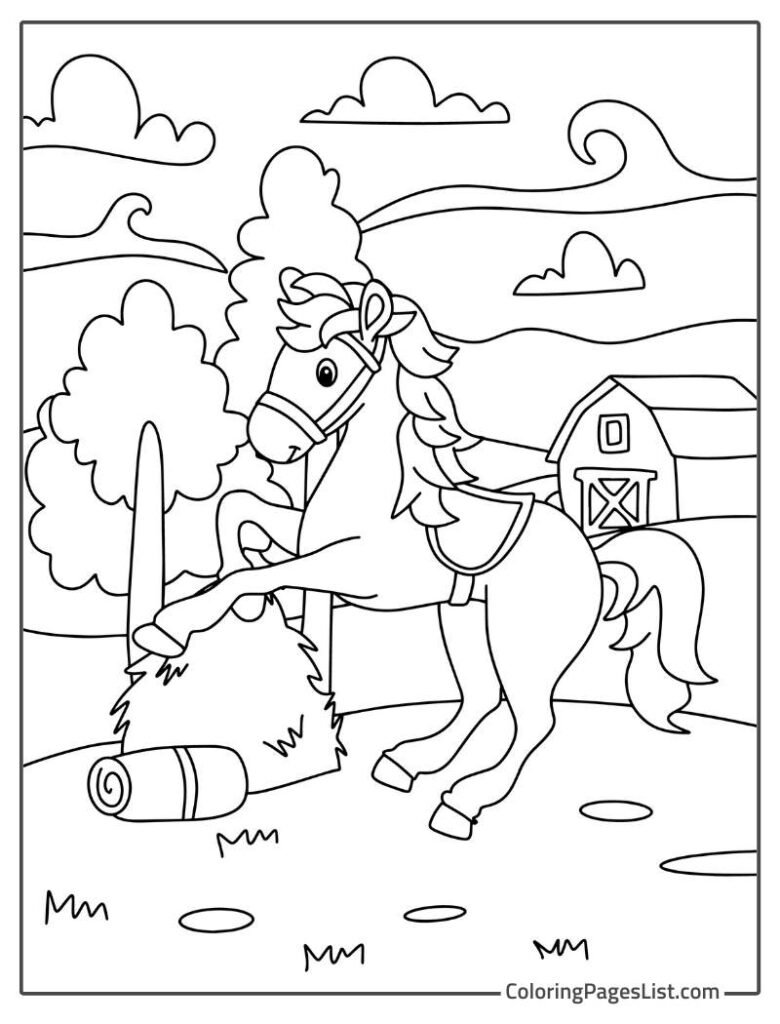
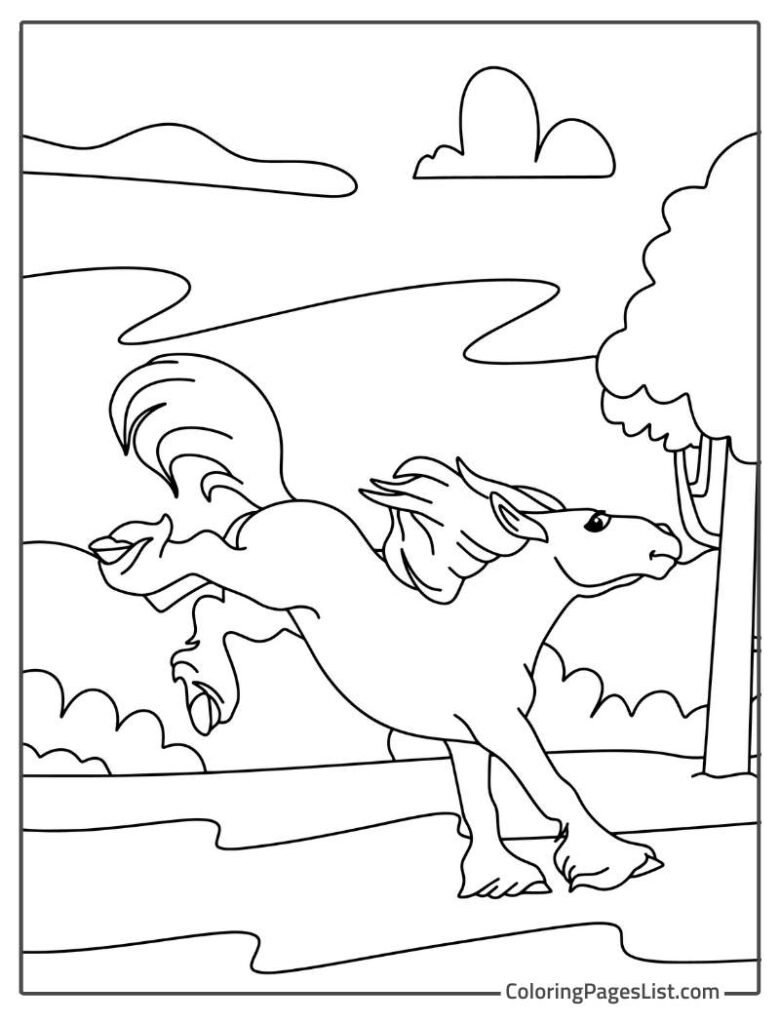
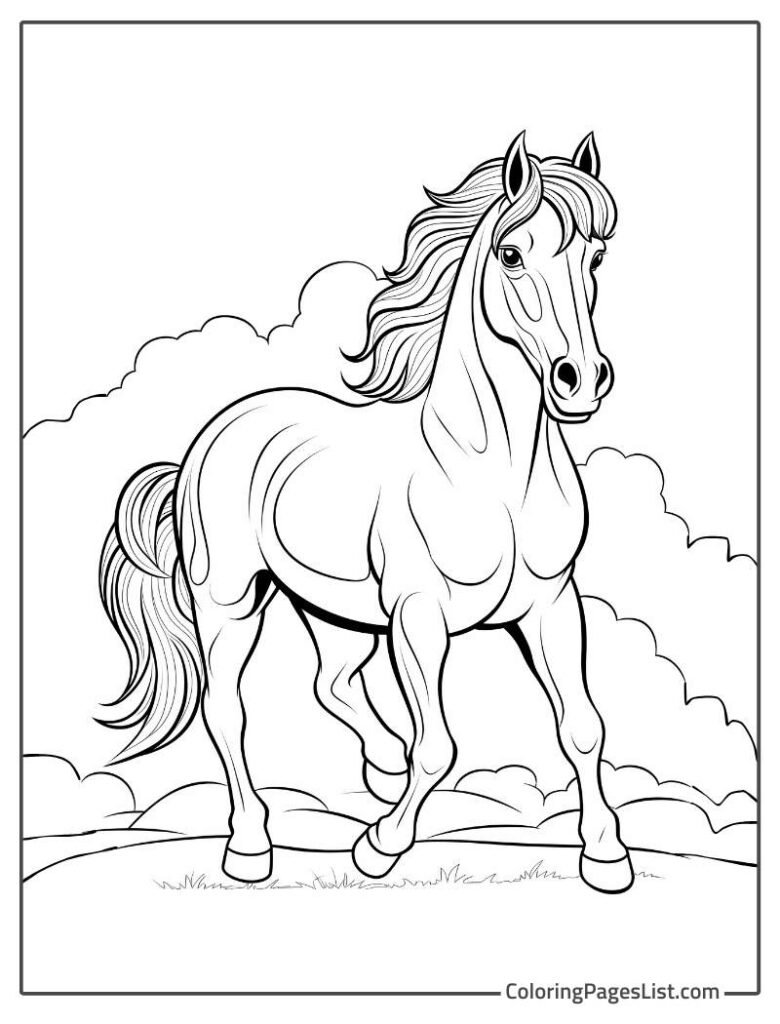
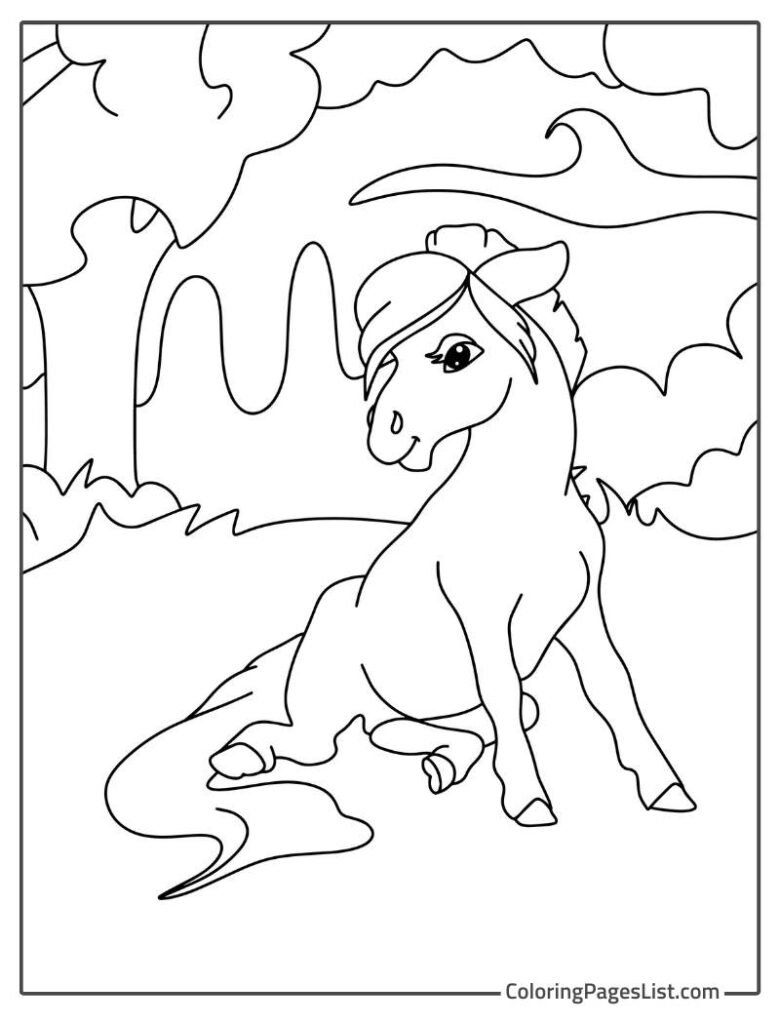
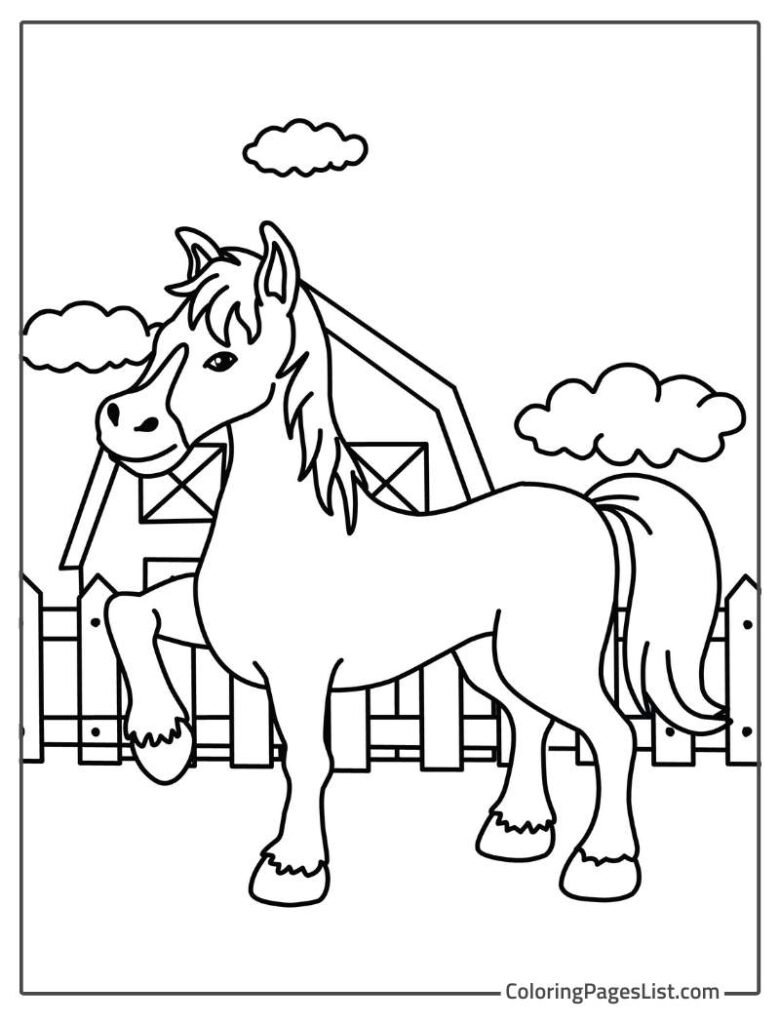
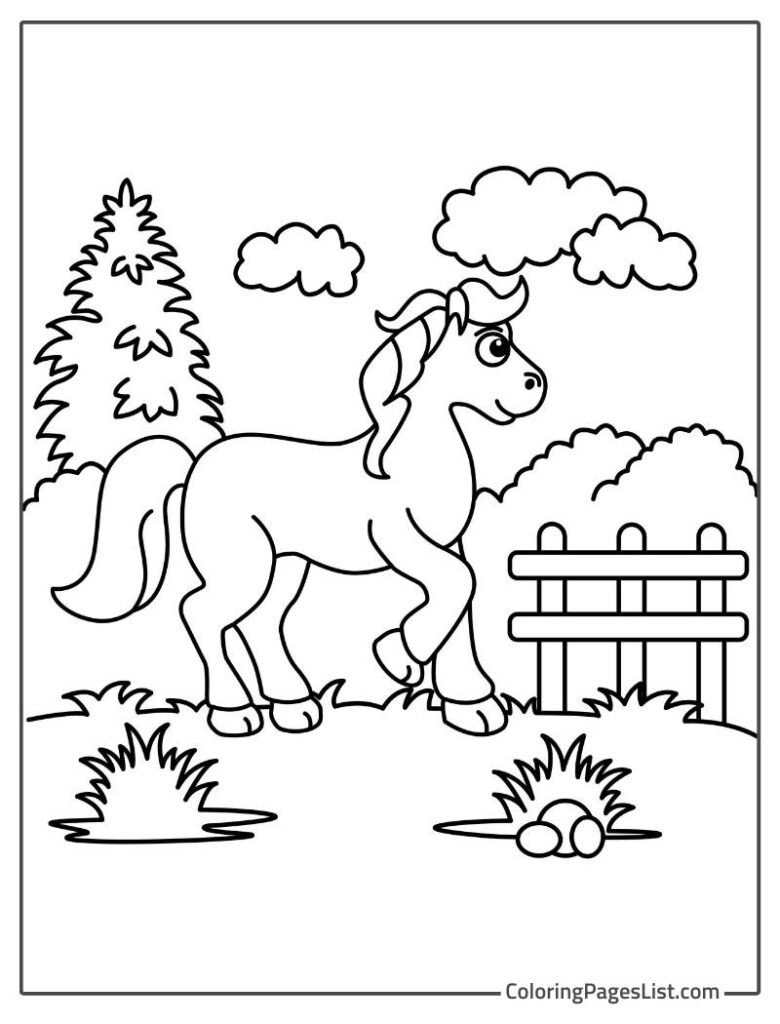
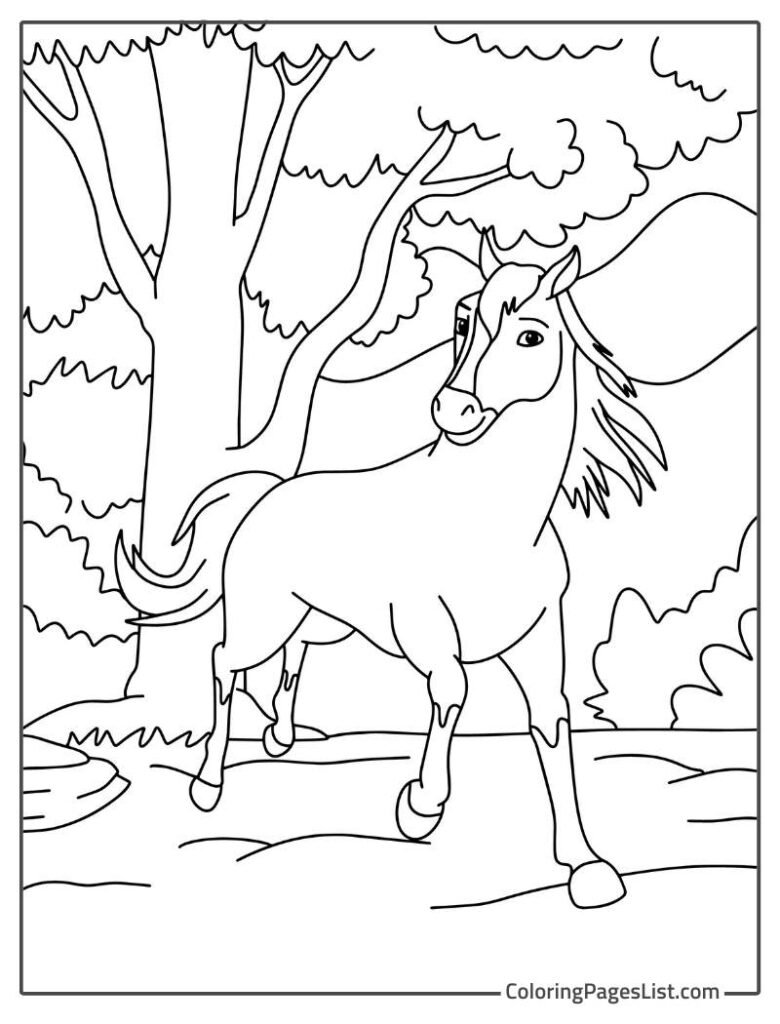
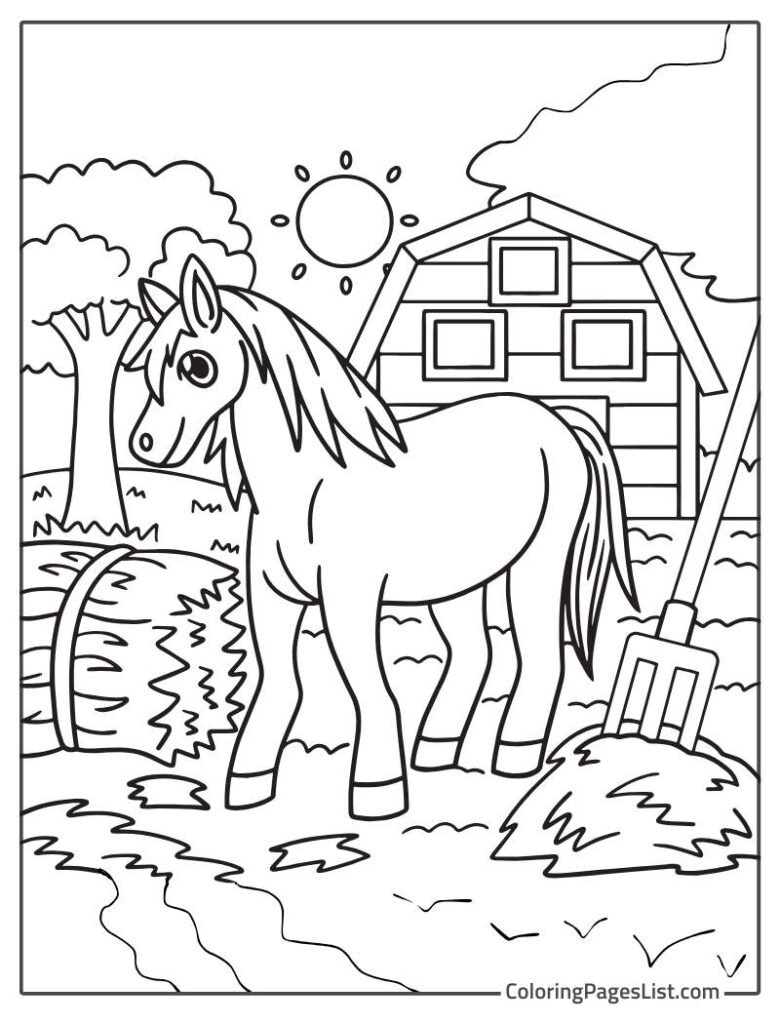
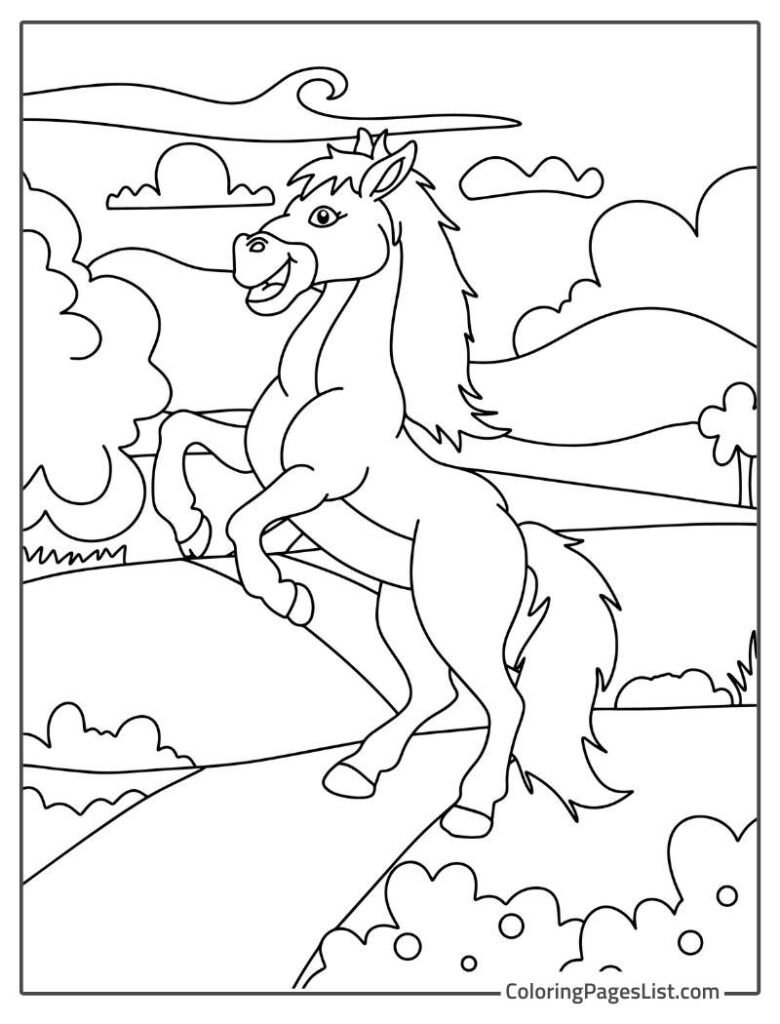
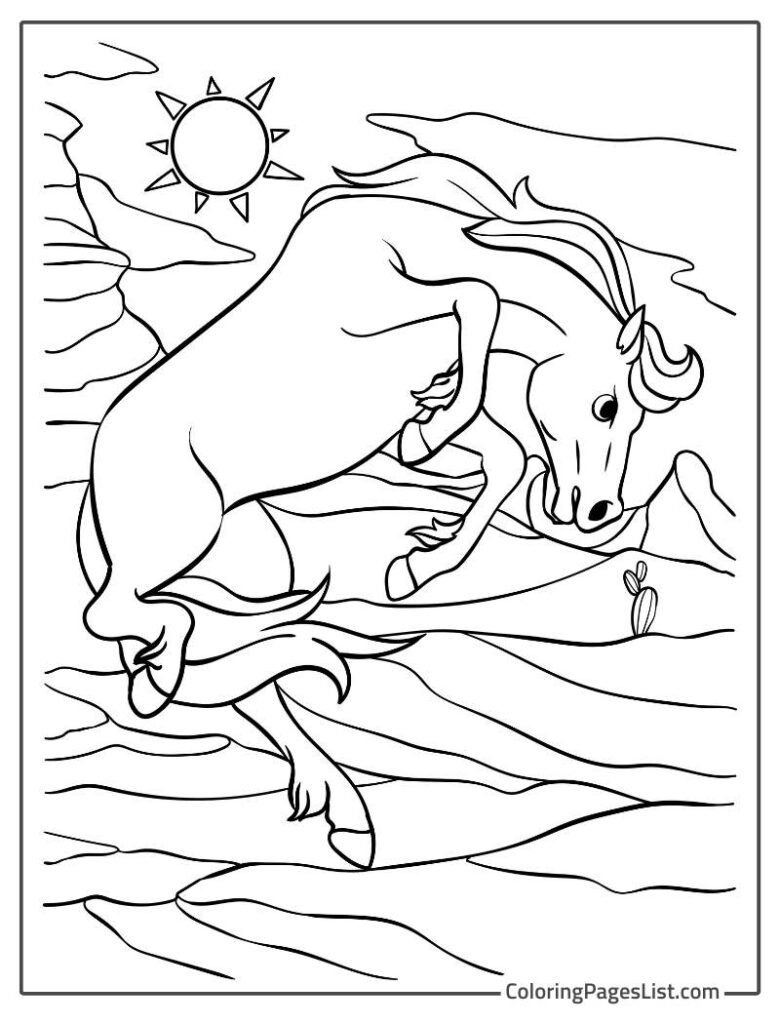
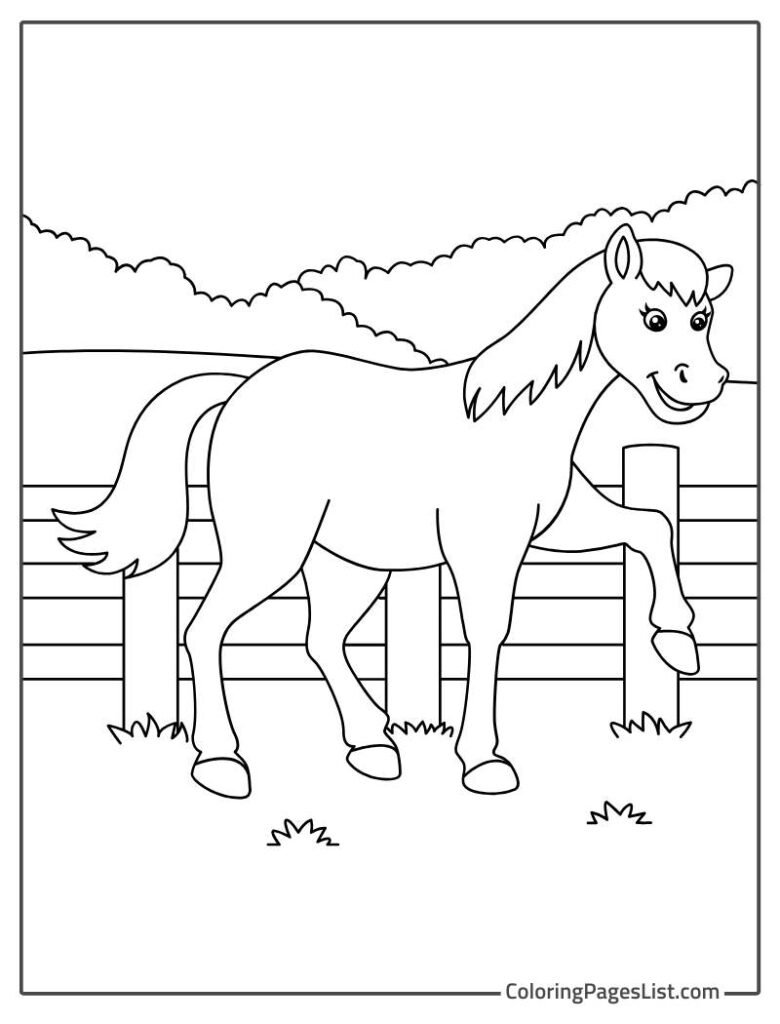
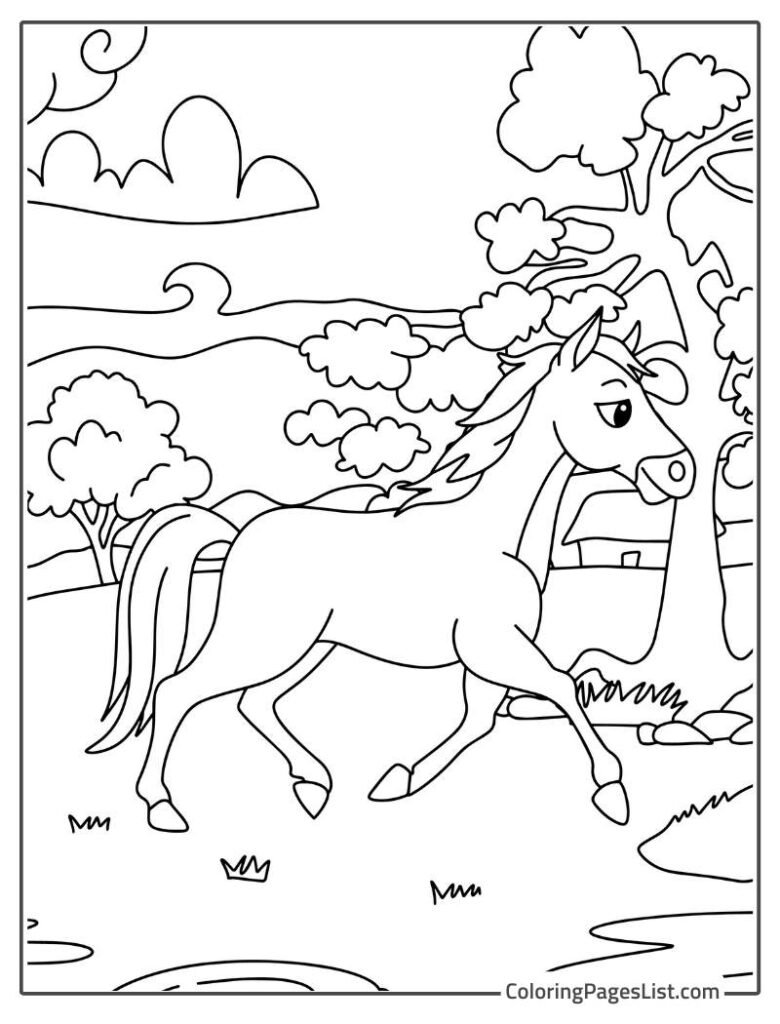
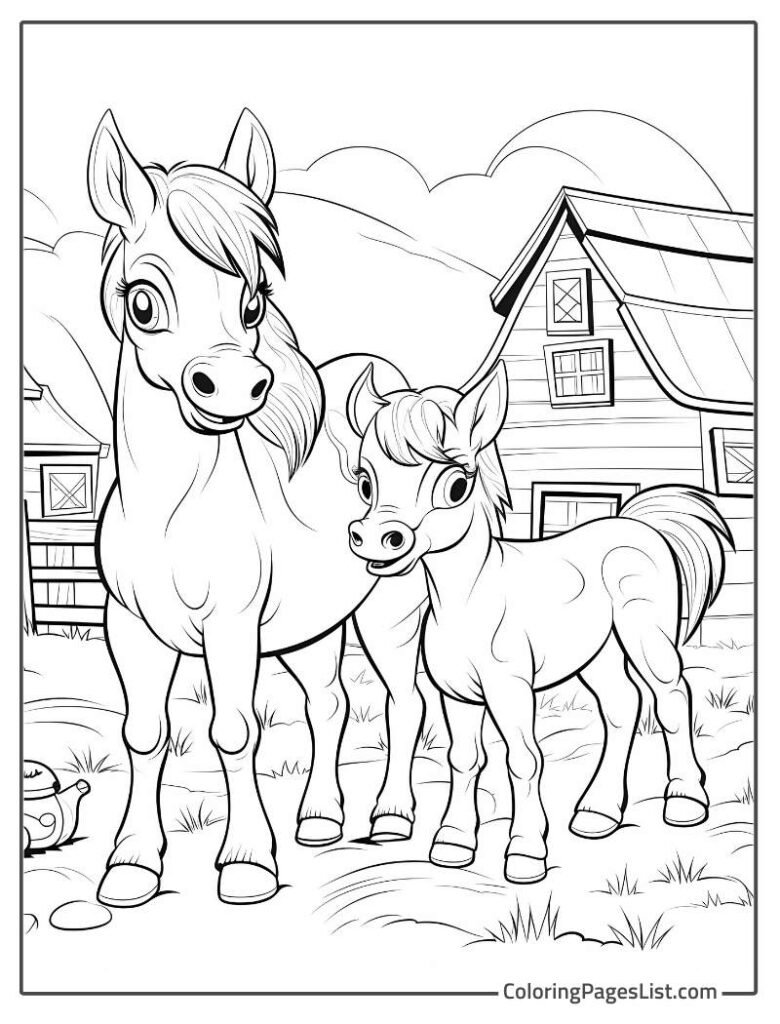
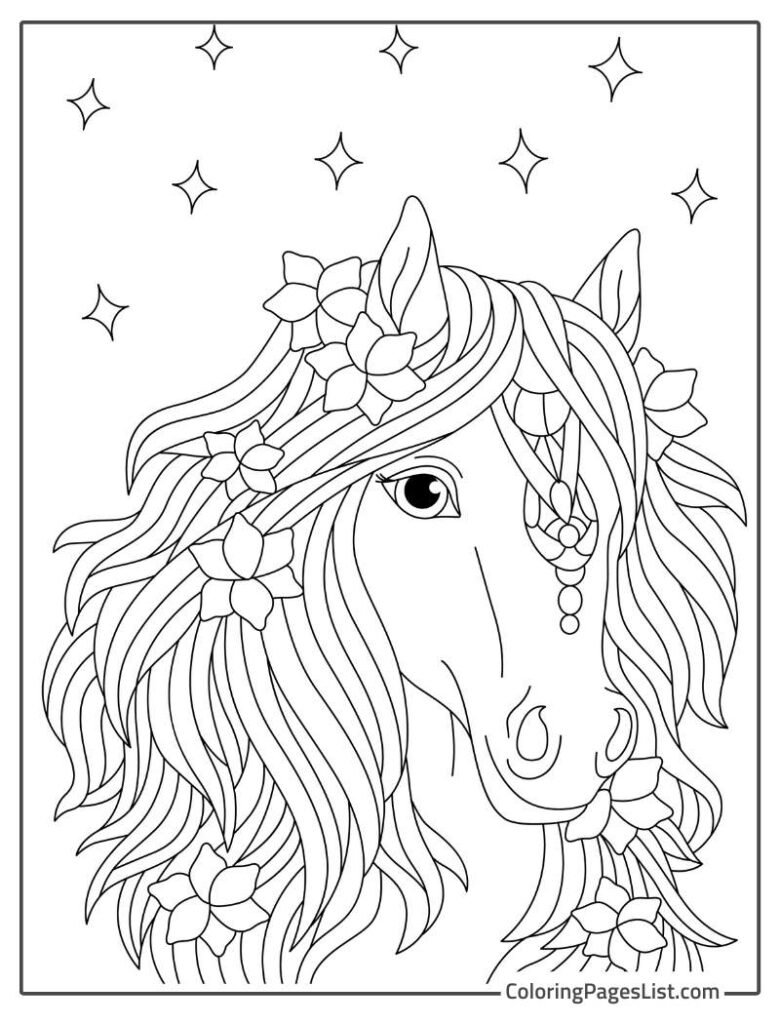
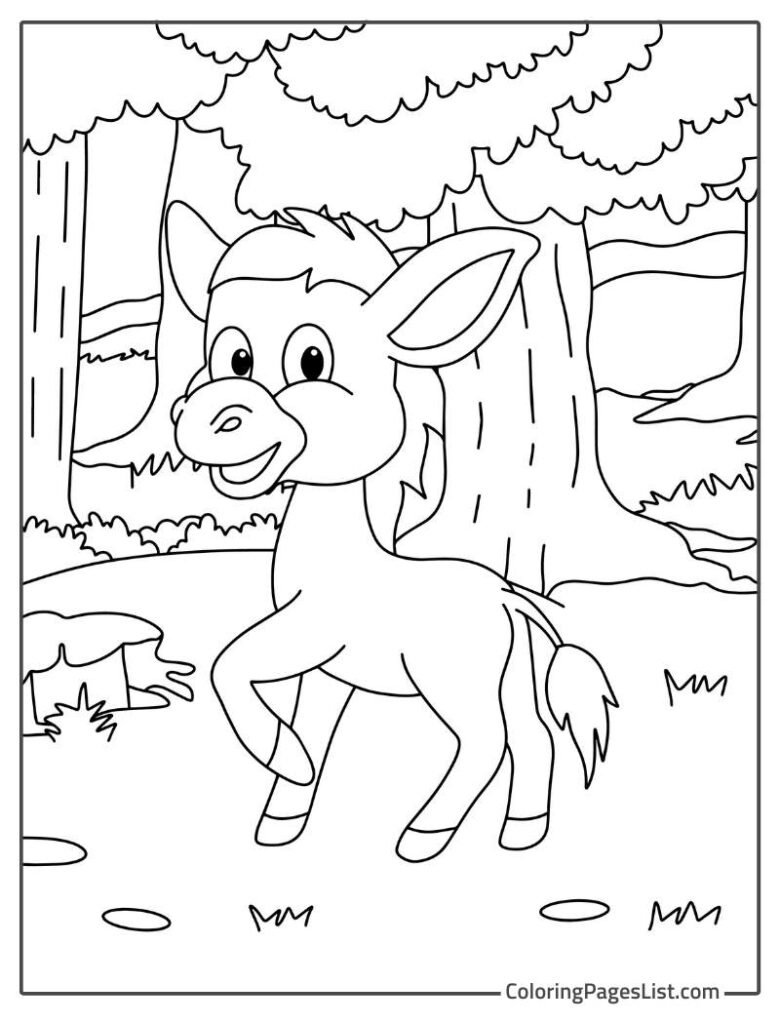
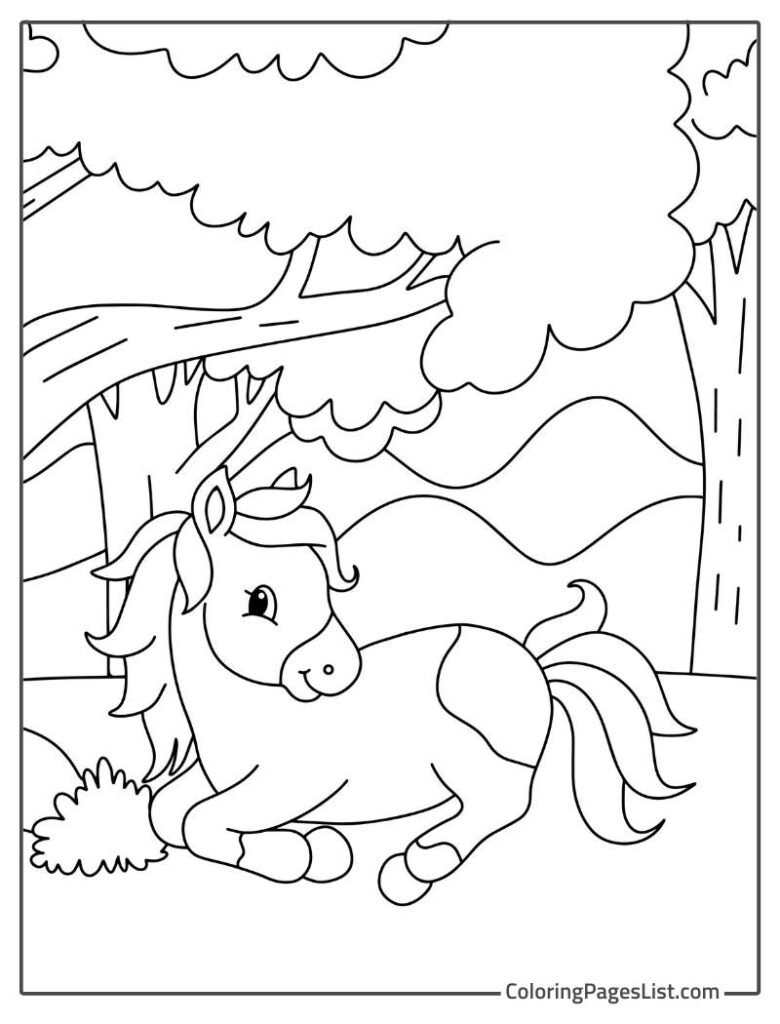
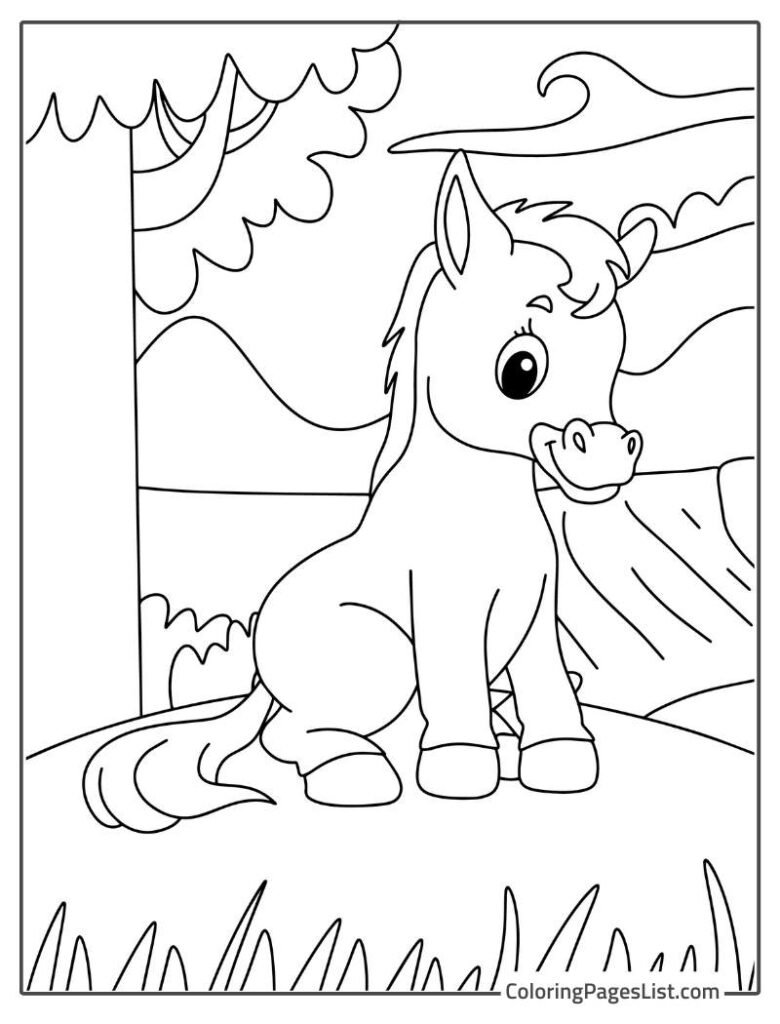
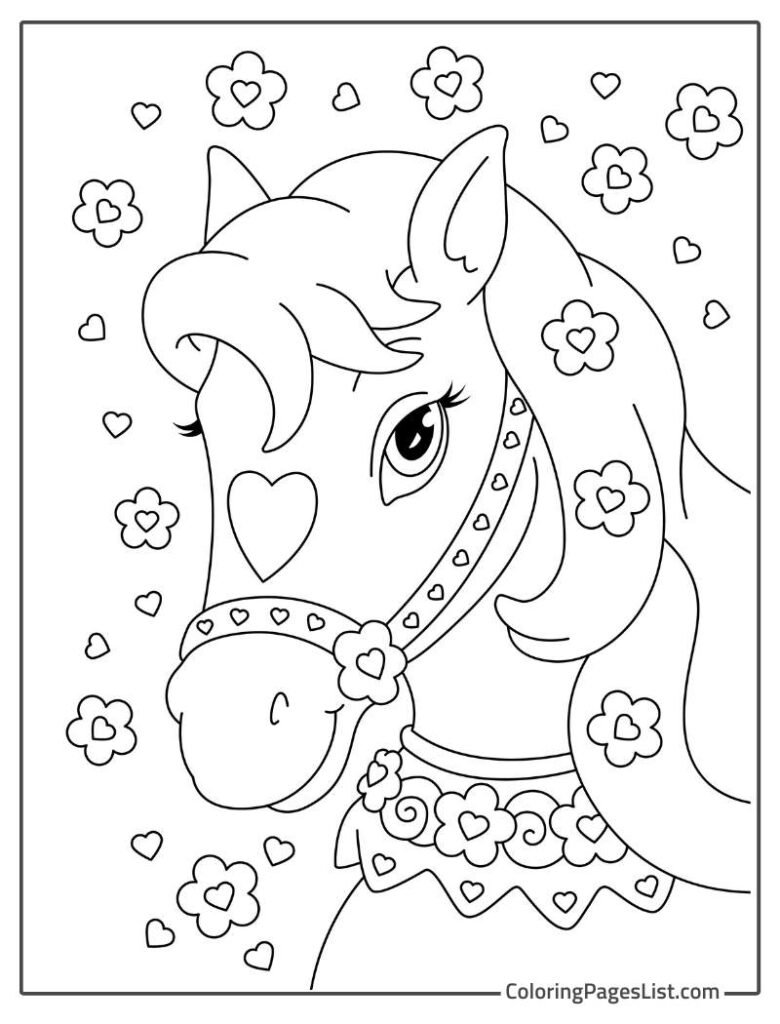
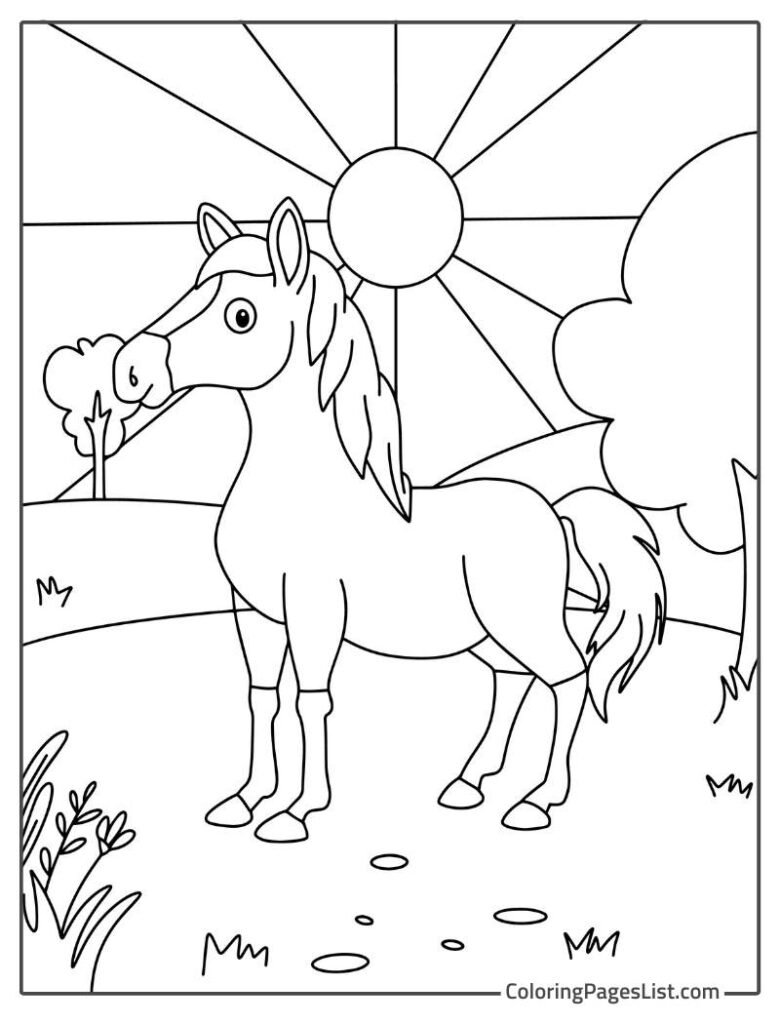
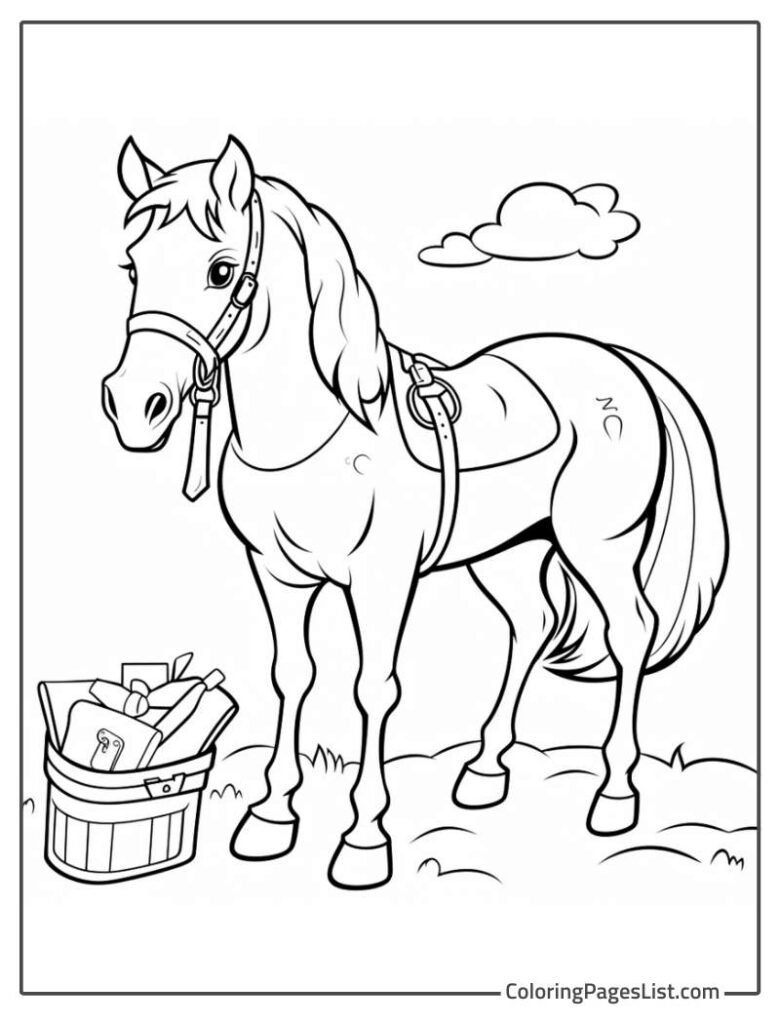
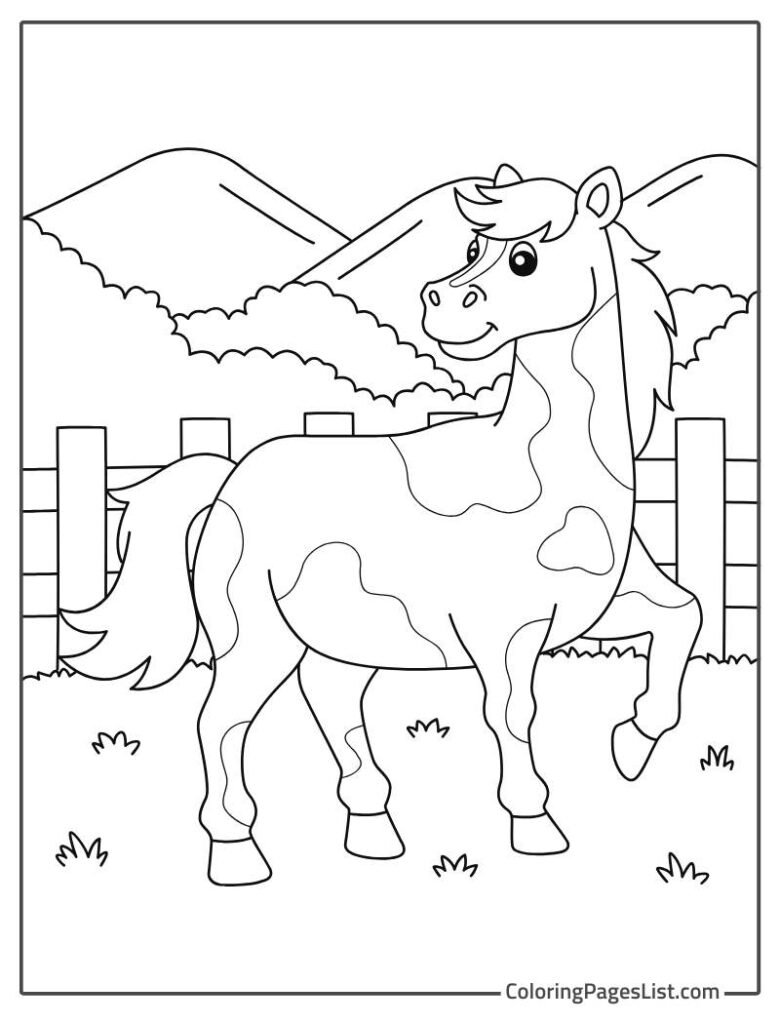
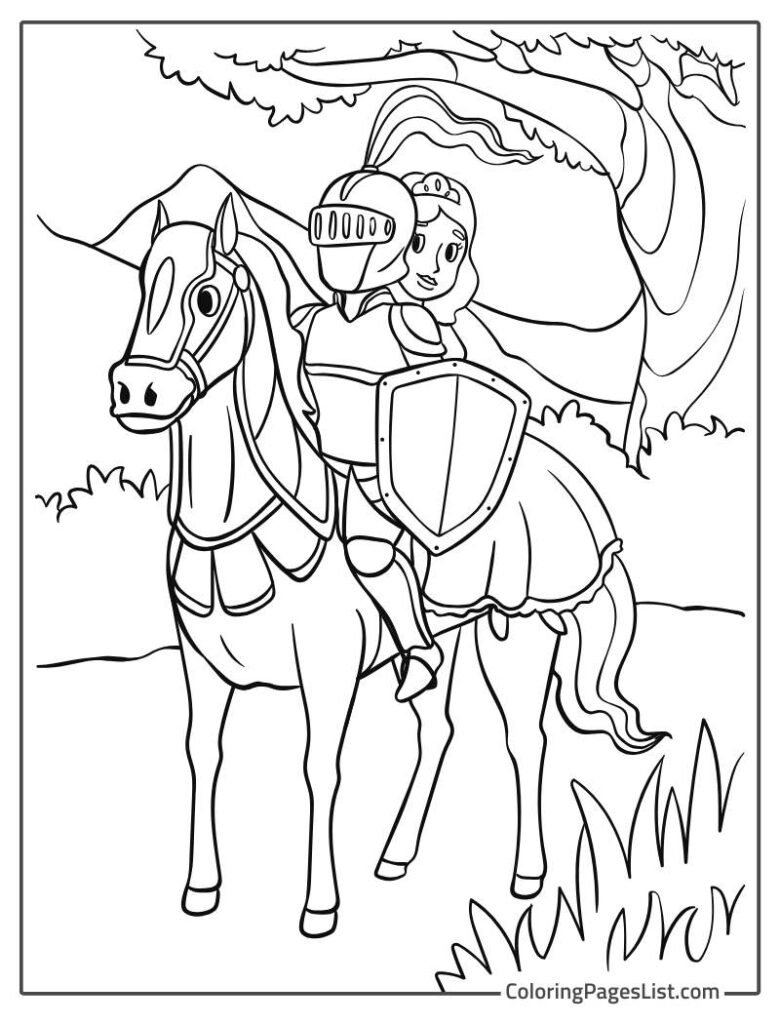
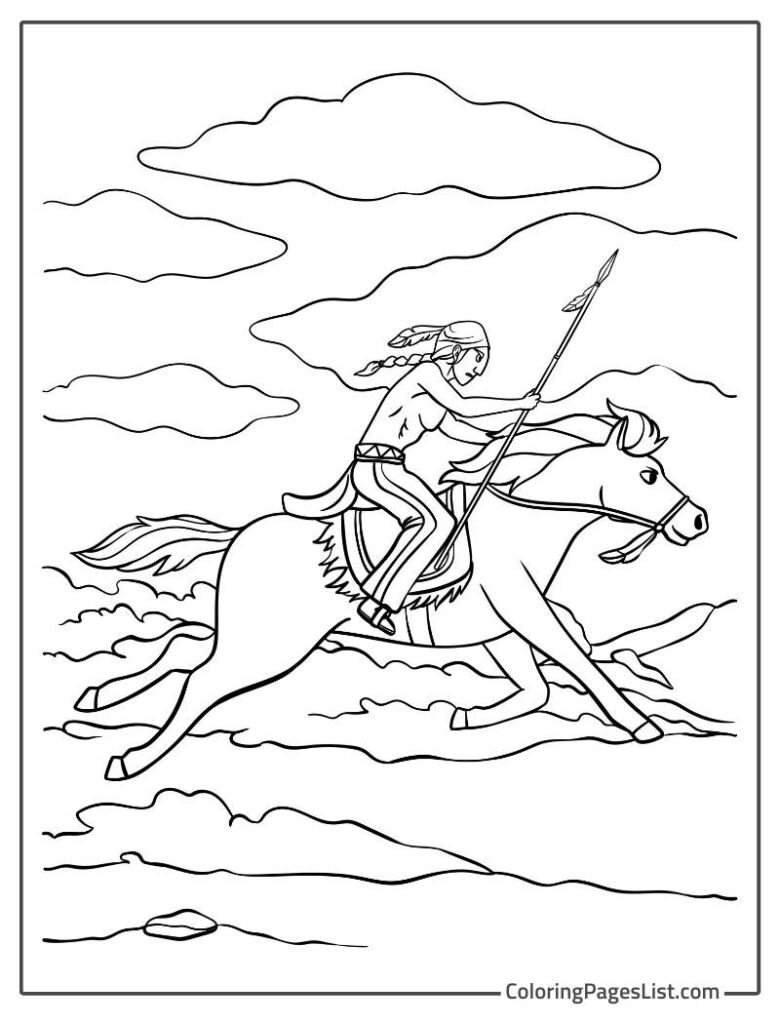
In this article, you will find 68 unique horse coloring pages, all of which are available for free download or printing. Drawing these horses made me think of the two summers I spent as a child riding horses and doing horseback riding. Even now, I still love these and other wonderful animals so much, and I hope that comes through in the works.
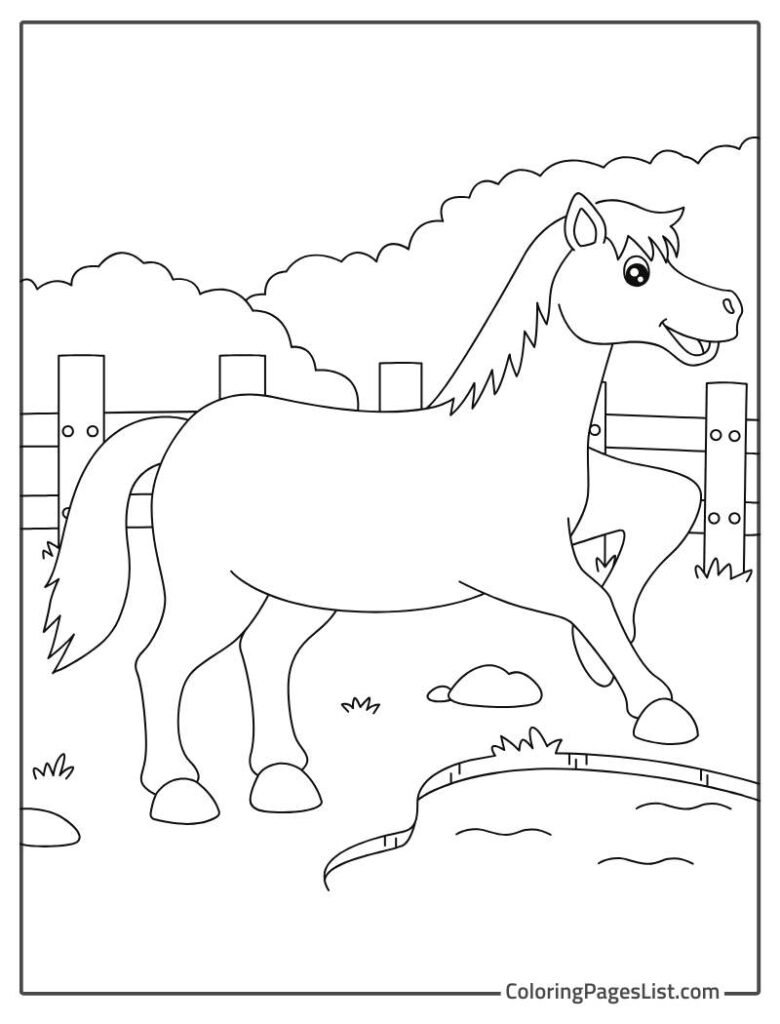
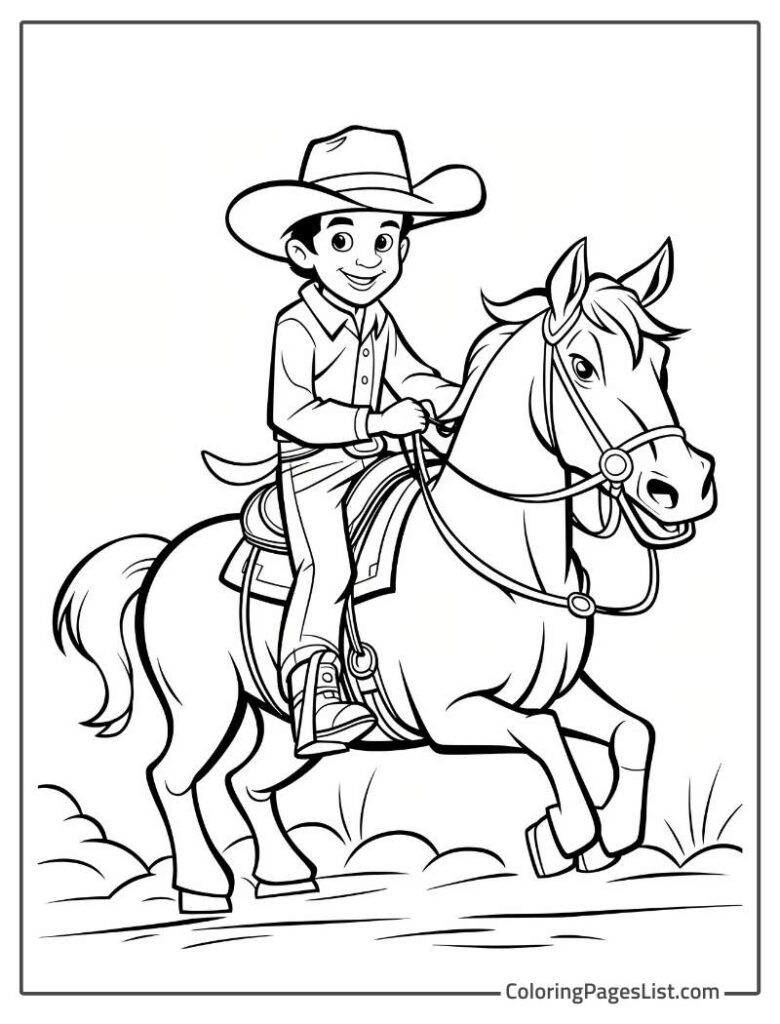
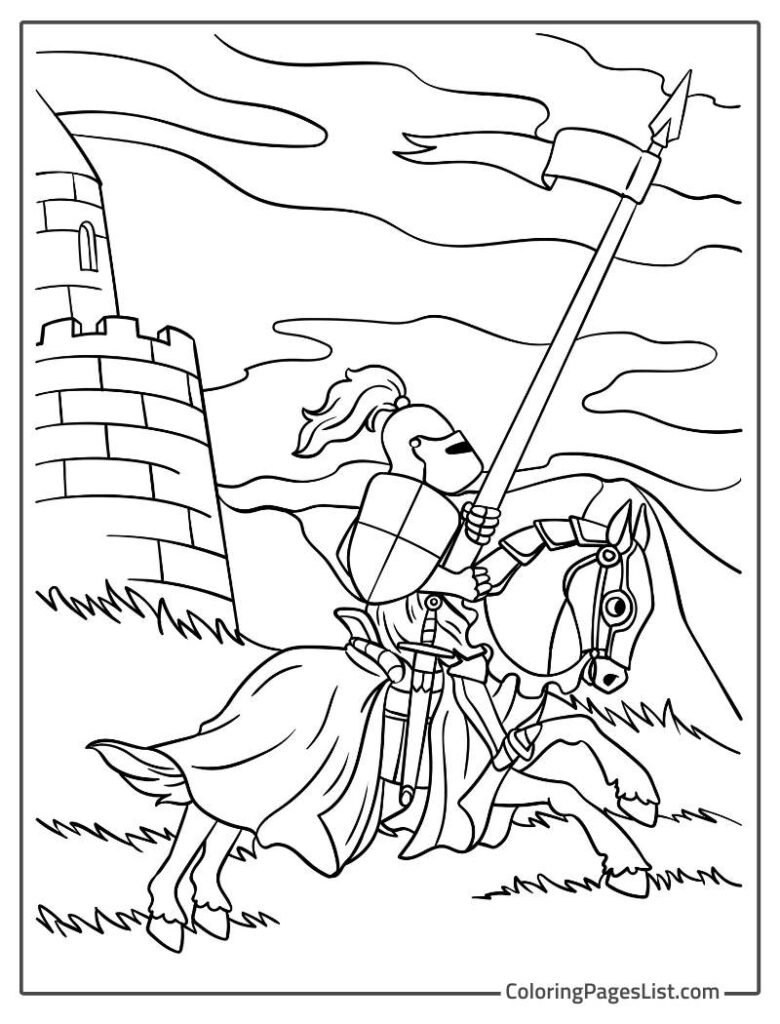
I illustrated a wide variety of horse coloring pages, including small horses, cute baby horses, cartoon horses for children, wild brumby horses, horse leaping, horses with cowboys and cowgirls, and an assortment of other types of horses.
It is my experience that many children do not grow out of their horse period, and if your child or children are going through this phase, these horse printables are likely to present them with an activity that is both fun and creative, which they are sure to enjoy. Once you’ve finished coloring the pages, you can utilize them for scrapbooking, wall art, or even as decorations!
Each of these PDF coloring pages is the normal US letter size, but they also work great on A4 paper! Have fun!
More Free Printable Coloring Pages
Looking for more coloring fun that kids of all ages will love and enjoy for hours? Don’t miss these amazing, playful, and engaging coloring page collections!
- Sheep coloring sheets
- Farm Animals coloring sheets
- Farm coloring sheets
- Cow coloring sheets
- Rhino coloring sheets
10 Crafty Ideas To Do With Horse Coloring Pages
Here are 10 great craft ideas and projects with the above horse coloring pages!
1. Standing Horse in 3D Design
For this activity, you need to pick your best-colored horse. After coloring, cut out the horse form very carefully. Glue it onto a piece of cardboard, and cut it to the same shape, to ensure it stays in place.
Next, fold a different piece of paper into an accordion shape to make legs. Put the folded paper “legs” on the bottom of the cardboard horse so that the folds match up with the horse’s legs.
Finally, to make it more interesting, use markers or crayons to paint the legs and fold up a piece of paper to make a tail. Your horse can now stand tall on a shelf.
2. Horsemobile Activity
You can create a beautiful mobile activity by coloring your horse pages. Firstly, draw and color your horse, then carefully cut it out.
Then, make cloud shapes out of white craft paper and add glitter or cotton balls to them to make them look nice. Make a hole in the back of the horse and the top of each cloud.
Next, put yarn or string through the holes and tie them together in different lengths. Put your phone on the ceiling, and watch your horse fly through the air.
3. Horse Puppet Show
A puppet show is a vintage activity, but you can make it possible with your colored horse pages. Firstly, draw and cut out your horse, making sure to leave a small flap at the bottom. To make a handle, glue a popsicle stick to the flap.
Then, make the end of the popsicle stick look like horse reins by decorating it. You can now put on a show by telling stories or making up your own horse tales.
4. Horse Bookmark
To make a wonderful horse bookmark collection, you need to follow these steps. After you’ve colored your horse, cut it out, making sure to leave a small border around the edge for stability. Put clear contact paper or packing tape over the horse picture to make it stronger.
Then, cut off the extra plastic and make a small hole in the top layer. For a decorative touch, thread some yarn or ribbon through the hole, and then attach a bead to the end of the thread.
A lovely horse bookmark is now at your disposal, so you can easily maintain your place in any book you love.
5. Horse Miniatures
You will also require scissors, glue, shoe boxes, and an instrument to color the images, in addition to a minimum of two identical coloring pages, for this craft.
The kids should color in the horse on one side and the background on the other.
Take your time cutting out the horse, leaving about half an inch to an inch of paper below the feet.
Apply the backdrop to the interior of the shoebox, and if necessary, cut it down to the appropriate depth. Fold back the half-inch to an inch of paper under the horse’s feet.
This must make it possible for the horse to stand up by itself. For a 3D look, glue it inside the shoebox and set it a few inches from the back.
You can even use construction paper to add grass, bushes, or trees!
6. Flower garlands for the Kentucky Derby
This is a wonderful project to do with older kids in May to introduce them to the history and customs of the Kentucky Derby.
Present the kids with horse coloring pages and encourage them to create a horseshoe-shaped garland of roses.
It will mean something different to each child, and it will be so fun and interesting to see what they think.
One more artistic idea is to roll up red and green tissue paper into rose shapes and glue them to the page.
7. Horse Mosaics
Tell the kids to take small pieces of construction paper and glue them into the horse picture for a fun and easy craft.
The horse should have a variety of brown colors on its body and mane, green grass, and blue sky.
Of course, you can modify it according to age and ability level, but smaller pieces of paper work better.
8. Decor for Horse Plants
Tell the kids to use colored pencils, crayons, or markers to color in the horse they want.
After that, have them carefully cut out the horse shape by following the lines. If they’re really little, you might need to help them with this step.
After that, glue popsicle sticks to the back of the horse cutouts; use one stick if the horse is small, or two sticks if it is larger.
As soon as you slide the popsicle sticks into a potted plant, you will have a cute, handcrafted decoration. Also, you could laminate the horses first to make them less likely to get wet.
9. Horse Paintings
Put the picture you want to use on poster board or cardboard, and go to the dollar store to get watercolor tools and small cups for water.
Allow children to paint in the colors rather than coloring with crayons or markers by placing the artwork flat on the table or using easels to create the illustration.
The kids can paint with colors that look like real life, or they can use their thoughts to paint the horses and their surroundings any color they want.
10. Horse Puzzles
Place the picture they want to color on poster board using glue, and let the kids color it in. They need to sign the page somewhere!
Afterward, grab a thick black marker and instruct the kids to make rough shapes on top of the drawing, like puzzle pieces, and then cut along the lines.
When it comes to younger kids, the pieces should be larger, while for older kids, you can urge them to form smaller bits.
Give each kid a project and have them race to see who can finish it first.

