With these 74 flower coloring pages that are available for free download and printing, you may get ready to dive into an array of colors! If you’re looking for a way to introduce kids to the fascinating world of plants while also highlighting the incredible diversity and aesthetic value of flowers, these flower coloring sheets are a great choice.
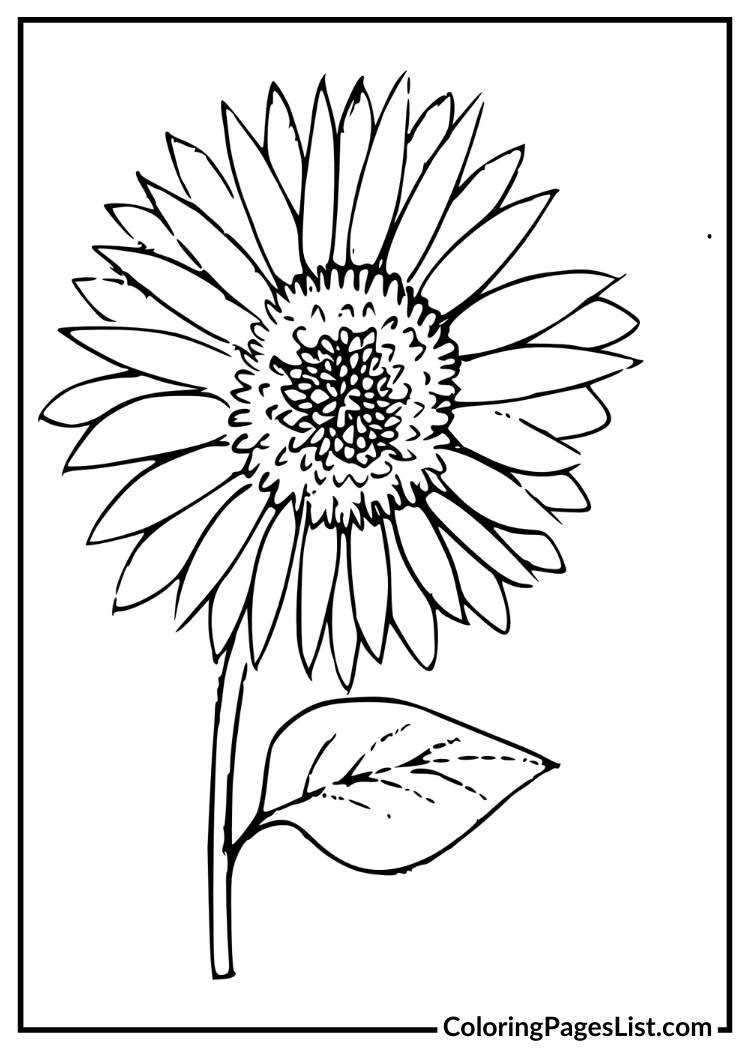
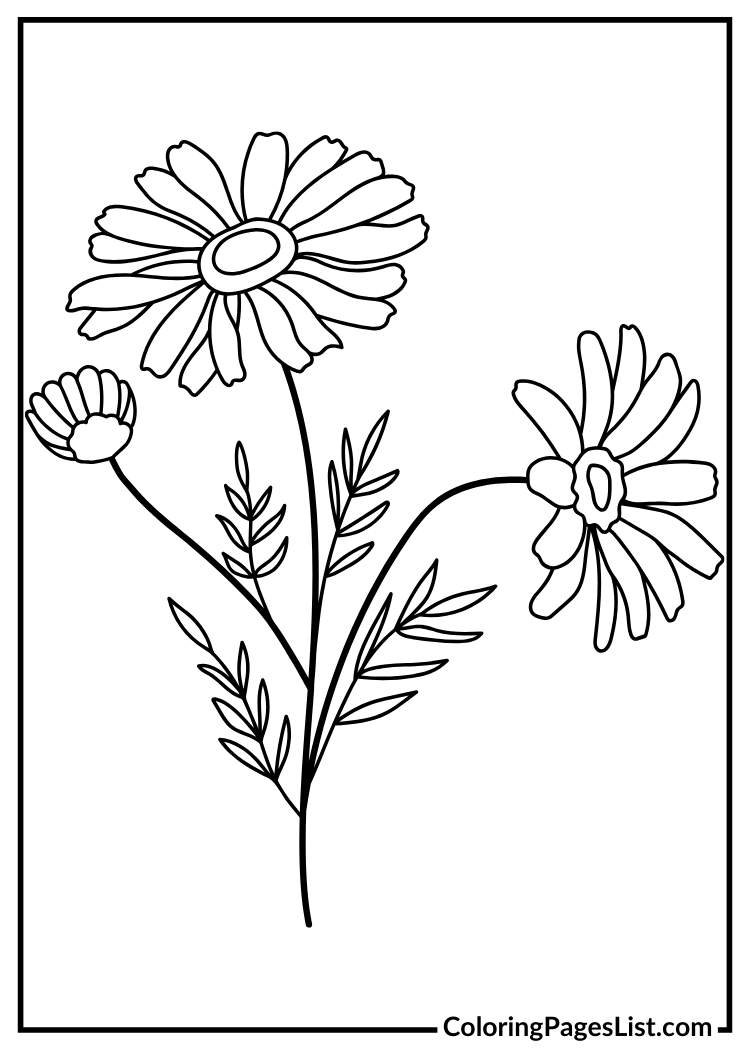
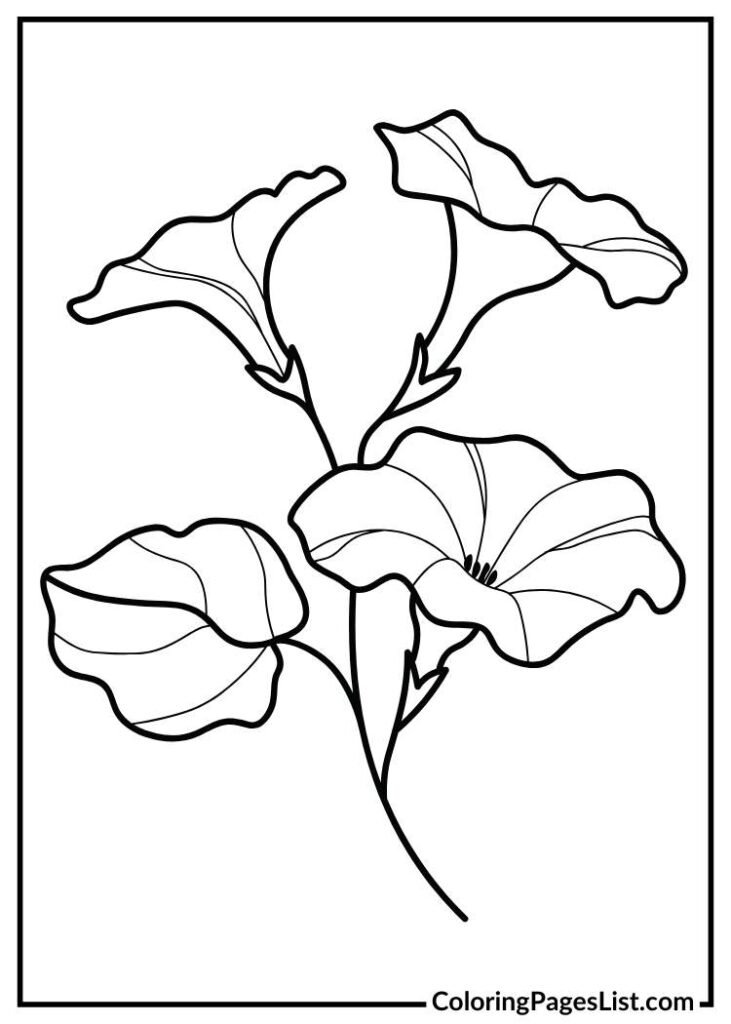
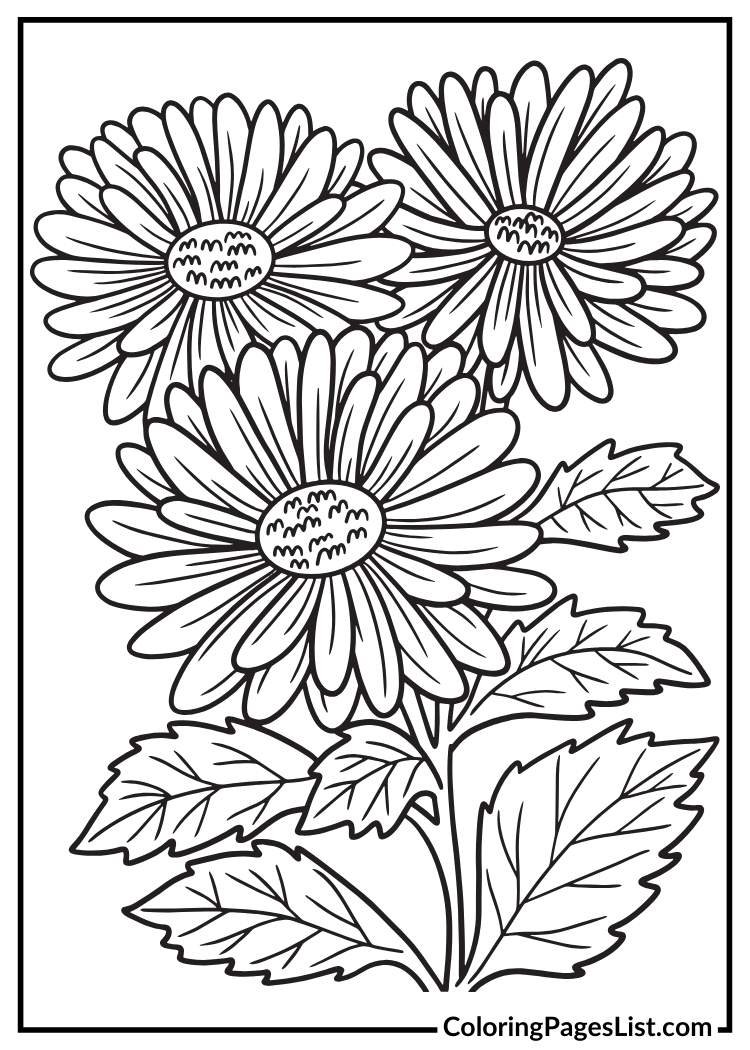
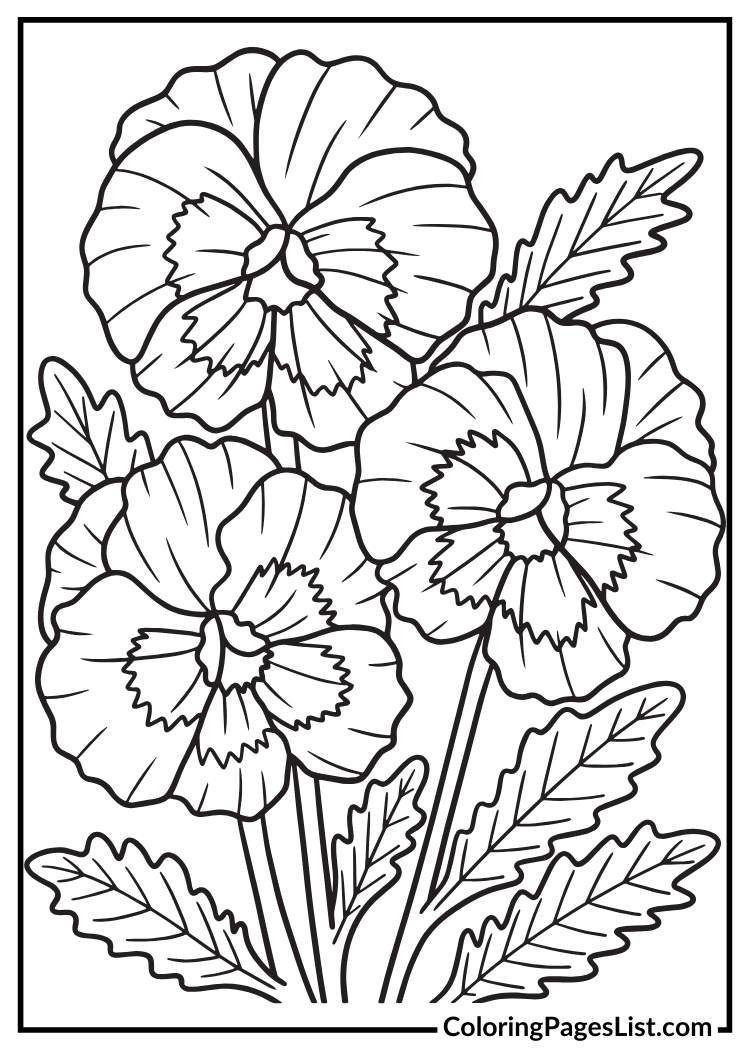
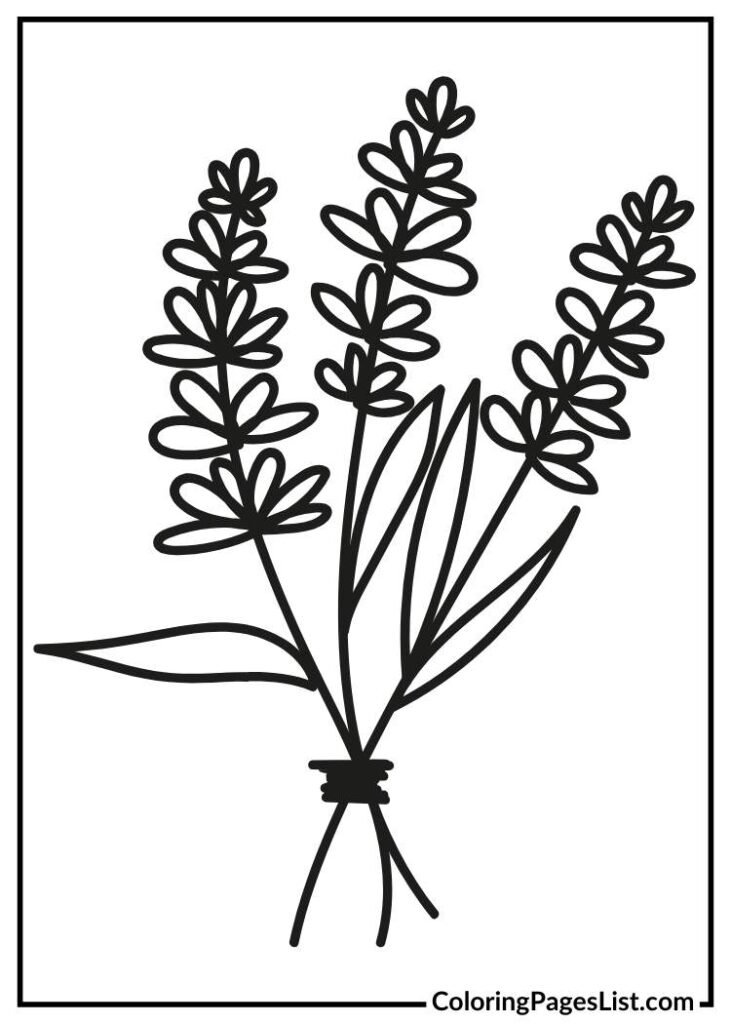
The tranquil lily, the colorful sunflower, the fragile daisy, and the graceful rose are just a few of the flowers that beckon readers on a journey through time. Also, you’ll find relaxation, charming, beautiful flower coloring pages for kids, detailed illustrations of floral anatomy, and quirky garden scenery.
To make use of any of these free printables, you can download the high-resolution PDF on the same page by clicking on any of the images or links that are provided below. Feel free to download or print everything you want from that point on!
All of these coloring pages in PDF format are A4 in size, which is the same as ordinary US letter-size paper! Have fun!
74 Flower Coloring Pages for Kids
Here are 74 flower free coloring pages that are creative, enjoyable, and perfect for using to make your kid intelligent and creative.
To explore other flowers click on the links given below the images, happy coloring!
Here are 10 craft ideas for flower coloring pages that will add a touch of creativity and fun to your coloring creations:
10. Gardening with Egg Cartons
The first step in making these is to get an empty egg carton. Cut slits into the egg cavities in alternating patterns, and then paint each one green.
After that, find six flowers (they can be the same or different) on the page, color them in, and then cut them out, being careful to remove any stems.
To make the flower heads stand out, bend a green pipe cleaner in half and attach the tip to the rear using adhesive.
You may make a lovely miniature garden by inserting one end into the holes in an egg carton and the other into a floral arrangement.
9. Yarn Blossoms
By using a Sharpie to create evenly spaced dots around the outline of one of my simpler flower drawings, you can create a charming exercise that will help your children develop their hand-eye coordination.
Extra-large plastic needles and yarn in a variety of colors will be provided to your children, who will use them to create abstract drawings.
8. Suncatchers
The flowers that you wish to use should be printed onto transparency paper, which can be purchased from Amazon or by going to places that sell office supplies.
You’ll “color” in the lines with tissue paper that you’ve either cut to size or broken up into small pieces, like tile.
When you’re through filling it in, cut out the flower, then hole punch the top and thread it with string for hanging.
7. Planter pots
You will need small clay flowerpots and green craft foam that you will need to cut down to fit inside the pots for this project.
Next, make three flower templates (don’t worry if they don’t have stems; you’ll add them later) and print them out. trace, color, and cut the pages out.
After that, grab a green pipe cleaner and attach it to the flower heads using glue. After that dries, place it into the foam.
6. Flower Crowns
If you want to build a cute flower crown for the Queen of May or even just the Queen of the Day, you may use my photographs to do it.
Grass tendrils drawn on green construction paper, beginning around an inch from the bottom, will accomplish this.
Feel free to use as many sheets of paper as you’ll require for this task.
Cut the tendrils into a loop and secure them at the ends that are large enough to fit over your child’s head.
After that, select five or six of the flower pictures that are included with the stems and reproduce them.
After cutting them out, glue them onto the inside of the crown in such a way that they protrude from the “grass.”
As a finishing touch to her lovely flower attire, your little girl now has a lovely flower crown!
5. Paper for gift wrapping
I can see my flower images printed up and used as lovely gift wrap for anything little.
Another option would be to cut and paste the image you like into a Word document, reduce its size, and then put it into a pattern.
4. Blossoming Paper
You should select at least five or six single flowers or a cluster of flowers, such as the Mariposa Lilies Outline Coloring Sheet.
Before cutting them out, you’ll color them.
Following that, using a sheet of construction paper, meticulously trace and slice a circle large enough to encompass all of the blossoms. Make a triangle inside the circle such that its three sides touch it.
While holding the circle with the triangle’s tip facing down, glue the flowers into position so that their petals will protrude from the arrangement.
When you have finished folding the circular along the lines, glue the flaps down. To finish off the flower, you can use a real ribbon or a bow made out of paper cuts.
3. Making 3D flower paper crafts
If you want to create 3D flowers, pick an image that shows the whole flower, including the stems and petals.
After you print it out, carefully color in the flowers and cut them out.
To make it more special, print off many copies of the same flower. On the extra pages, color the flower “face,” cut it out, and then glue it over the original.
Then, build a lovely image using the flowers you prefer—maybe mounted on construction paper.
2. Greeting Cards
Two lovely options exist for making greeting cards using my flower photographs.
To begin, you can change the flower picture’s size and shape, print it on paper, and then fold the page in half so the picture is on the front.
Another option is to print the flowers on regular computer paper or cardboard, color them in, cut them out, and then glue them to the front of the card.
Either manner gets the job done, but the second one has a prettier, more “crafty” aspect to it.
1. Decorative Trays
Pick up some Mod Podge if you don’t already have it and some small wooden trays at a craft store or maybe even a dollar store.
Before cutting them out, you can print out the flower designs you choose. Then, using fine-point markers or colored pencils, carefully color them in.
When you’re ready, attach the cutouts to the tray using Mod Podge. You may arrange them any way you choose, like in the middle or to the side.
Set it aside to dry after adding a few coats of Mod Podge.
One wonderful thing about Mod Podge is that it seals the tray, making it perfect for carrying or storing beverages.


