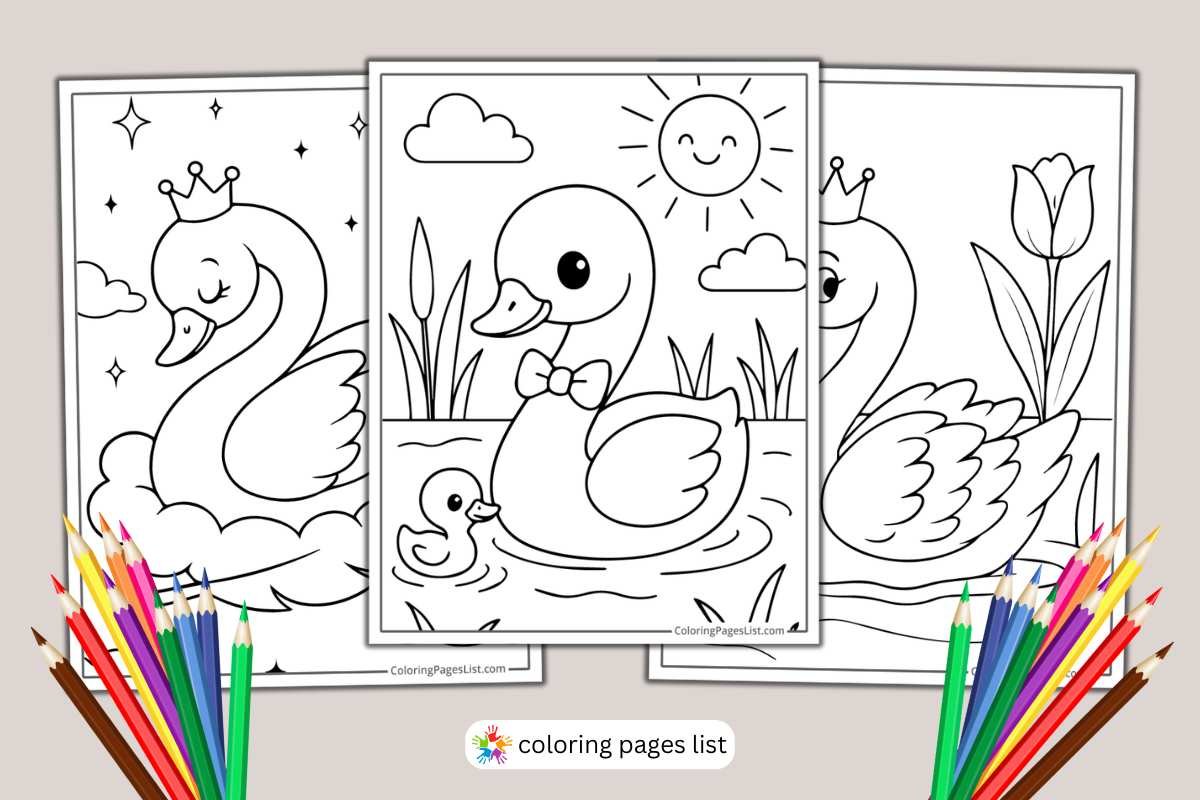
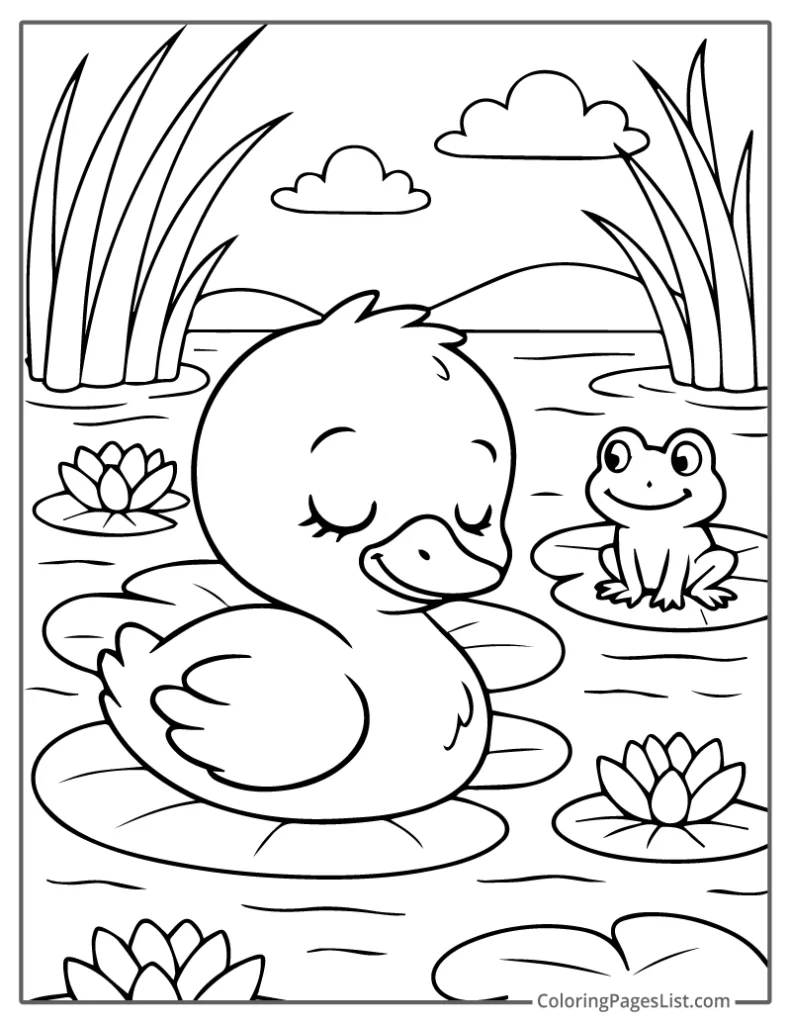
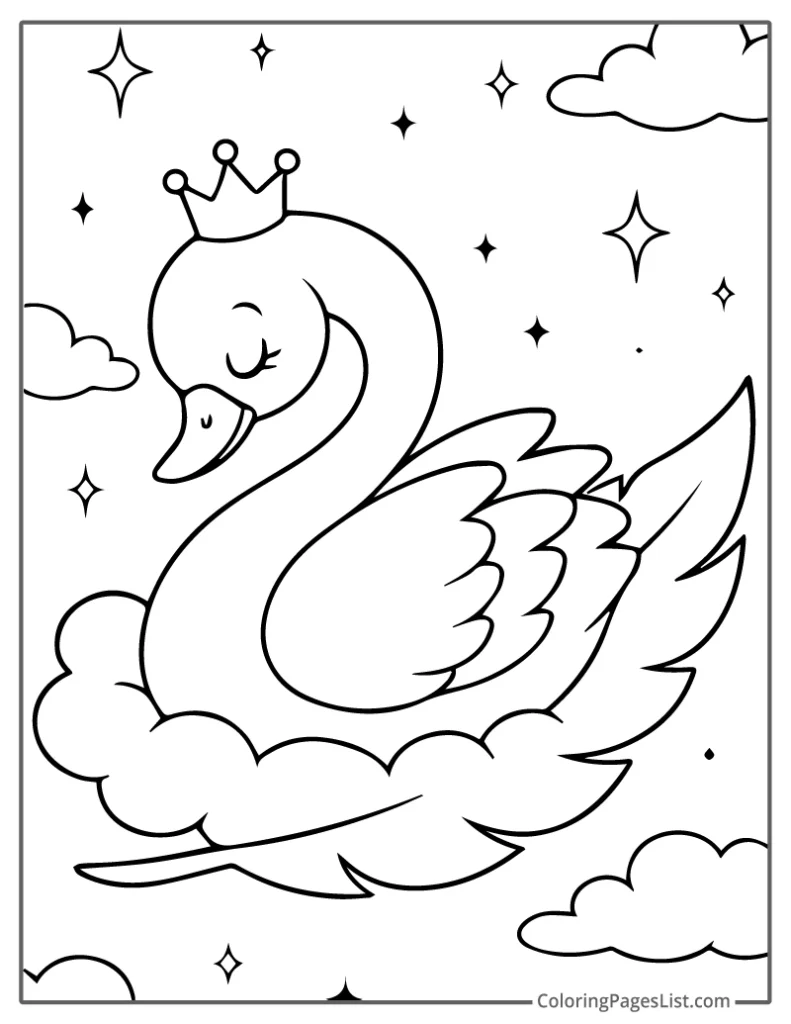
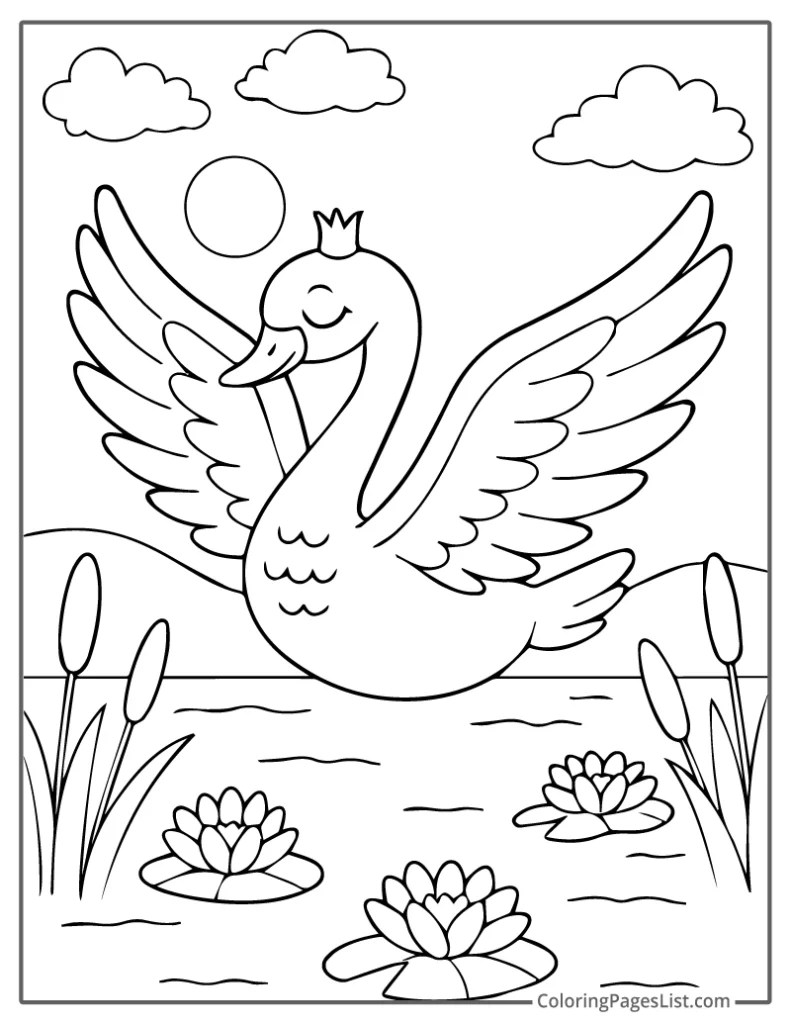
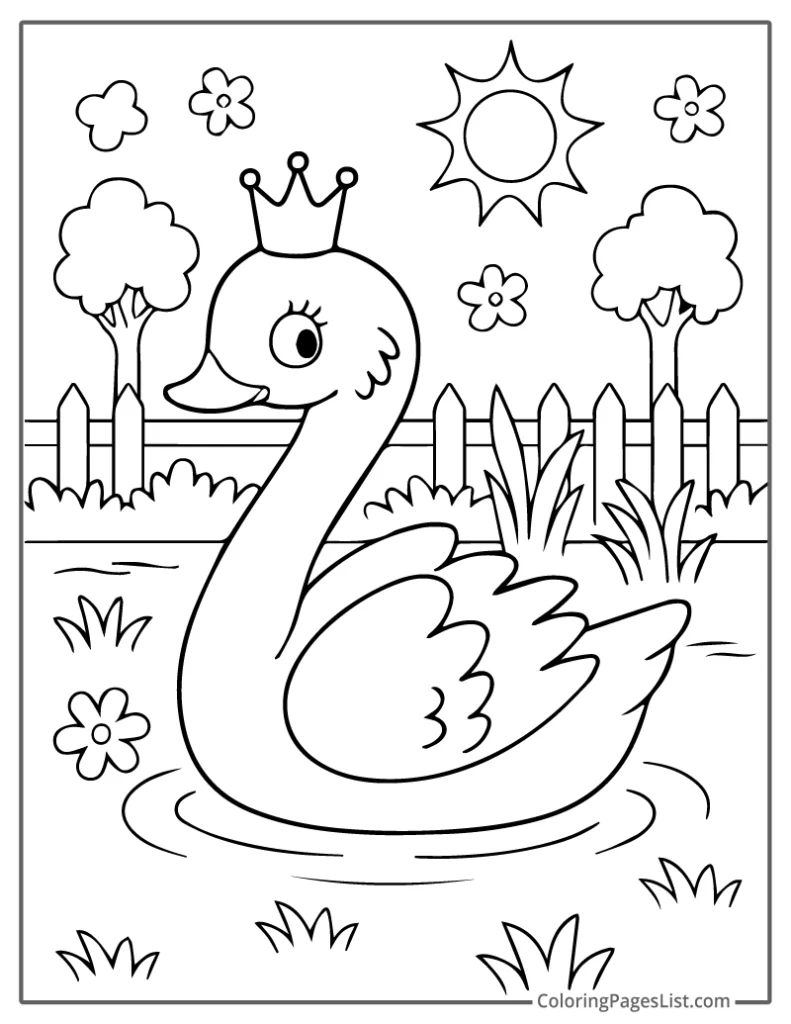
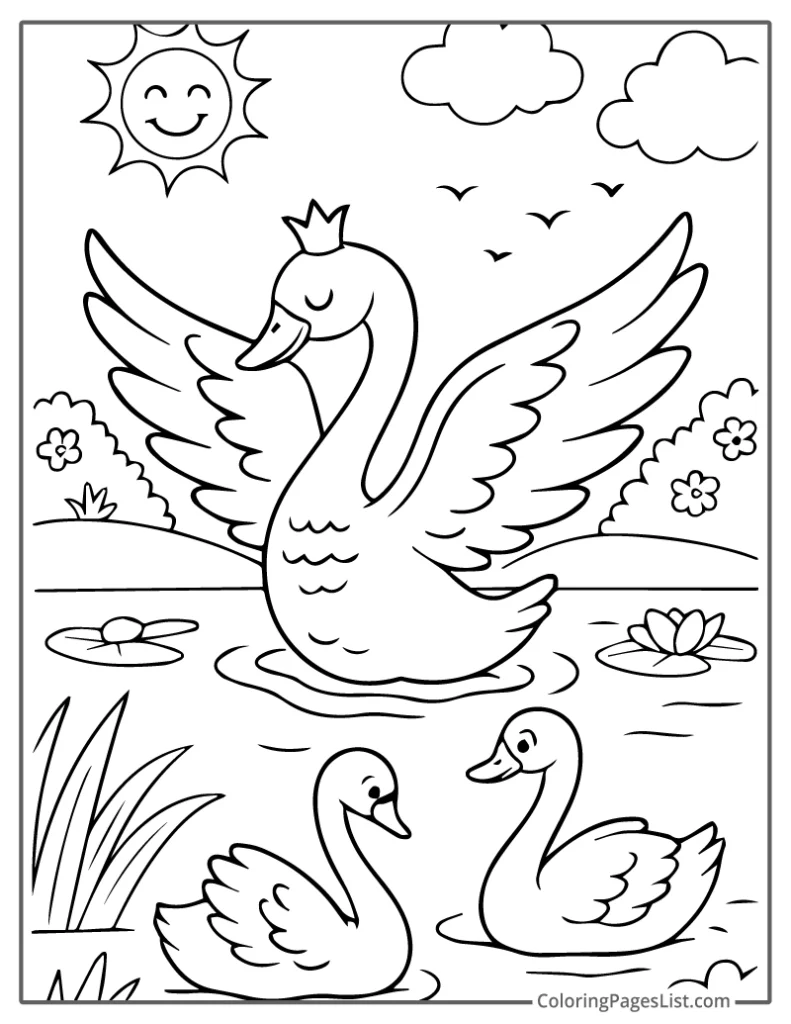
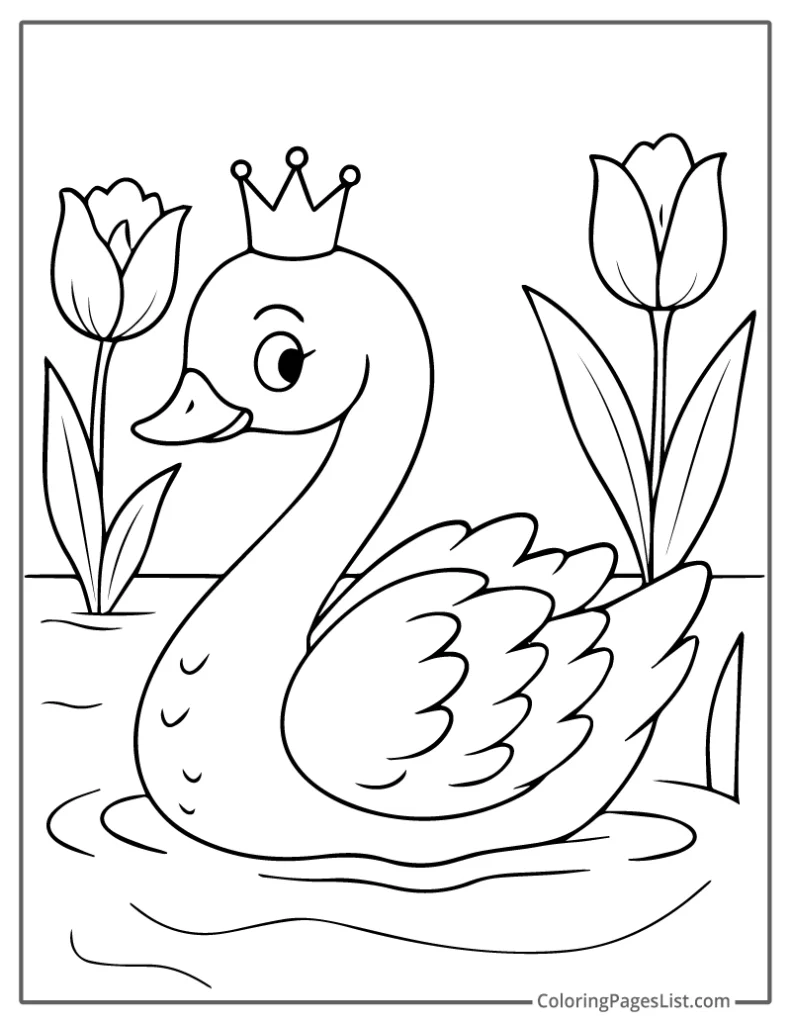
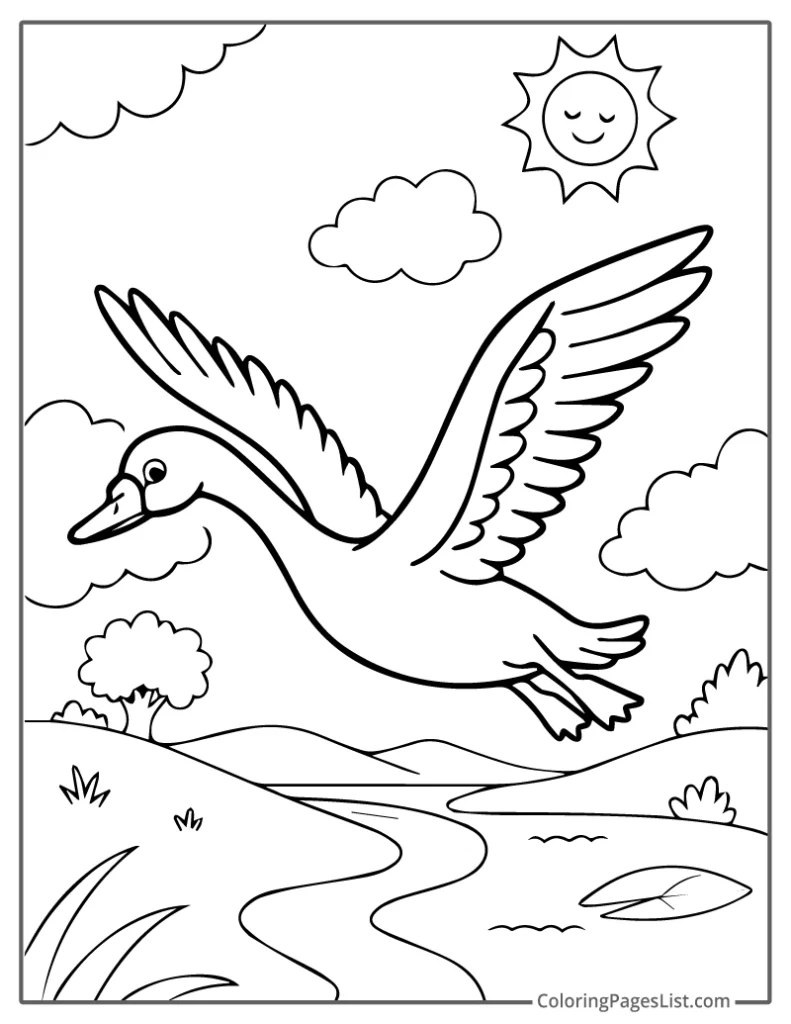
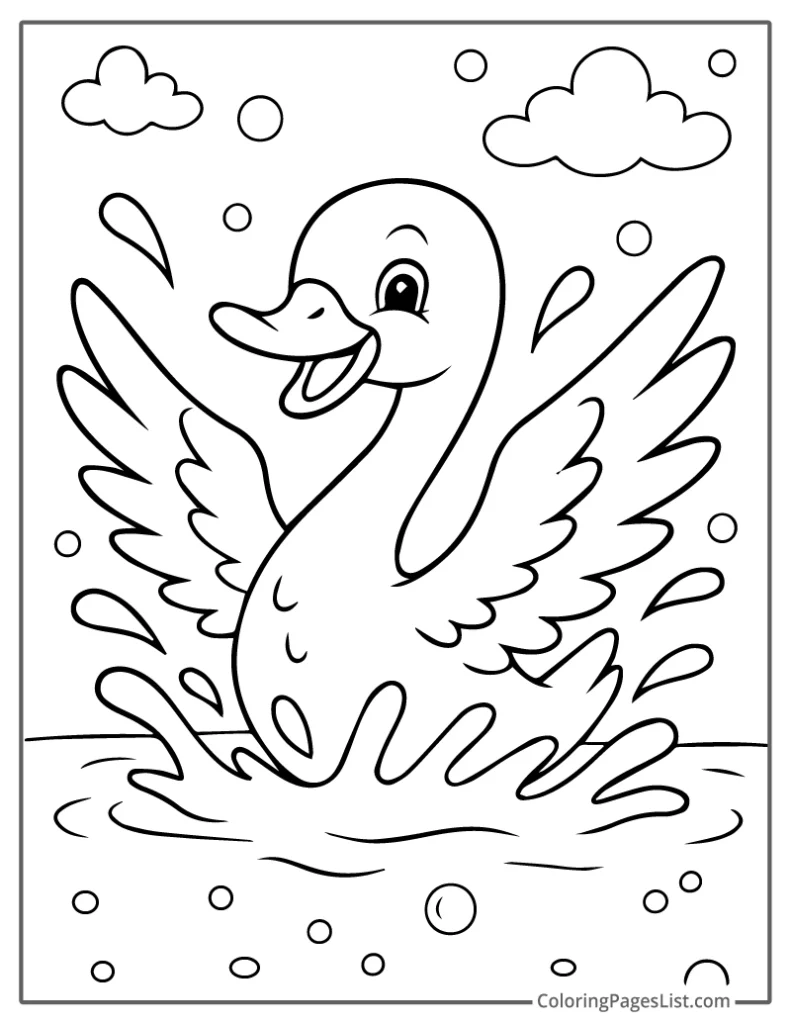
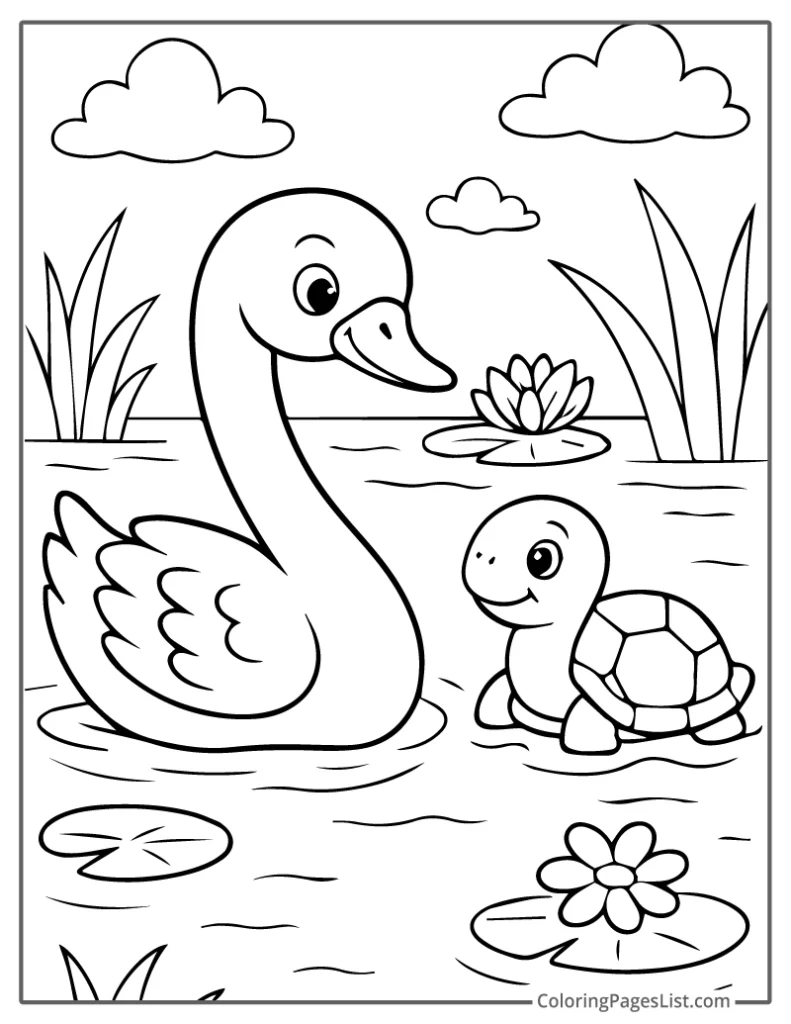
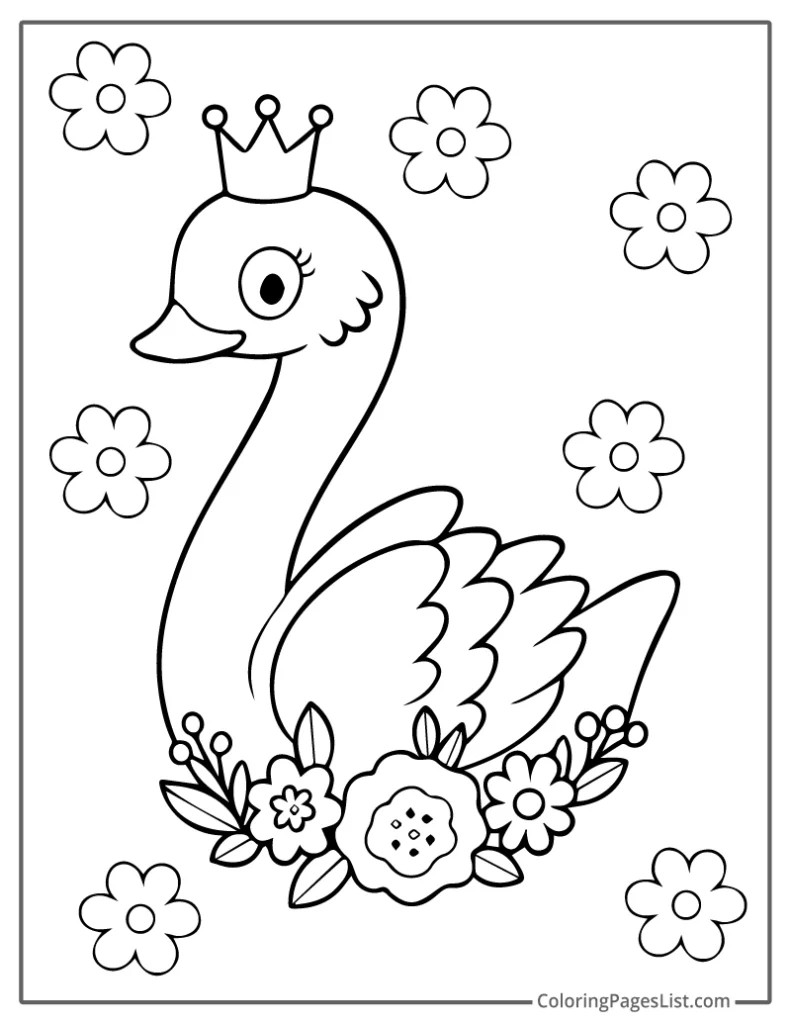
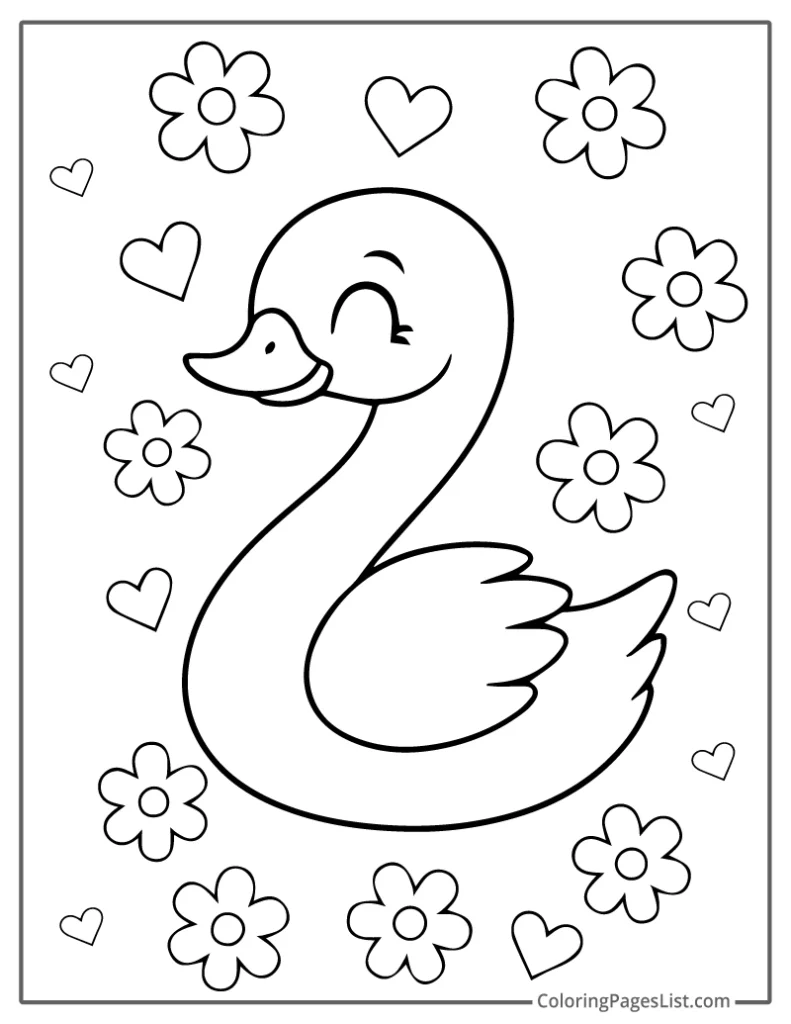
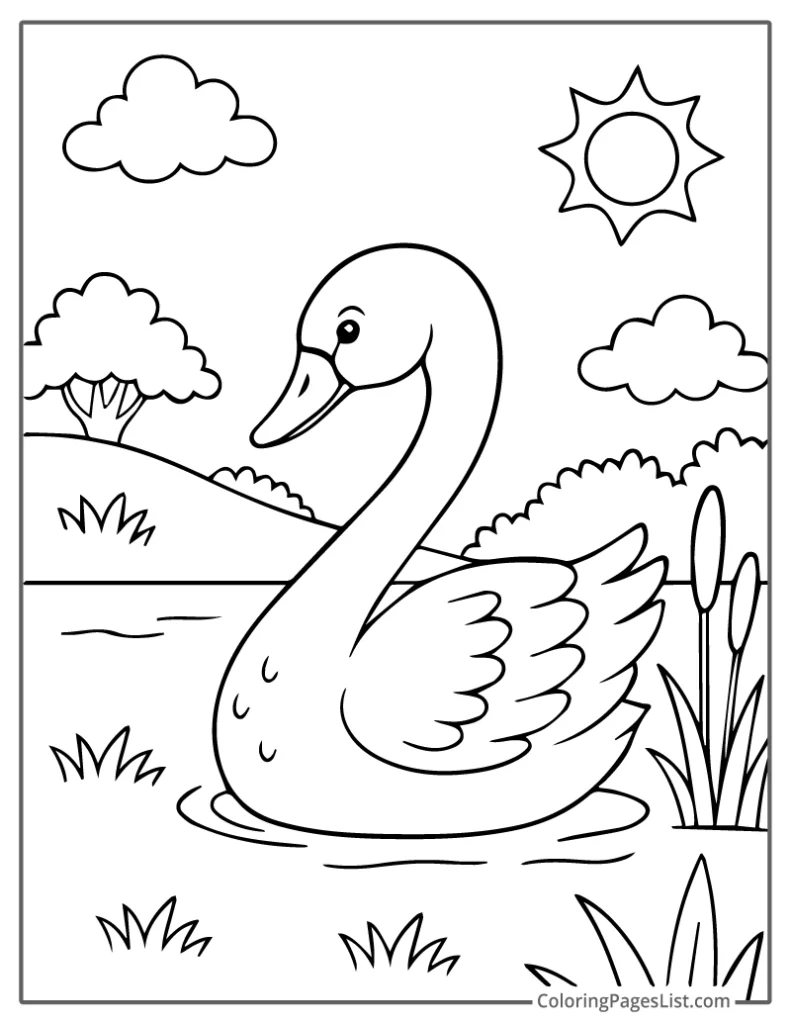
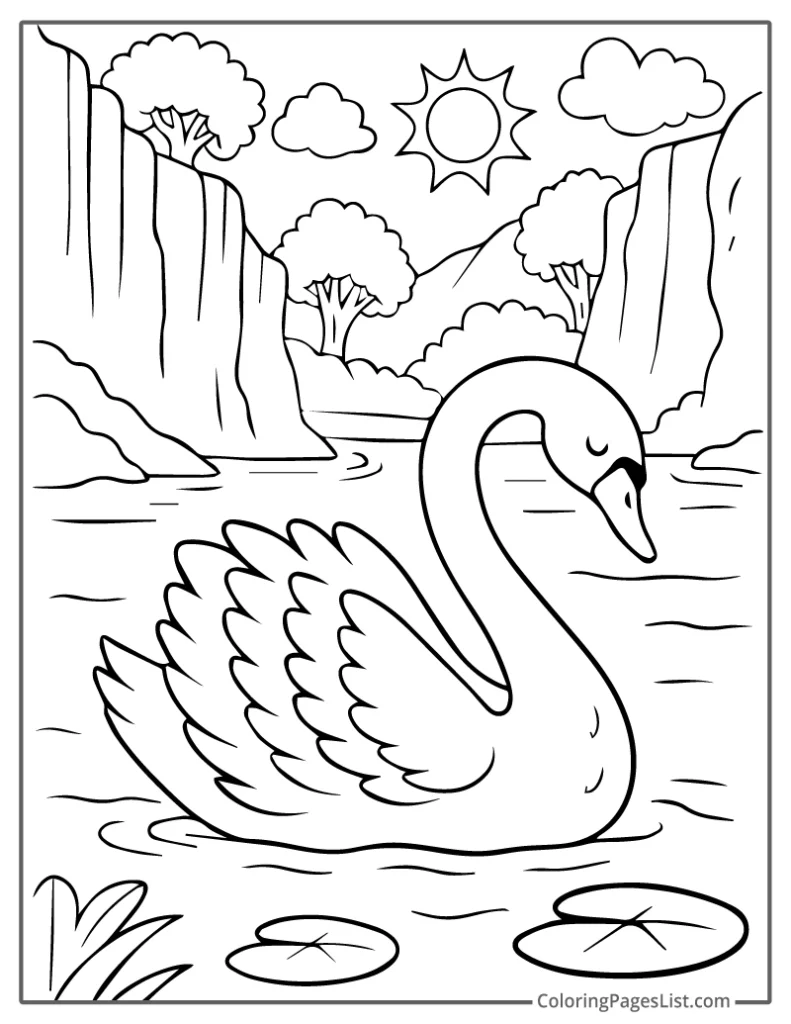
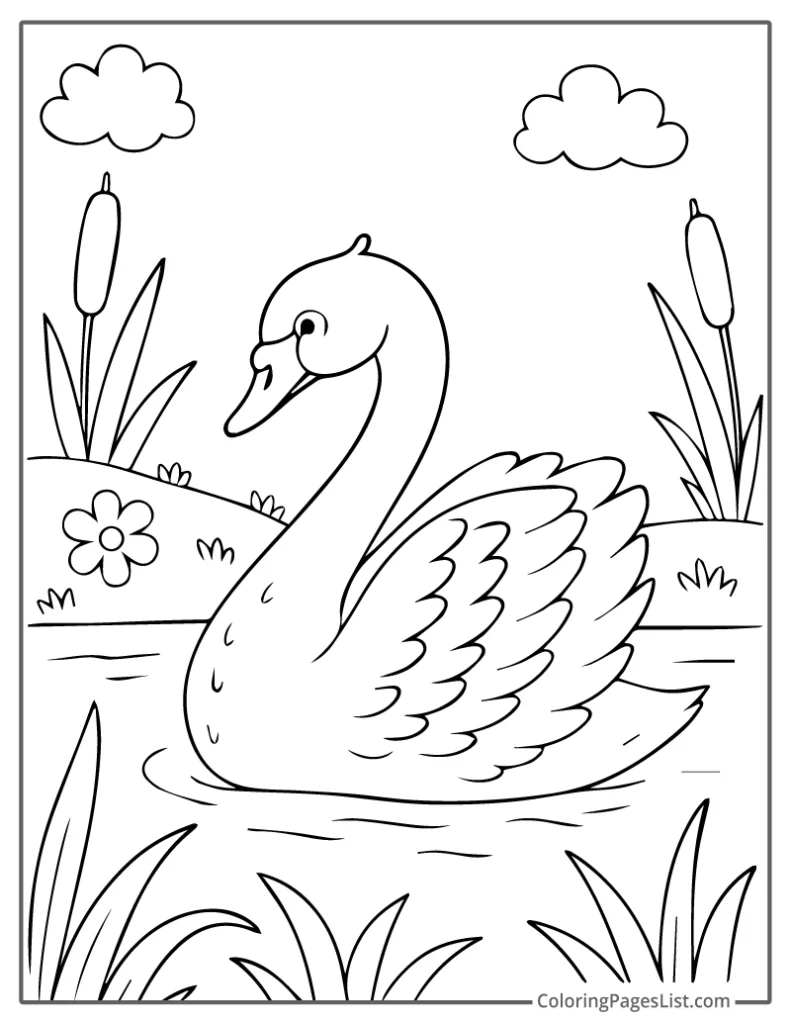
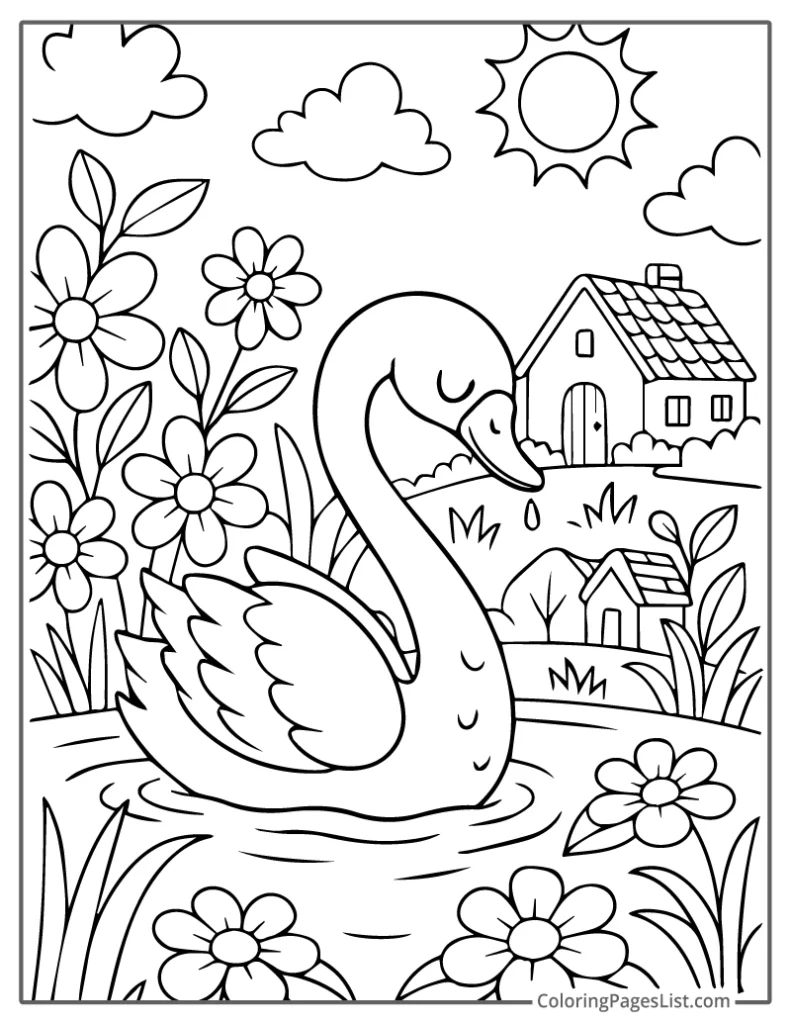
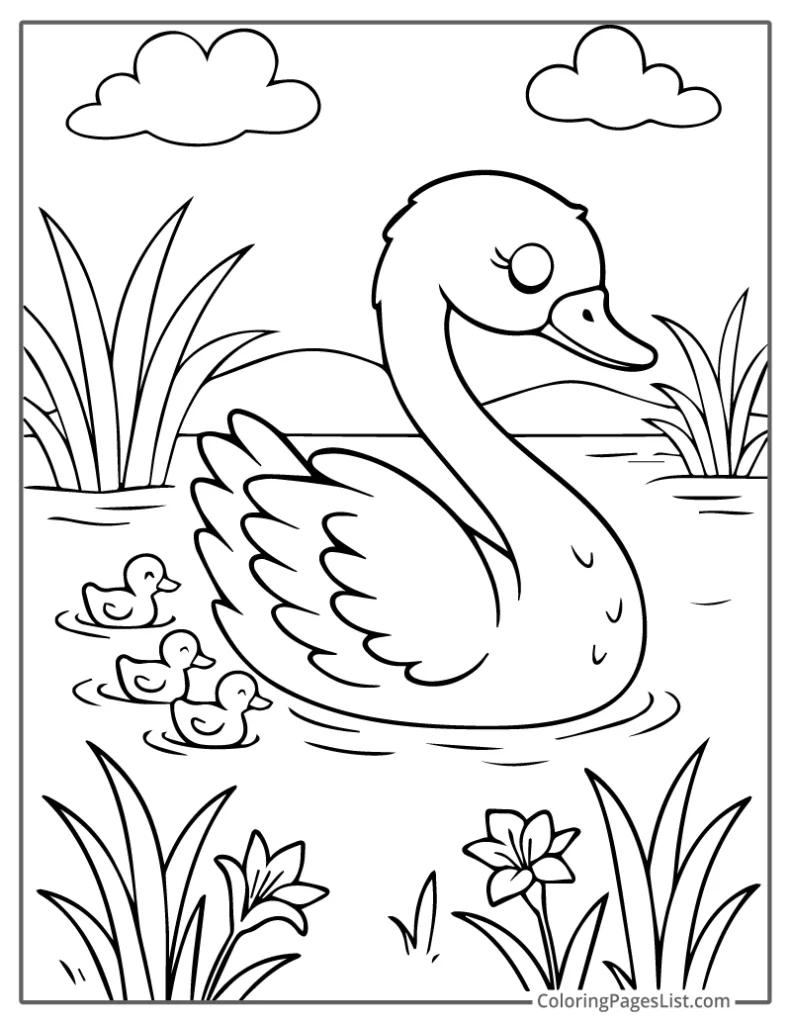
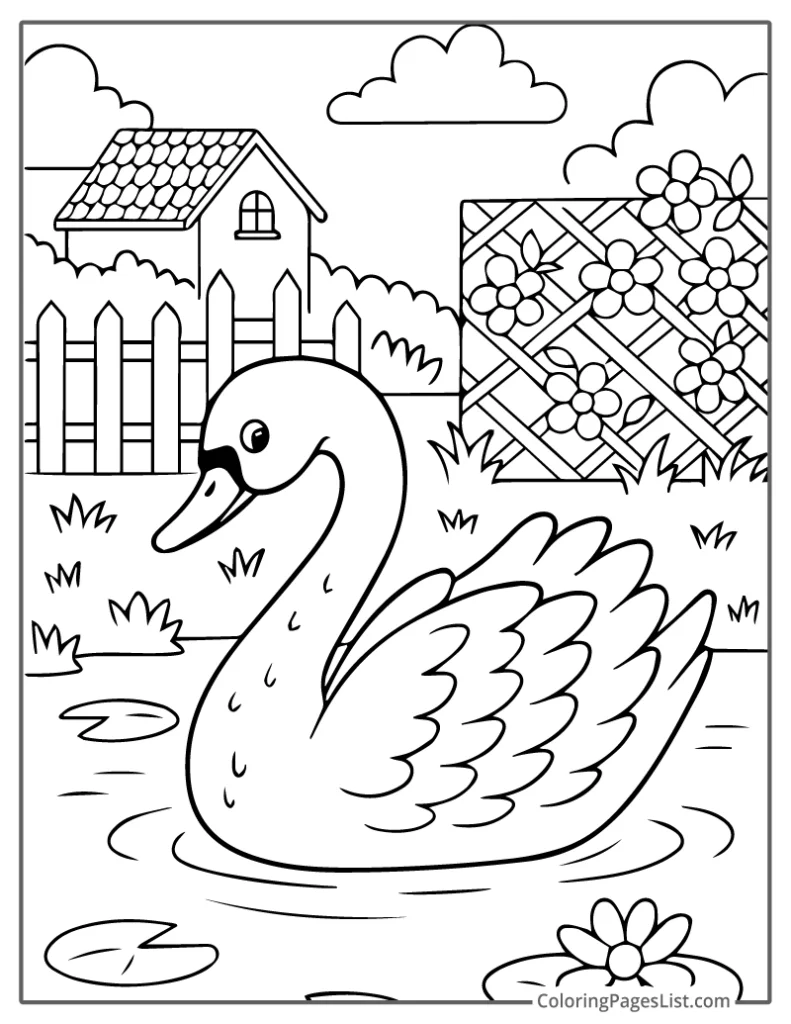
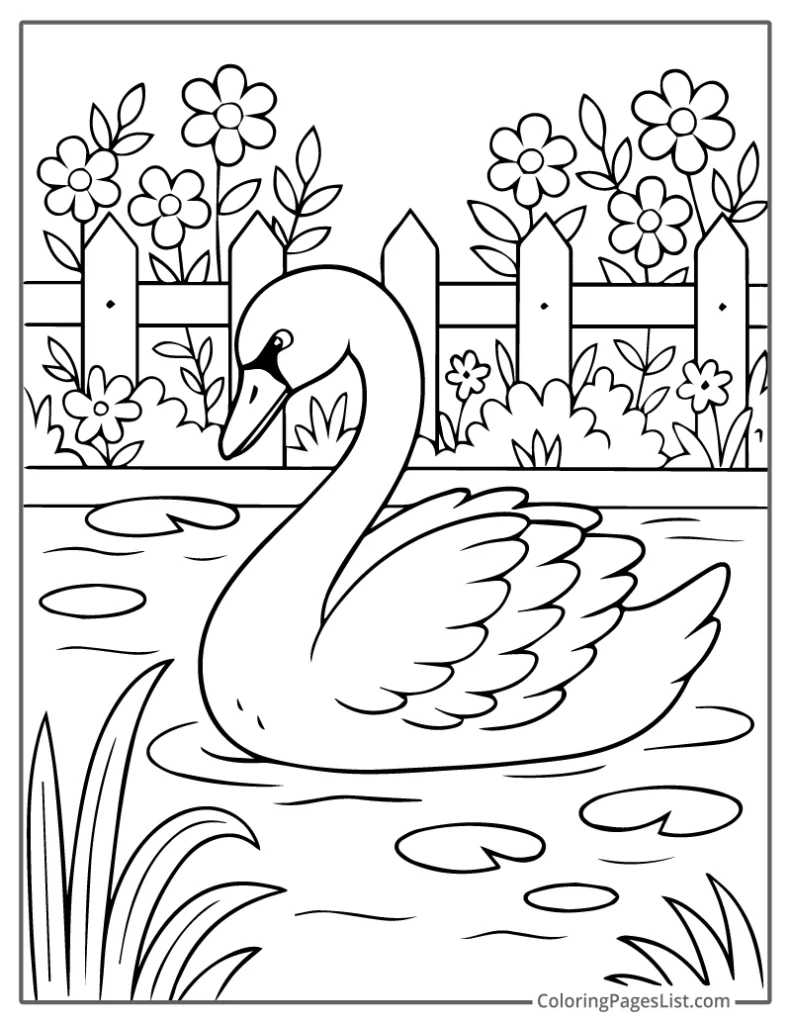
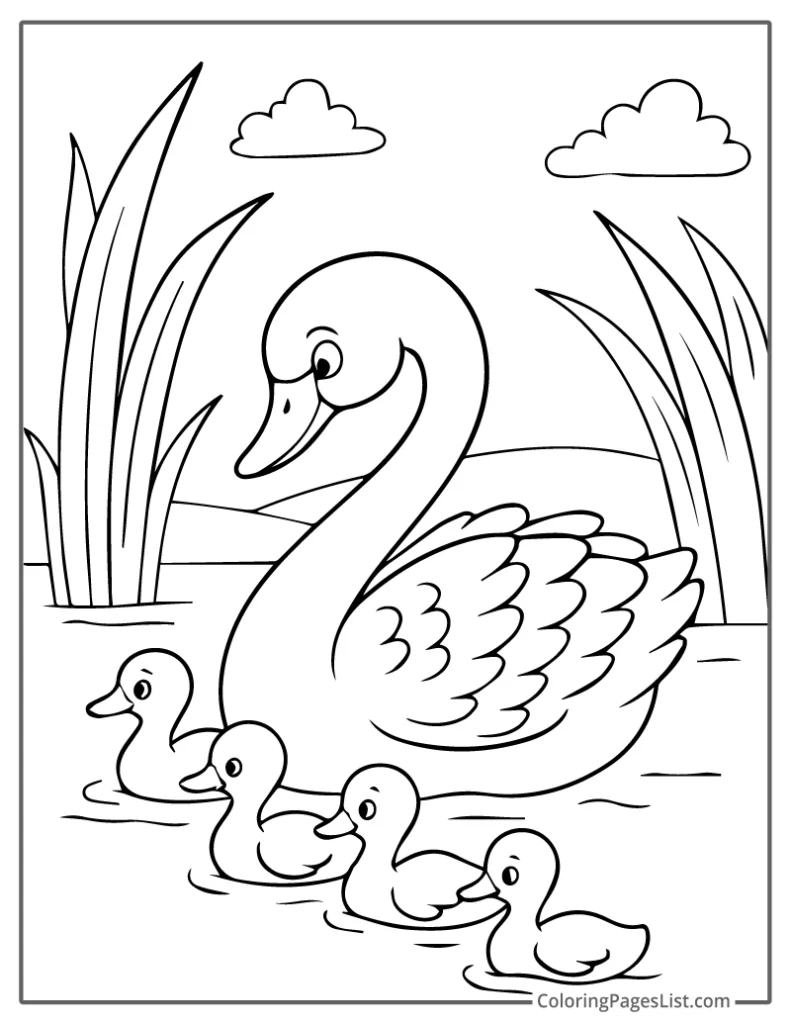
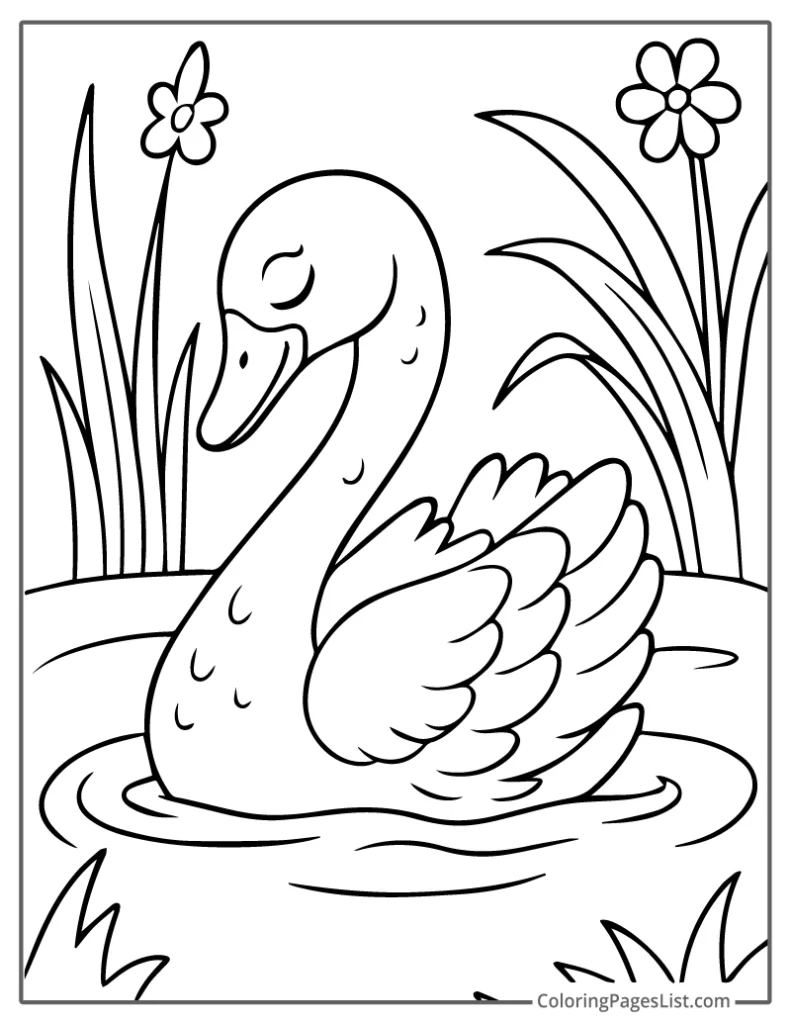
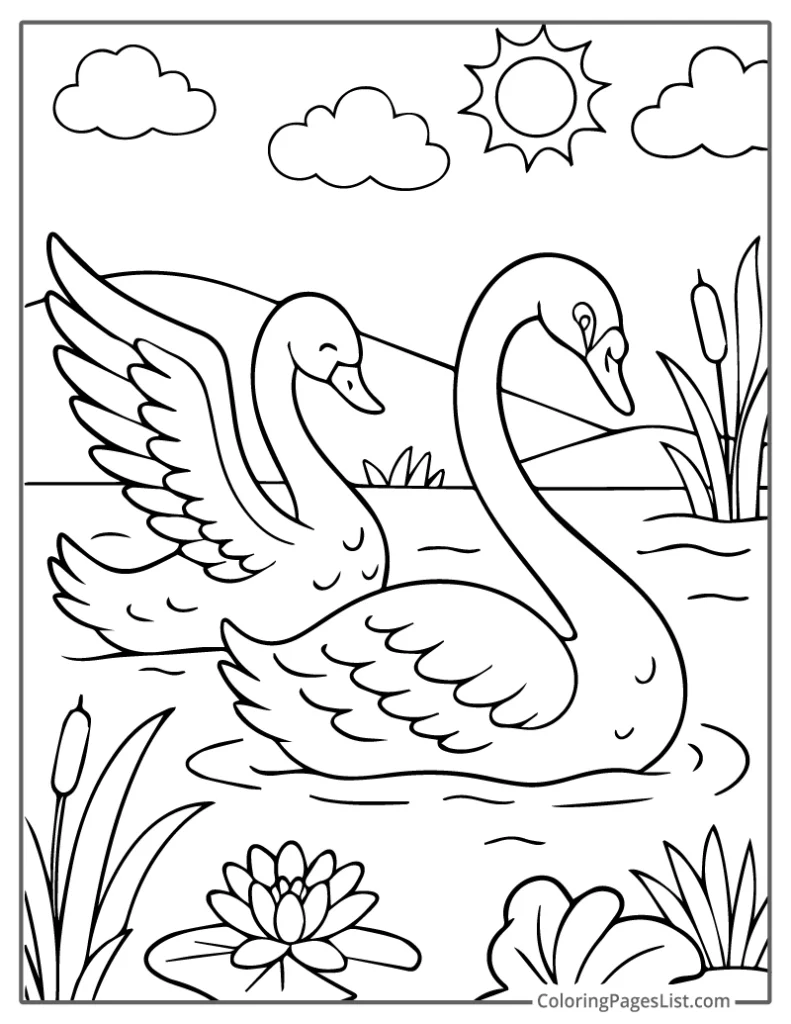
Let the gentle beauty of nature bring a little calm to your day with my lovely collection of 24 swan coloring pages, which are all free to download and print. Each one captures the graceful charm of these elegant birds, from their curved necks to the still, peaceful waters they drift through.
I illustrated a variety of swan scenes from romantic duos creating heart shapes on the water to fluffy baby cygnets tucked closely beside their graceful parents. Whether you’re a bird lover or simply enjoy the calming rhythm of coloring, these pages offer a peaceful escape into the natural world.
To start coloring, simply click on any image or link below to open the PDF in a new tab. You can print your favorites to color by hand or save them to your tablet for digital coloring.
Each page fits standard US letter-size paper and also prints well on A4. Take a deep breath, grab your colors, and enjoy the calm.
More Free Printable Coloring Pages
Looking for more coloring fun that kids of all ages will love and enjoy for hours? Don’t miss these amazing, playful, and engaging coloring page collections!
- Peacock coloring pages
- Hummingbird coloring pages
- Narwhal coloring pages
- Seahorse coloring pages
- Axolotl coloring pages
10 Crafty Ideas to do with Swan Coloring Pages
Here are 10 fun, budget-friendly craft ideas to turn your finished swan coloring pages into something extra special!
1. Swan on a Painted Lake
For this craft, you’ll need a piece of watercolor paper, some soft watercolors, and one of your favorite finished swan coloring pages.
First, let’s start with gently painting a lake scene, such as soft blues for the water, a hint of green along the shore, and maybe a touch of pink for the sky. You don’t have to worry about making it perfect because the softer and more blended, the better. Now, let it dry completely.
Then, cut out your swan and carefully glue it onto the painted background. The soft watercolors will make your swan pop, turning your coloring page into a beautiful piece of art that’s lovely to hang or give as a handmade gift.
2. Classic White Swan Paper
For the craft, you need to have white and black construction paper, orange paper (for the beak), a pencil and googly eyes, scissors, and glue.
To begin with, you will have to cut out the body of the swan from white paper in a teardrop shape. Use another strip for cutting out a long, curved neck.
Then add a black patch around the eye area. You can add the small orange triangle for the beak. Next, you’ll have to attach the head and neck to the body. Simply glue on a googly eye.
You can decorate the wings using feathers or layered white paper.
3. Paper Plate Swan Puppet
To make a swan puppet, you have to grab a paper plate, a popsicle stick, some glue, and your finished swan coloring page.
Firstly, cut out your colored swan and set it aside. Next, fold the paper plate in half to give the puppet a bit of structure, then glue the swan cutout to the front of the folded plate.
Then, attach a popsicle stick to the bottom as a handle. You can also glue on a googly eye or add a little paper crown for fun, or make it more interesting. Now you’ve got a swan puppet that’s perfect for storytelling or pretend play!
4. 3D Swan Paper Sculpture
For a striking 3D look, you’ll have to use White cardstock or thick paper. Also, carry scissors and glue as well as a stapler.
To begin with the craft, simply fold a piece of cardstock in half. Now, cut out a swan silhouette.
Using the scissors, cut feather-shaped strips and curl them slightly.
The next step to follow is to glue or staple the feather pieces along the swan’s body so that you can attain the fluffy look.
You’ll have to fold the neck and wings slightly outward to get the desired 3D effect.
5. Cotton Ball Swan
For this craft, you’ll need a few cotton balls, some glue, and your finished coloring page. If you’ve been working on any of my swan coloring pages, this is a fun way to bring them to life with a bit of texture.
Firstly, take your finished or partially colored swan and start gluing small pieces of cotton onto its body. Next, gently pull the cotton balls apart so they’re a bit fluffy and easier to layer.
Start from the back and work your way forward, overlapping the cotton pieces to give your swan a soft, feathery look. Then, once the body is covered, color in the beak, eye, and background however you’d like.
It’s a simple craft, but the cotton texture adds a lovely, cloud-like feel to your swan!
6. Swan Mask Craft
If you’re looking for the perfect craft for pretend play and performances, it would be great to stay prepared with white cardstock, black and orange markers or paper, scissors, and elastic string.
The first step is to cut a large mask shape to cover the face, with enough space left for the swan neck above. Next, you need to cut out eye holes and decorate the mask with feathers or paper frills.
Now, simply add a beak using orange paper. Finally, you will have to attach an elastic to wear as a mask.
7. Leaf Wing Swan
For this craft, you’ll need your finished coloring page, a few small leaves (real or paper), and some glue.
First, you have to collect some small, flat leaves because these will become your swan’s feathers. You can use green leaves, or dried brown ones for a more earthy look.
Now, let’s start gluing the leaves onto the swan’s wing area, slightly overlapping each one like real feathers. Work from the tail up toward the top of the wing, layering as you go.
Once the wing is filled in, finish coloring the rest of your swan and the background. The natural texture adds a beautiful, handmade touch to your finished page.
8. Crumpled Paper Swan Feathers
For this craft, choose your favorite swan coloring page where the body takes up good space, something like the “Elegant Swan on the Lake” or “Simple Swan for Kids” works well.
Then, tear or cut white paper (or pastel shades) into small squares; they don’t have to be perfect. Then gently crumple each piece into a loose ball.
Using glue, press the crumpled paper onto the swan’s body, filling it in completely. You can layer them to look like fluffy, three-dimensional feathers.
Finish by coloring in the beak, eye, and background. The crumpled paper gives your swan a playful, textured look that kids especially love!
9. Floating Swan Window Hanger
You’ll need some clear plastic (like from a packaging box or a report cover), one of your printed swan coloring pages, glue, and string.
First, color in your swan and carefully cut it out. Next, cut a piece of clear plastic into a circle or oval shape because this will act as your window frame.
Then, glue your swan gently onto the center of the plastic, then use blue markers or paint to add ripples around it to give the look of water. You can even add small paper lily pads or glitter to mimic sunlight.
Punch a small hole at the top, tie some string, and hang your scene in a window where the light can glow softly through the background colors.
10. Button-Feathered Swan
Gather a handful of buttons in different sizes and shades, like white, pearl, or even pastel colors work beautifully for this project.
Firstly, start with gluing the buttons onto the swan’s body to create a fun, textured feather effect. Then, you can place the larger buttons toward the back and the smaller ones near the neck for a layered look.
If you’d like, add a few extra buttons to the pond or sky to give your scene more personality and to make it more interesting.
Once it’s complete, let everything dry and display your swan art somewhere it can shine – it makes a lovely handmade decoration!

