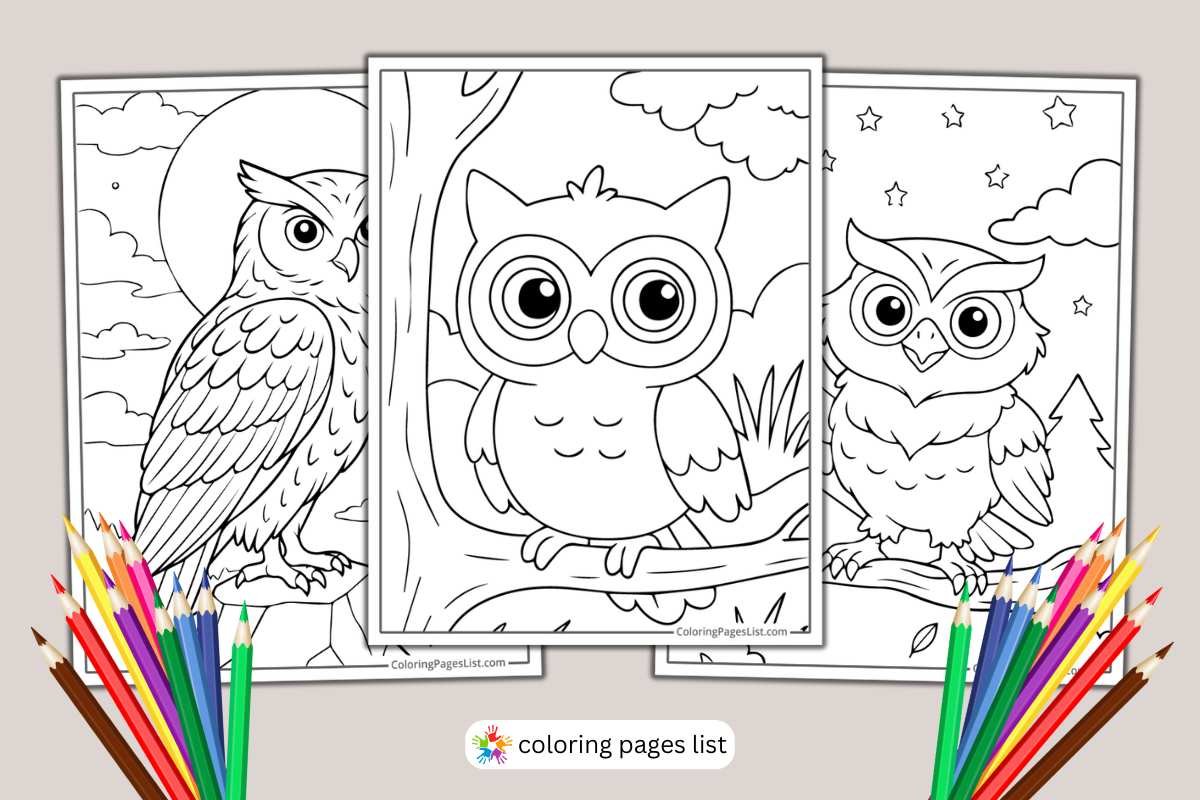
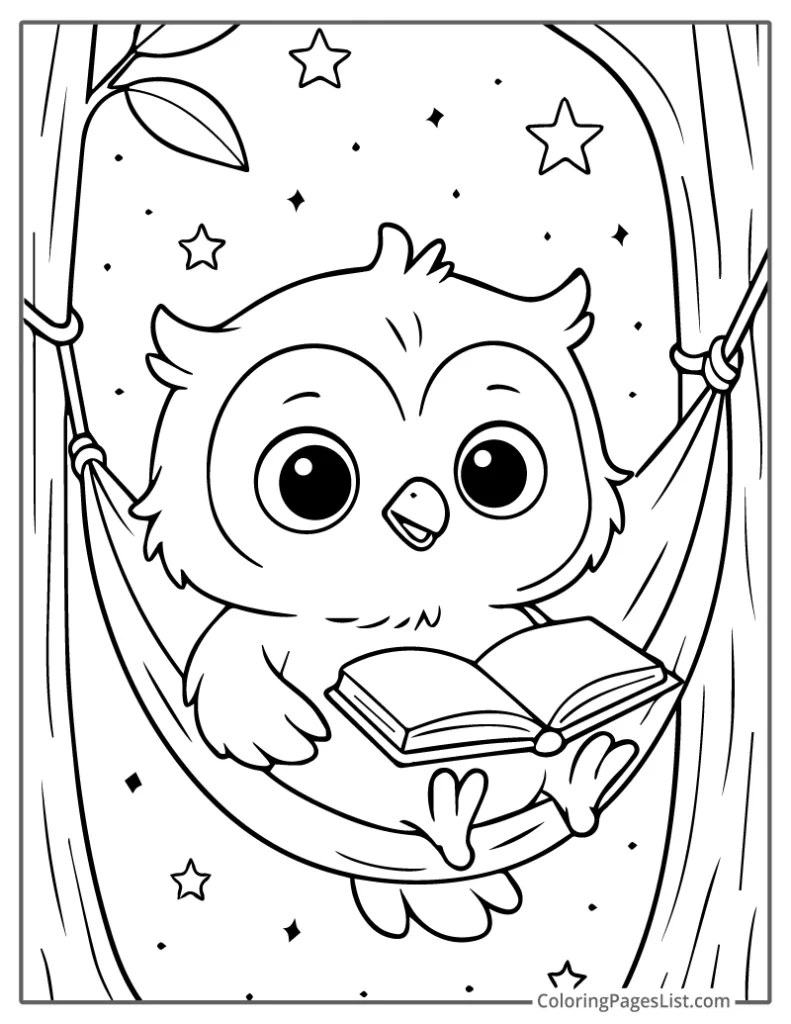
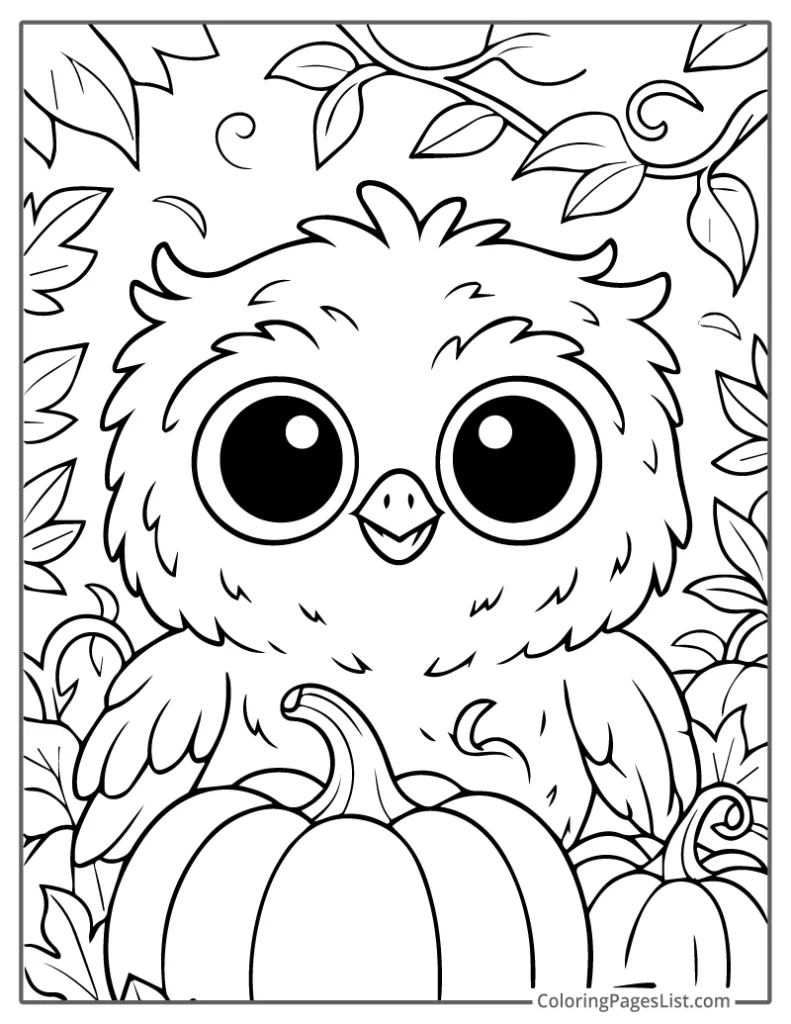
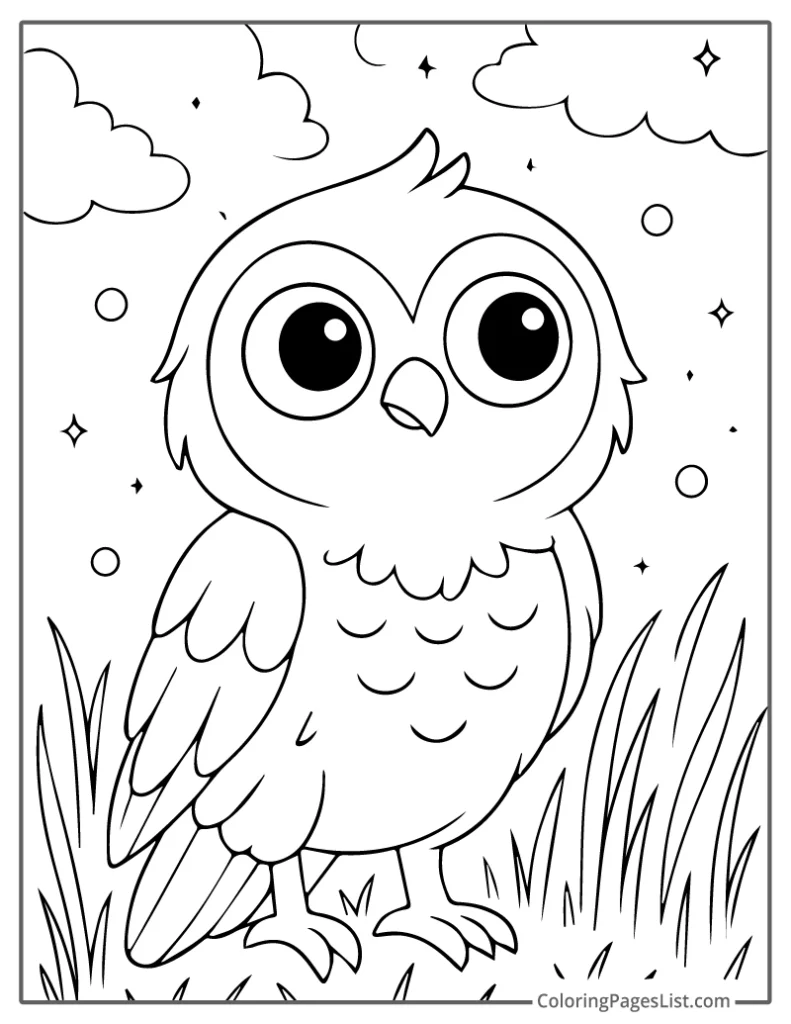
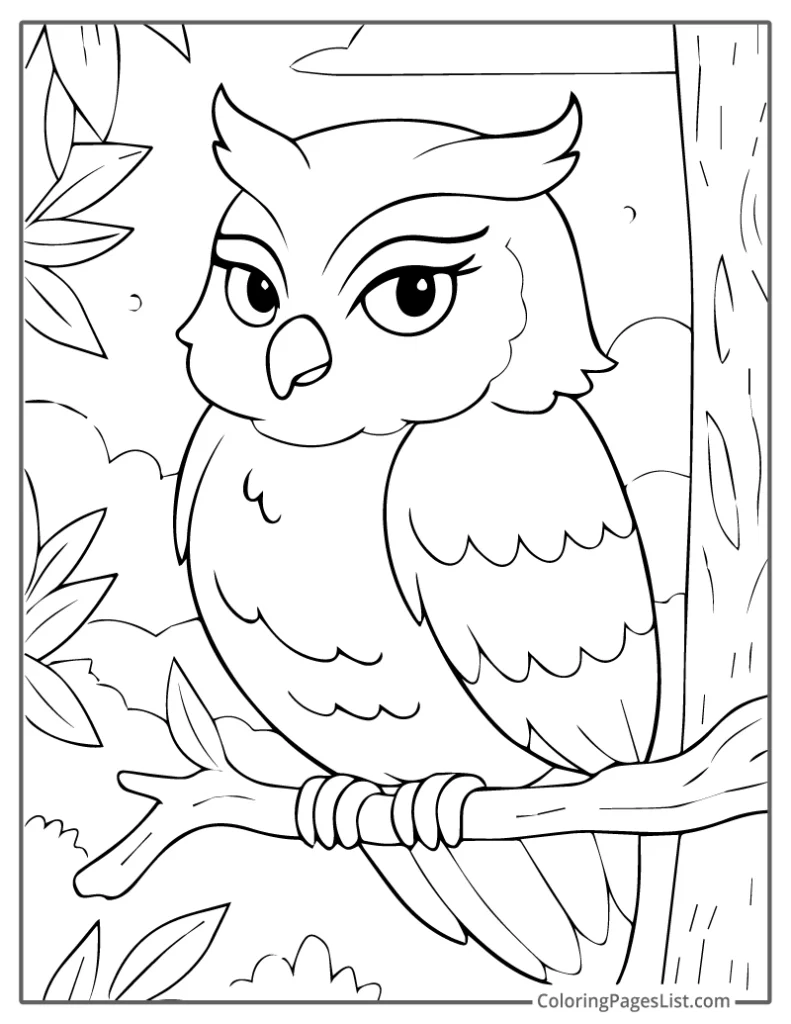
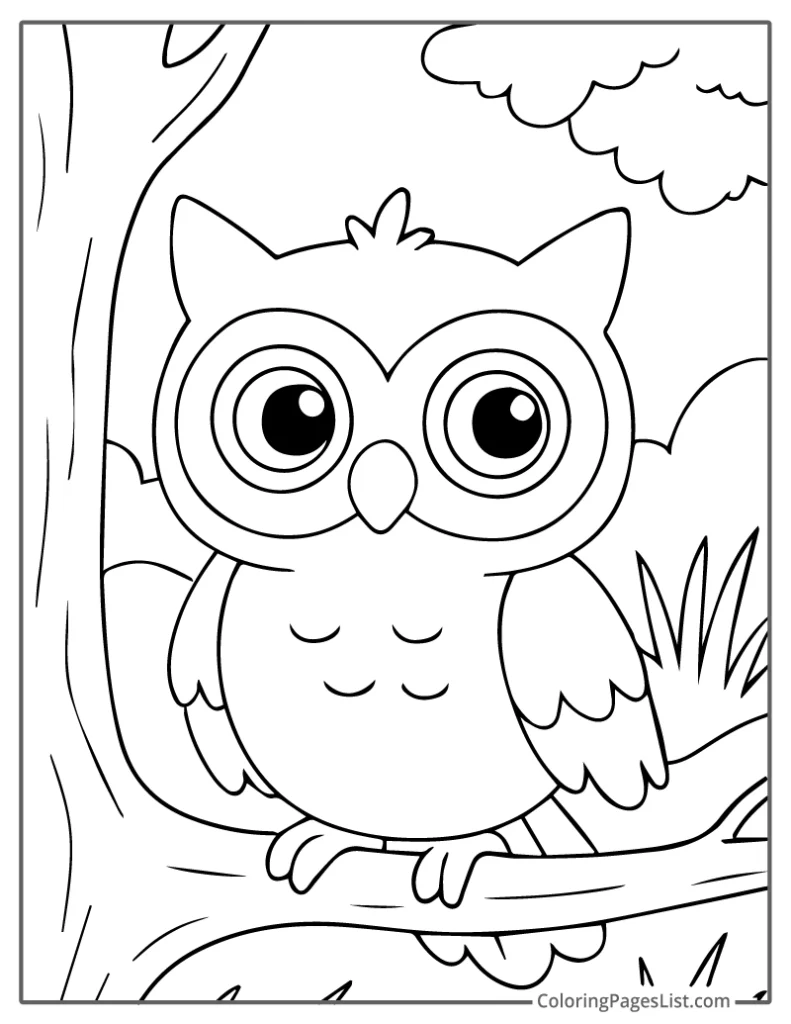
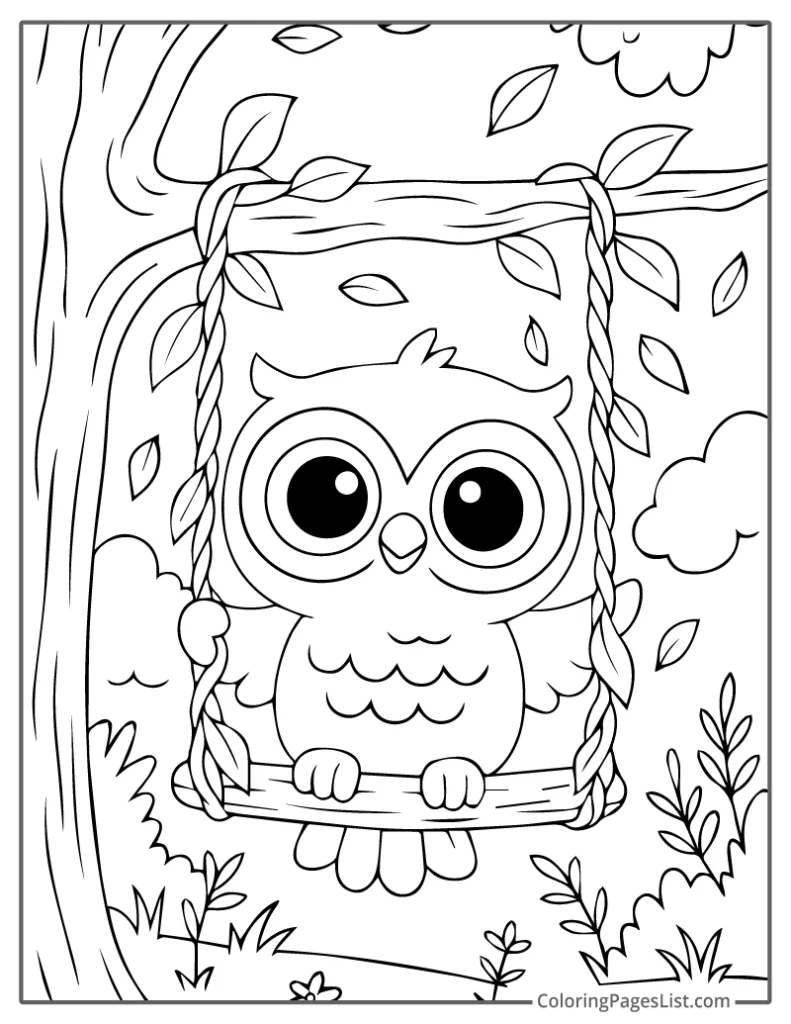
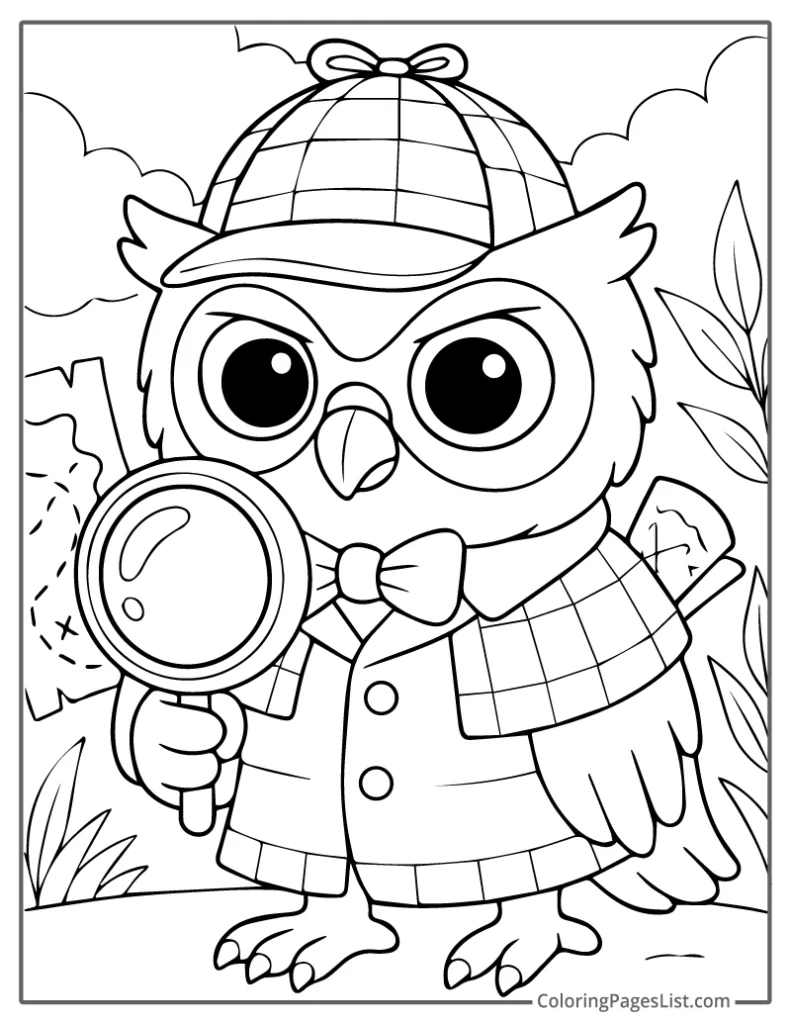
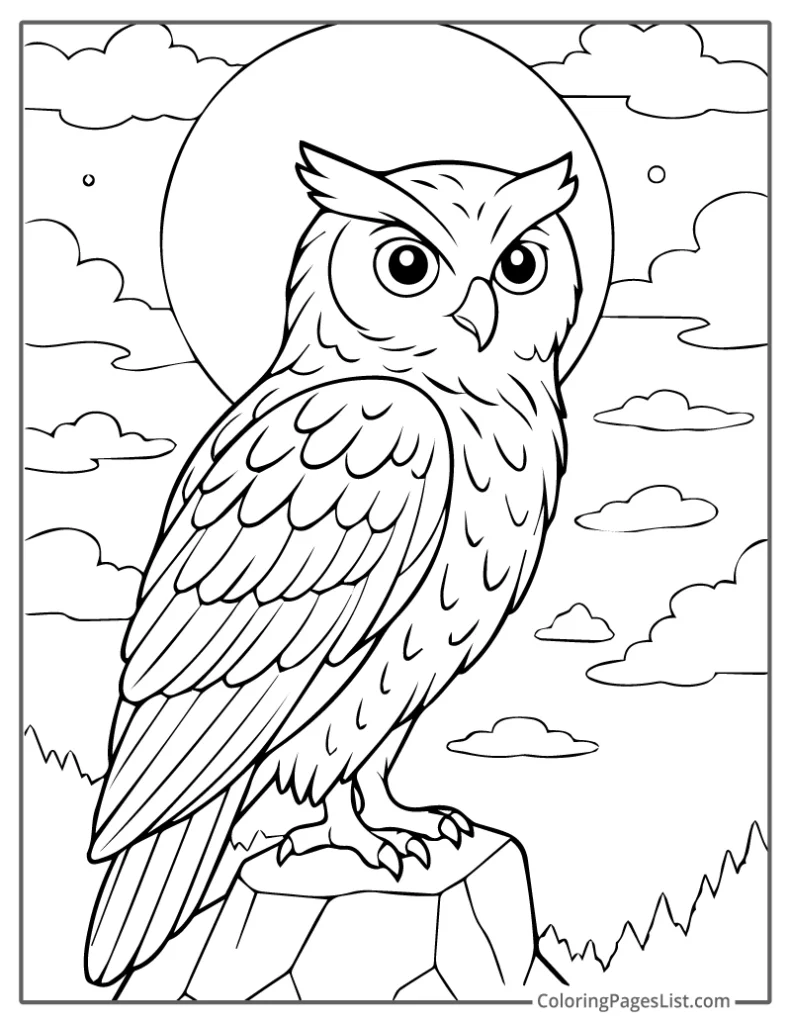
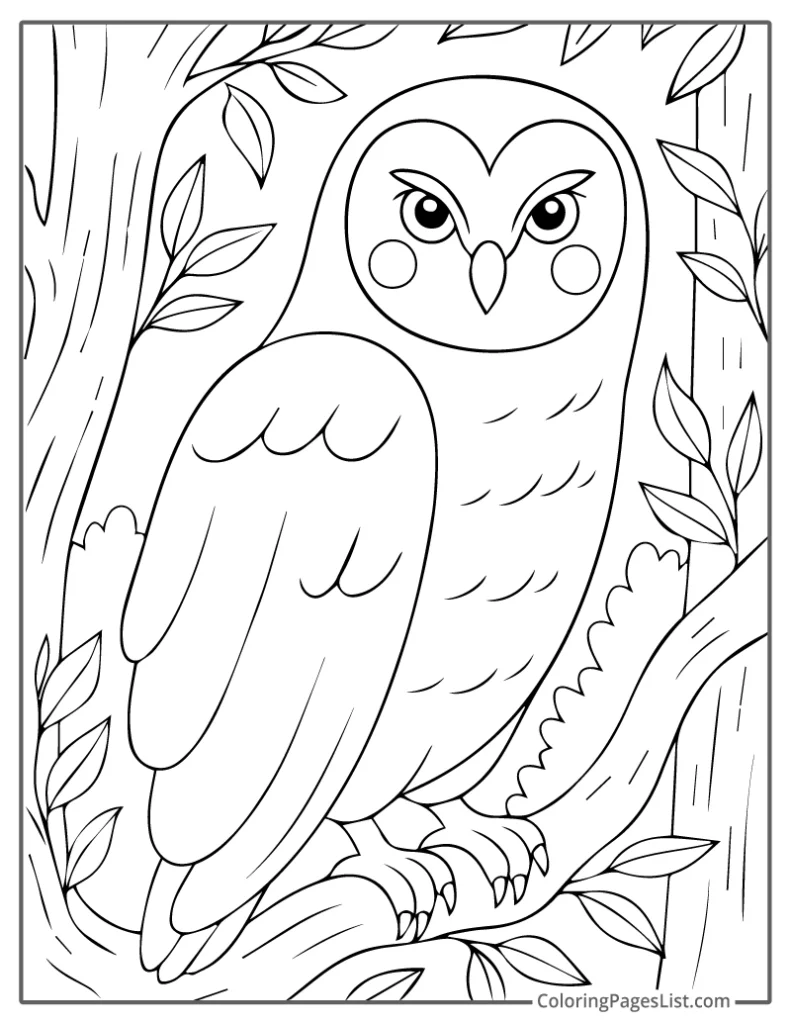
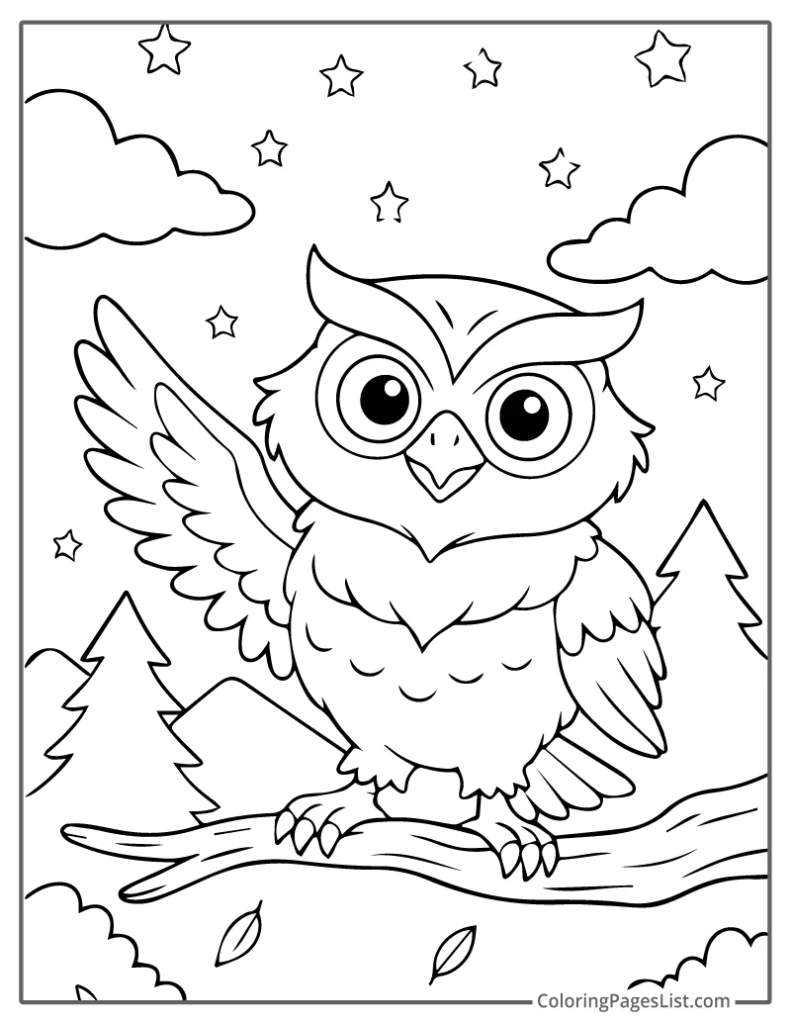
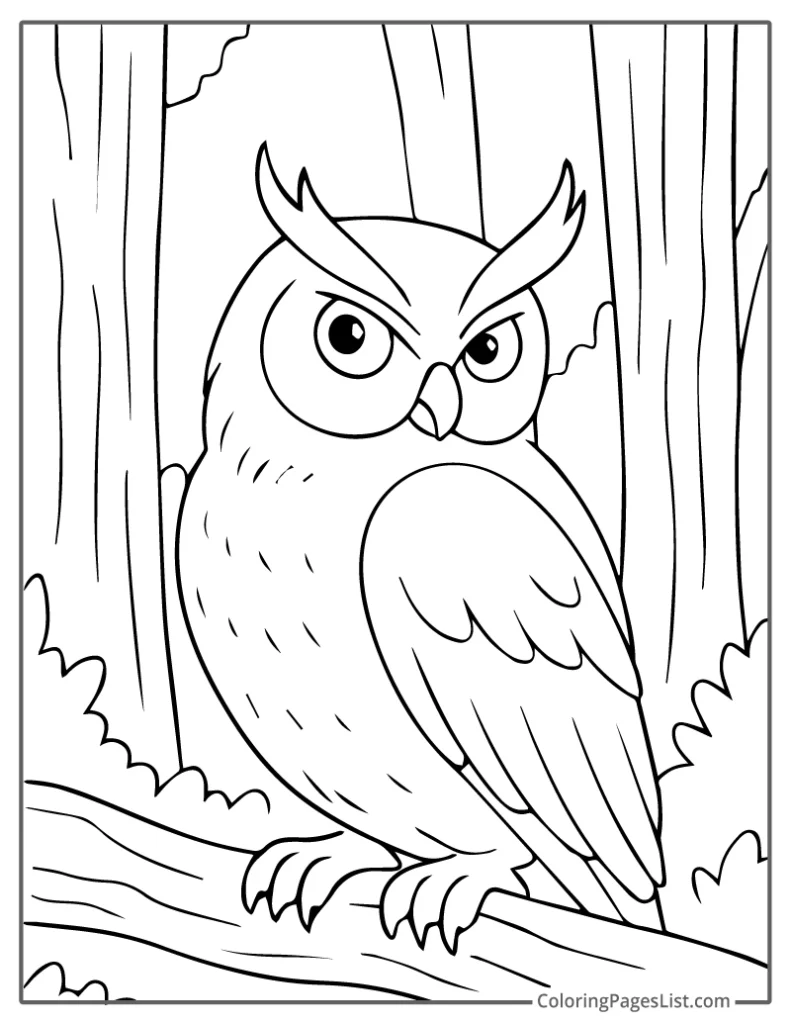
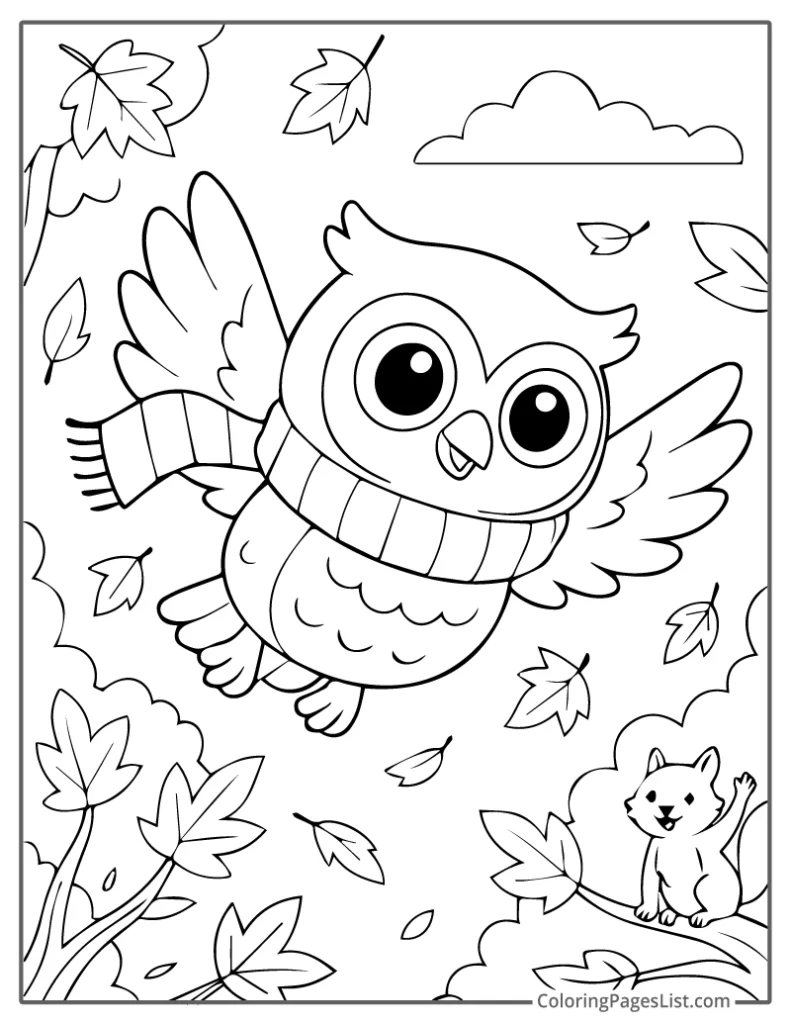
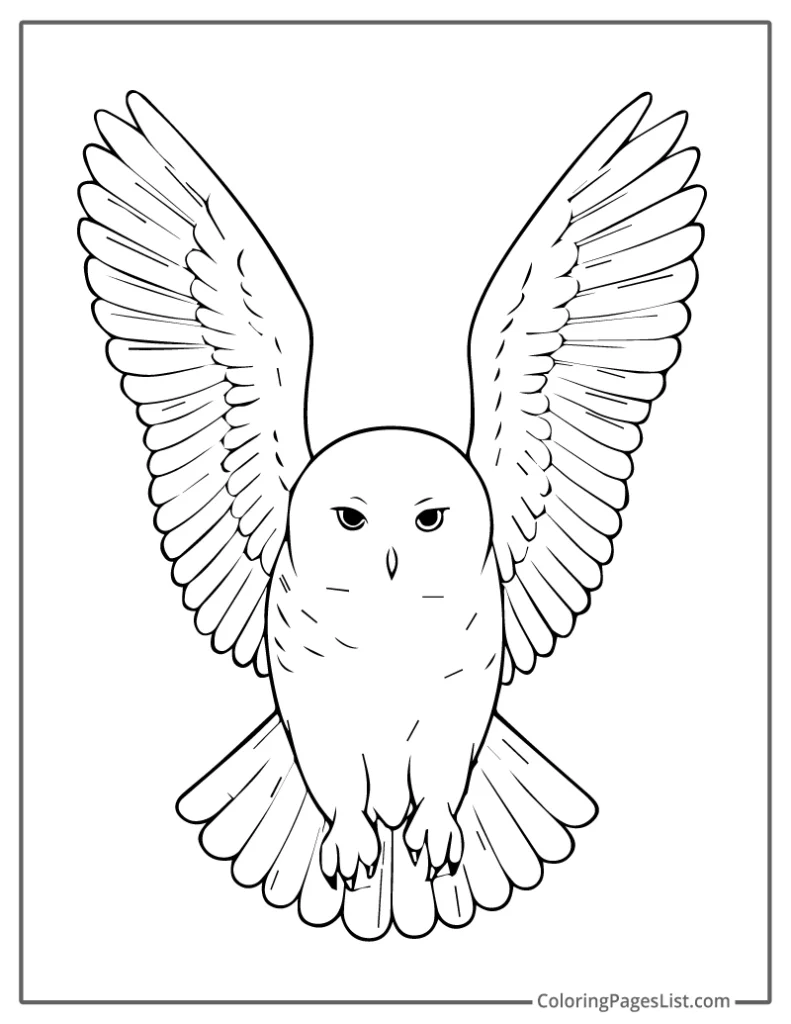
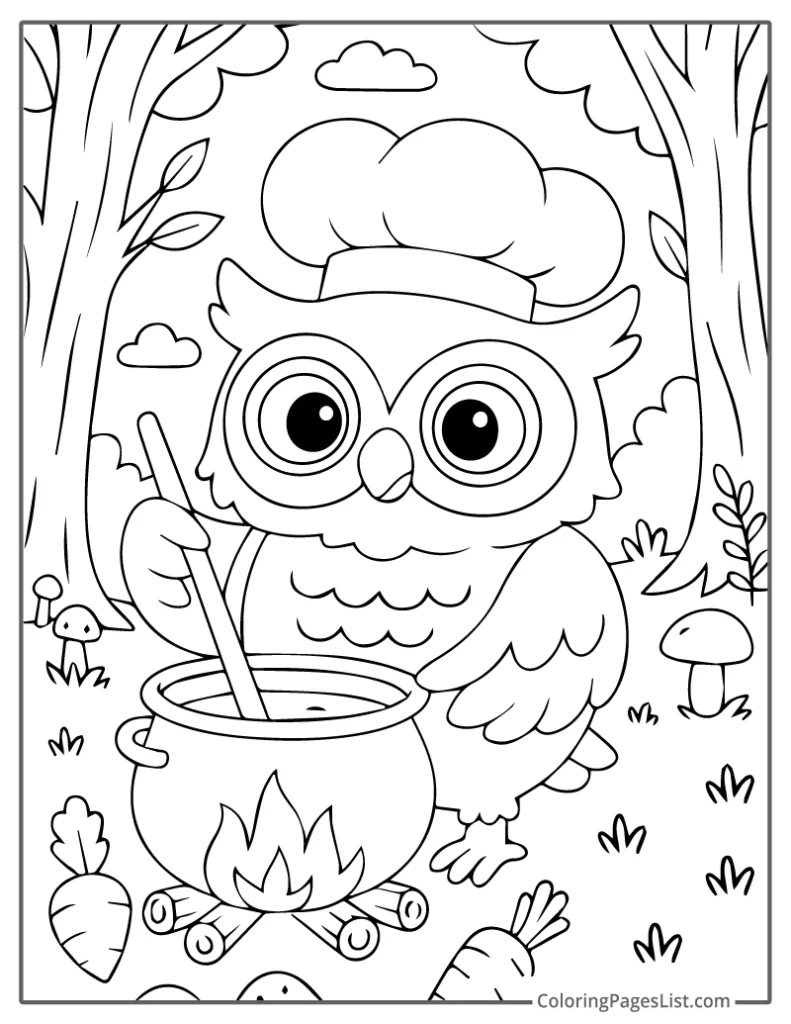
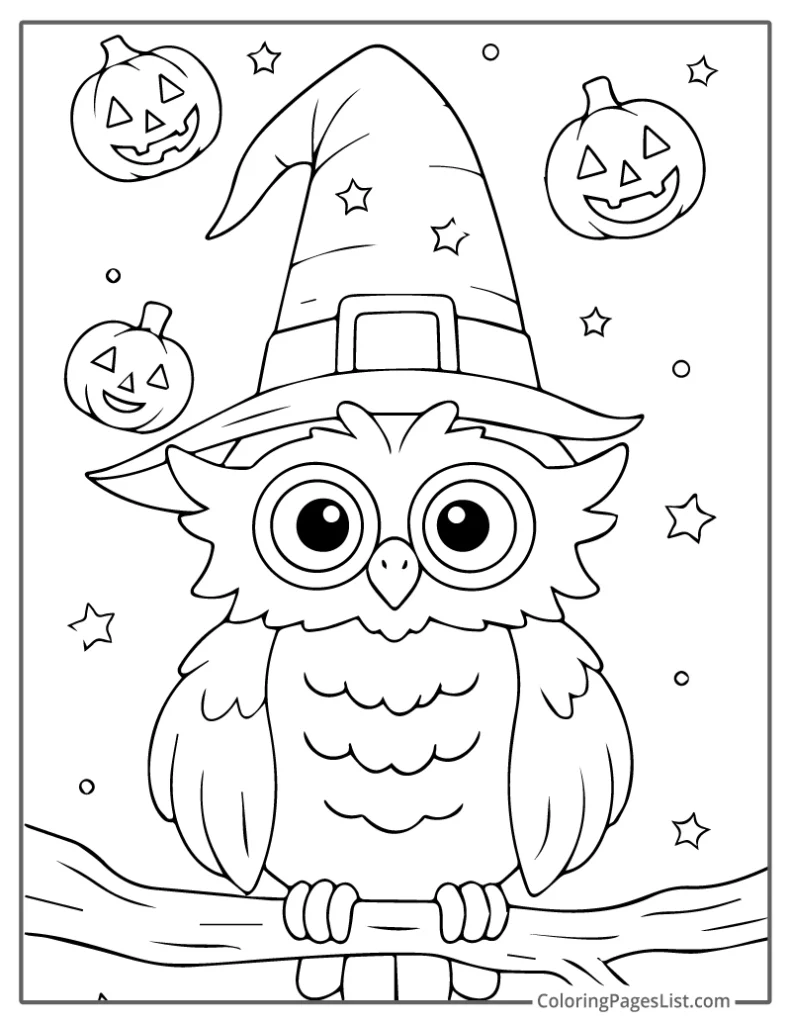
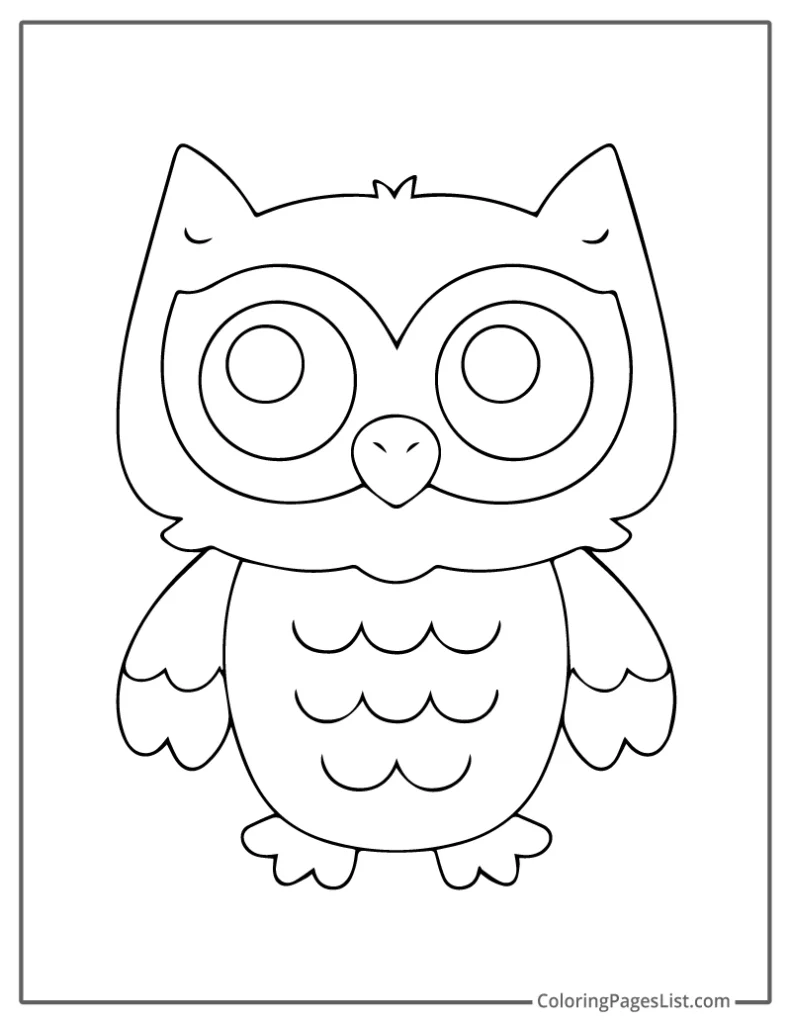
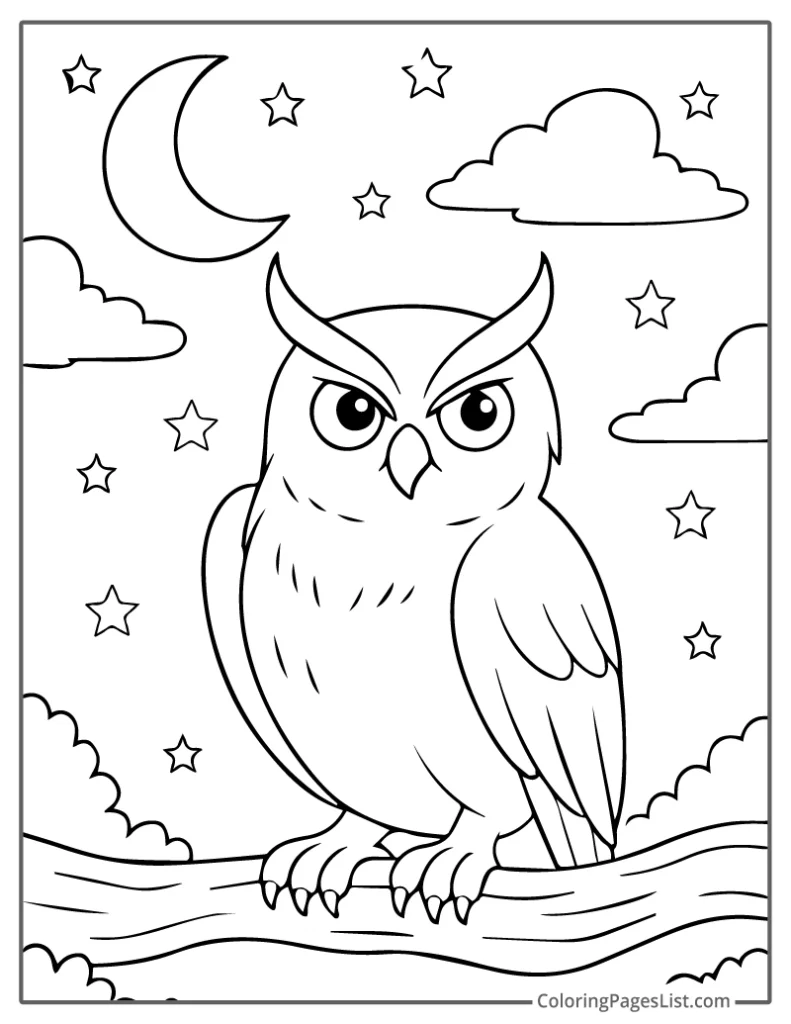
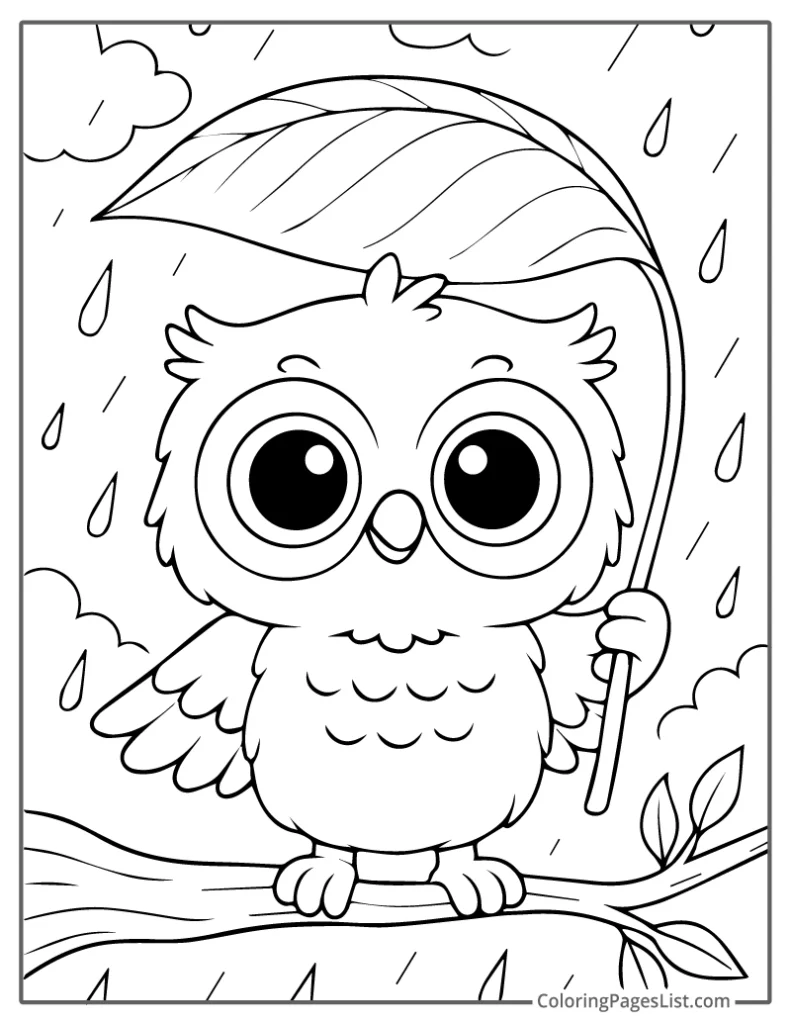
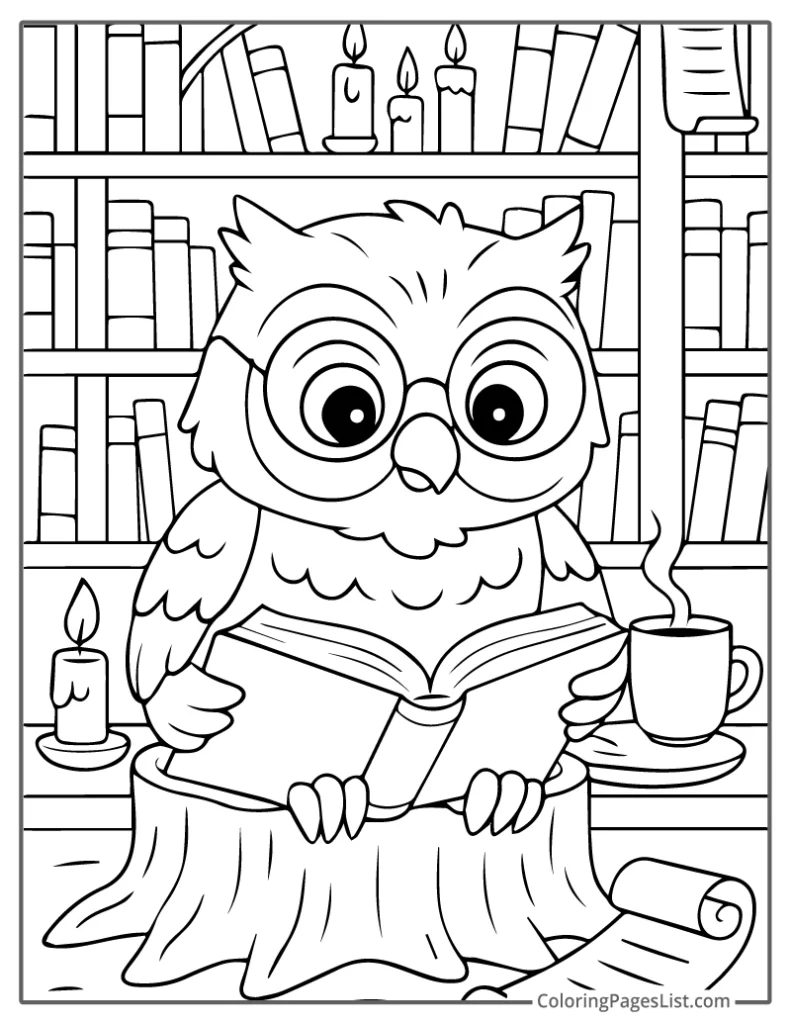
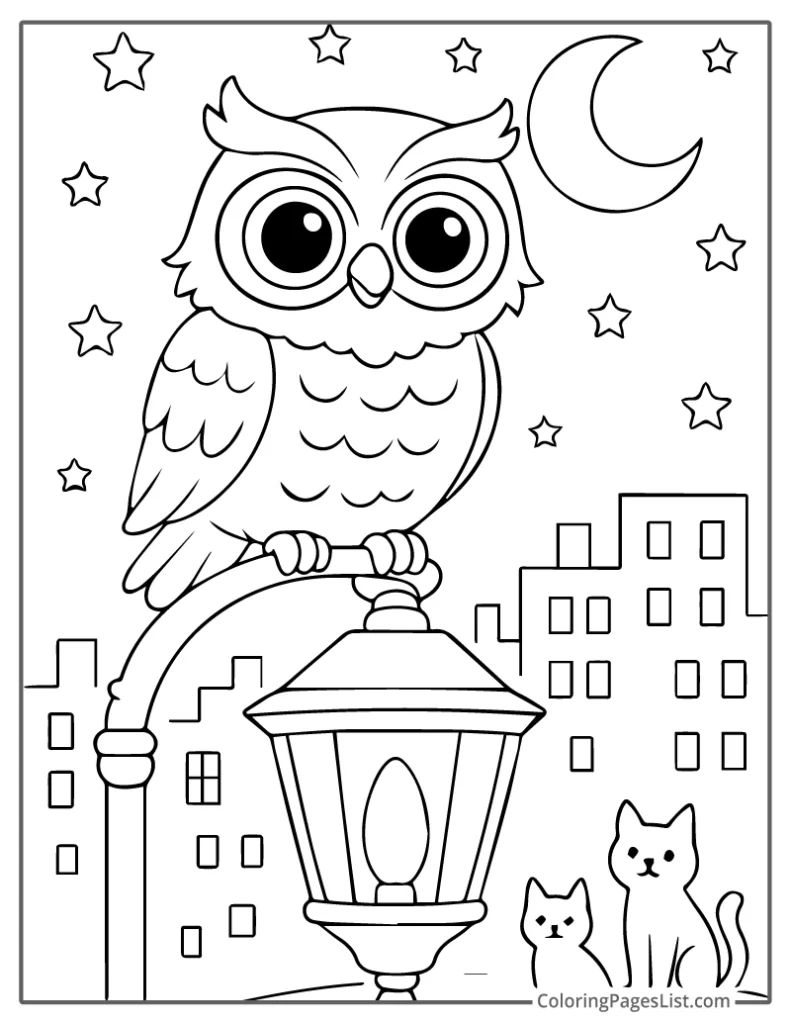
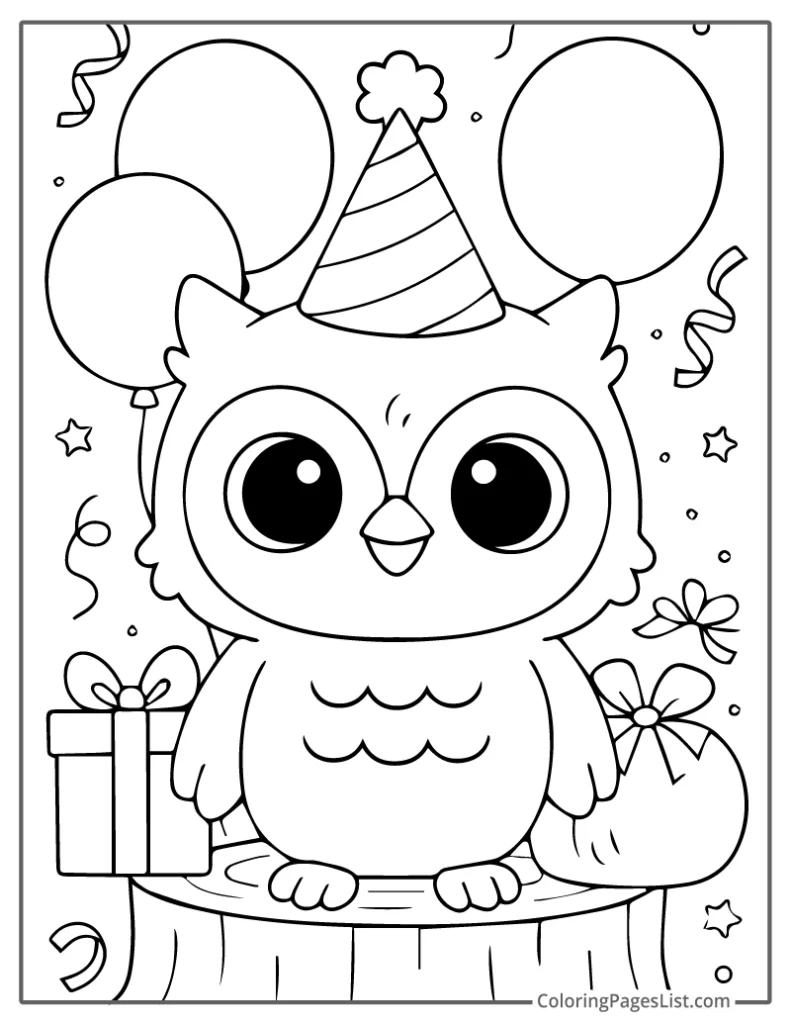
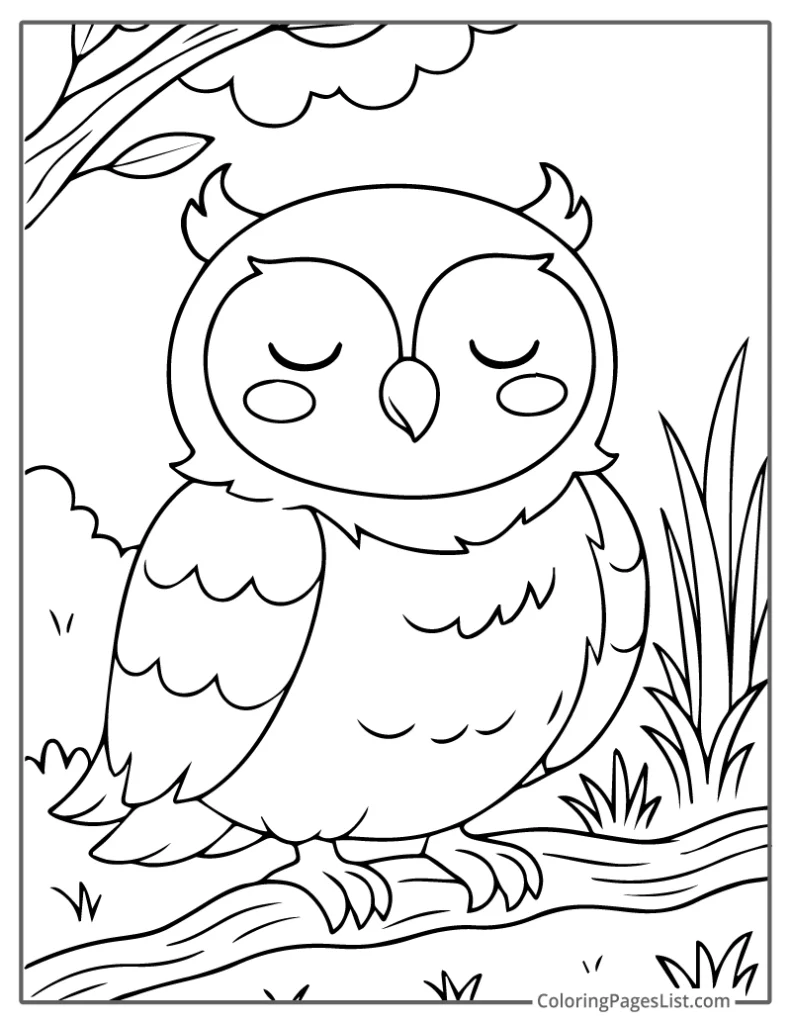
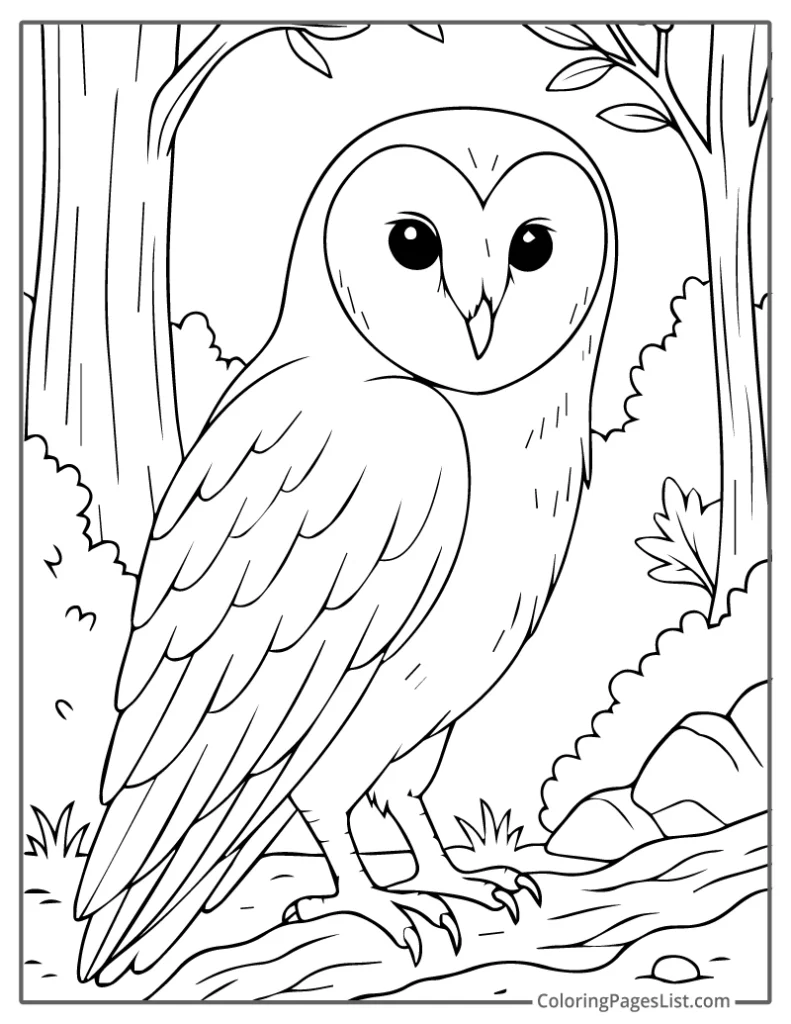
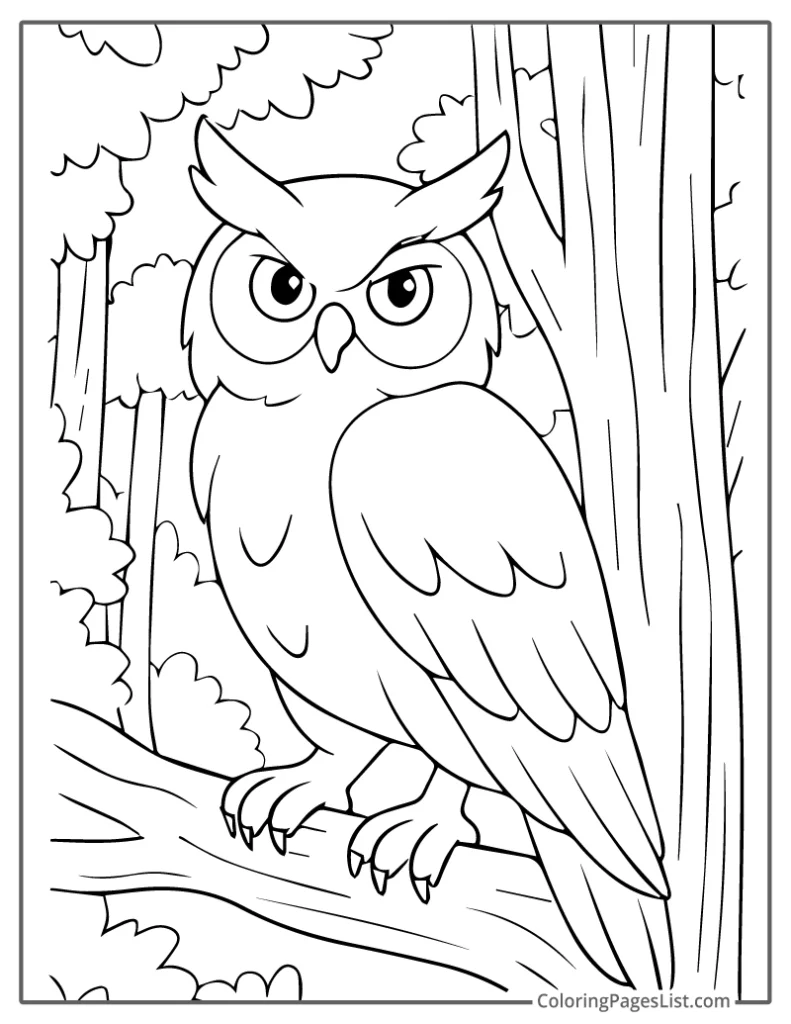
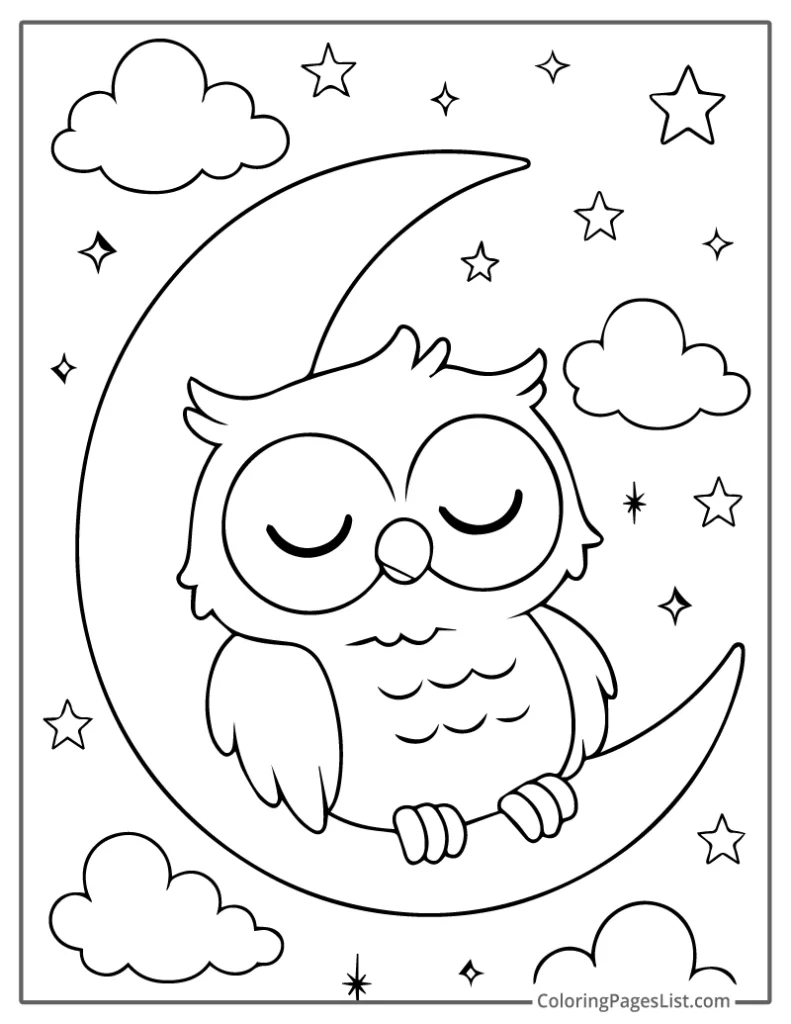
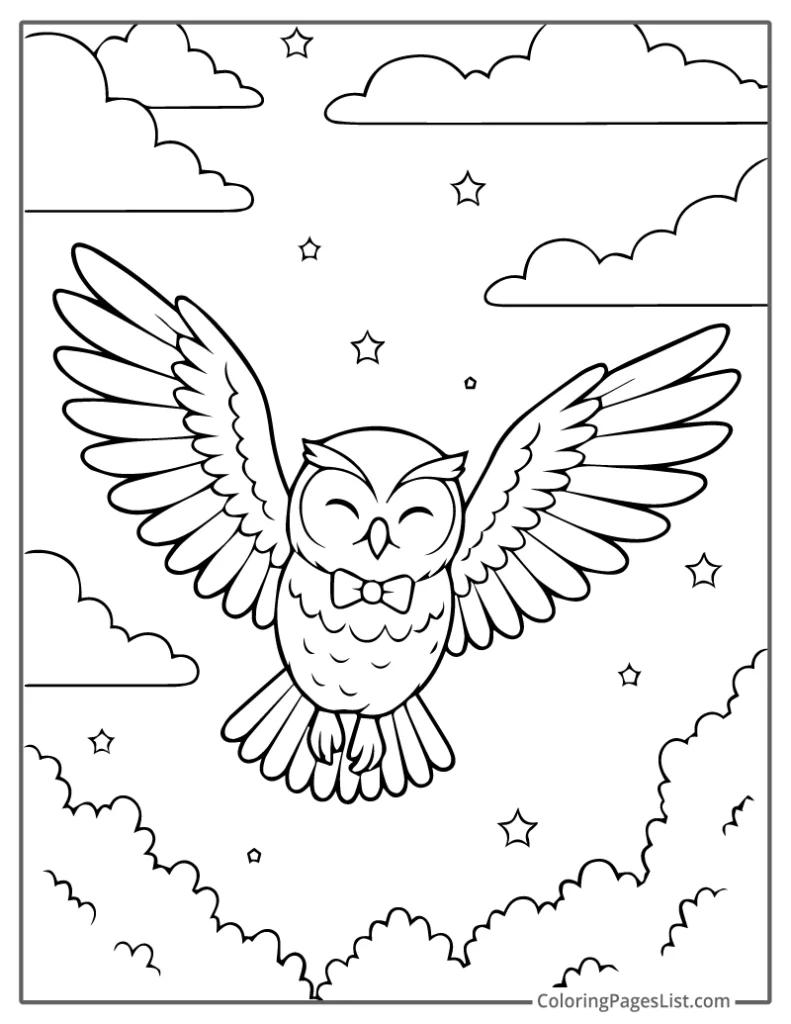
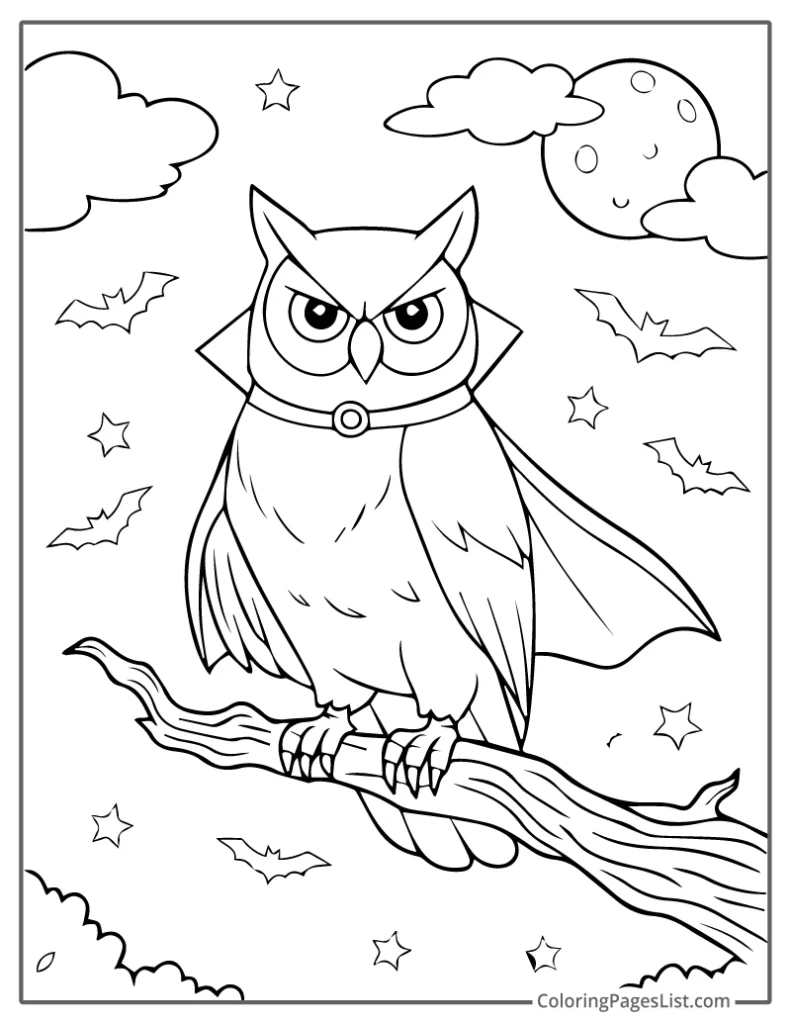
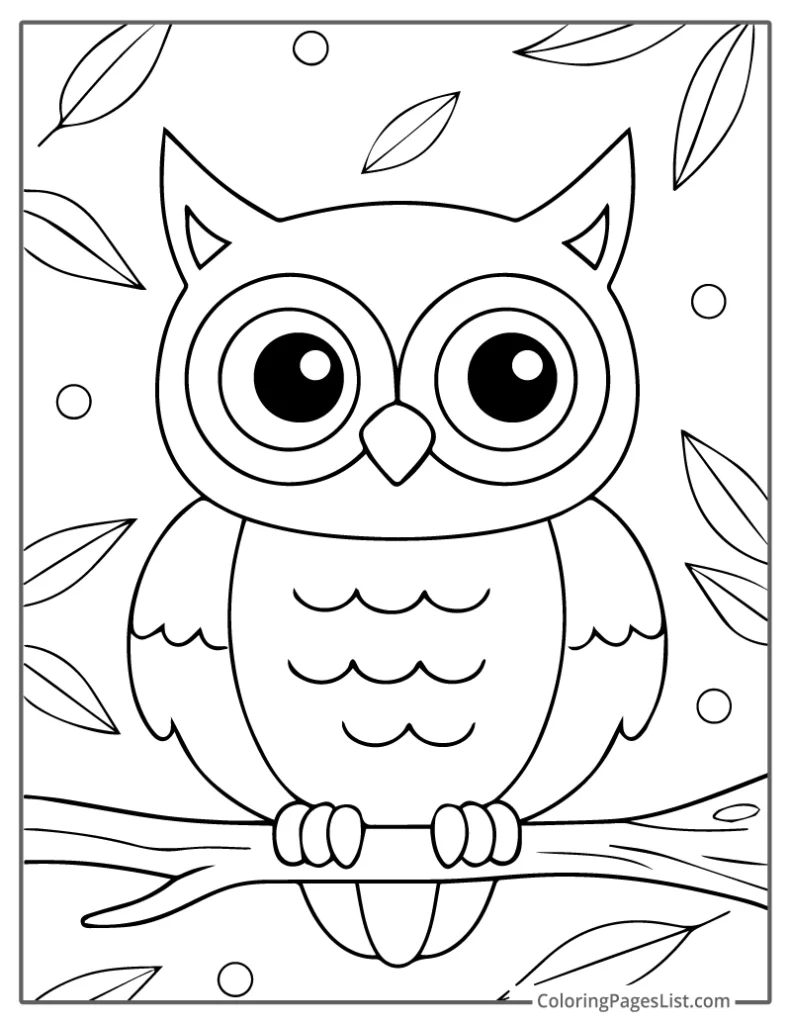
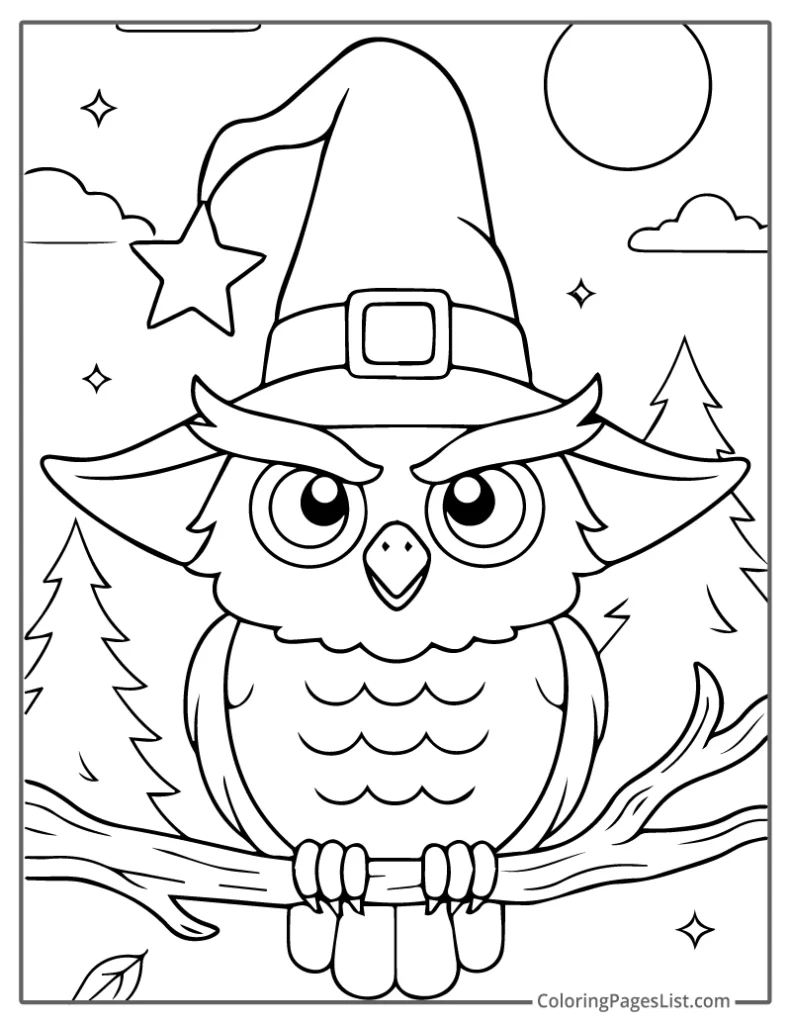
I had a lot of fun putting together these 32 owl coloring pages, and I’m happy to share them here for anyone who’d like to print and enjoy them. They’re all completely free to download, and there’s a little something for every age and mood.
Some are simple and easy for little hands to color, while others are more detailed and relaxing for older kids or even adults. There are owls perched on branches, Halloween owls, owl mandalas, and a few inspired by real species. My kids also asked for a Hedwig page, so you’ll find her here too.
We’ve used these for quiet afternoons, little classroom displays, and even as decorations during a barnyard-themed party. They’re easy to turn into wall art or just a sweet moment of calm.
Each page is made for standard US letter paper, and they also fit nicely on A4. I hope you enjoy coloring them as much as we did.
More Free Printable Coloring Pages
Looking for more coloring fun that kids of all ages will love and enjoy for hours? Don’t miss these amazing, playful, and engaging coloring page collections!
- Halloween coloring pages
- Haunted House coloring pages
- Harry Potter coloring pages
- Jack-O-Lantern coloring pages
10 Crafty Ideas to do With Owl Coloring Pages
If you’re looking for a few gentle craft ideas to try after coloring, here are 10 simple ways to turn your owl coloring pages into something a little more special.
1. Owl Keepsake Plate
We made this one day with a leftover plate and it turned out nice.
Just pick an owl your child likes, print it out, and let them color it. Then cut around the owl and make sure it fits the plate. You should make it smaller before printing.
Once the plate is clean and dry, brush on some Mod Podge, place the owl on, and gently smooth it down. Add another layer or two over the top and let it dry completely.
Now we use it to hold little things like keys or hair ties. It’s simple, but it feels special because they made it.
2. Owl Window Frame
This one works nicely if you have a few owl pages already colored and want to turn them into a soft display.
Start with a sheet of cardstock or thick paper. Use a ruler to draw a simple window shape — just four squares like a windowpane. Cut out the center of each square so that the paper looks like a frame.
Behind the frame, glue different owl drawings in each section. They can be full owls or just faces. Let your child decide which ones they like best.
Once everything is glued down, you can hang it in the window or tape it to a sunny spot on the wall. The frame makes it feel finished, and it turns their coloring pages into something they can look at and feel proud of.
3. Owl on a Real Branch
This one is fun to start outside. We went out into the yard and picked up a few small branches. Something about gathering the sticks made the craft feel more special.
After that, my child picked an owl coloring page, colored it in, and cut it out. Then we glued the stick onto a piece of construction paper. You can turn the paper anyway — portrait or landscape both work fine.
To make the owl pop out a little, we folded a small piece of paper like an accordion. One end got glued to the back of the owl, and the other to the paper. That way, when we placed the owl over the branch, it looked like it was sitting there.
It’s simple, but the little 3D effect makes it feel extra sweet.
4. Standing Paper Tube Owl
To make this craft you’ll need an empty toilet paper roll as the base.
We wrapped the tube in colored paper first, then added a colored-in owl face and belly. For the wings, we cut out small ovals from a coloring page and glued them on the sides.
To make the ears, just press the top of the roll inward on both sides. That small bend gives it a nice owl shape.
Once it’s done, it stands up on its own and looks cute on a shelf or desk.
5. Owl Hiding in a Tree
This one takes a little more time, but it turns out really sweet and quiet.
Start by picking one of your favorite owl coloring pages and shrinking it down so it can fit inside a toilet paper roll. After your child colors and cuts it out, set it aside.
Next, cut the toilet paper roll in half, then carefully cut out a small oval shape on one side to make a little tree door. Don’t cut it all the way — leave one side attached so the door can open and close.
Now have your child glue their owl onto a piece of construction paper. Then, place the toilet paper roll over it so the owl is tucked inside, and glue the roll down.
They can draw bark or tree details on the roll and add a background if they want. When the door opens, it feels like the owl is peeking out from its little hiding spot.
6. Soft Pom Pom Owls
With completed owl coloring pages you can easily make this craft by picking your favorite owl page. First, let your child color the head. It’s best to finish that part before any pom poms are added since the space can be harder to reach later.
Next, gather some small craft pom poms and school glue. Decide where the pom poms will go — some children like placing them just on the belly, others might fill the wings too.
Help your child apply glue to one area at a time. Press the pom poms gently into place. It’s easier to work in small sections so the glue doesn’t dry too fast.
Once everything is covered, set the page aside to dry completely. The pom poms give the owl a soft, raised texture, and the final result feels playful and colorful.
7. Owl Bookmark
This is a simple craft that works well if your child enjoys reading or wants to make a small gift for someone.
Start by choosing your one of your favorite owl coloring pages with a smaller design or just one owl in the center. You may want to shrink it on the computer before printing, so it fits nicely on a bookmark.
Have your child color the owl and cut it into a long rectangle shape. You can back it with a second layer of cardstock to make it sturdier.
Once glued and dry, you can punch a hole at the top and add a piece of yarn or ribbon if you’d like.
It’s a quiet little craft that turns into something useful. These also work well for classrooms or small gifts.
8. Handprint Wing Owls
Start by having your child trace both of their hands on colored paper and cut them out. These will become the wings.
Then choose an owl coloring page where the owl is mostly facing forward. Let your child color it in, then help them cut it out, trimming off the wings if there are any.
Glue the owl onto a sheet of construction paper. Now take the hand cut-outs and place them where the wings would be, one on each side.
Once it’s finished, it looks like the owl has handprint wings, and it’s a sweet little way to save the size of their hands at that age.
9. Owl Pencil Toppers
This is a simple craft that turns a regular pencil into something playful.
Choose a small owl image and print it at a size that fits well near the top of a pencil. You’ll need two of the same owl — one for the front, and one for the back.
Let your child color both pieces, then cut them out. Once that’s done, place the pencil in between the two owls and glue the pieces together. Press gently so everything sticks well, then leave it to dry.
These look nice on colored pencils or even just sitting in a pencil cup. It’s a small project, but it adds a bit of personality to something your child uses every day.
10. Owl in the Sunlight
This is a quiet little craft that looks pretty when the sun shines through.
Start by printing an owl onto a sheet of transparent paper. You can also trace an owl onto it if you don’t have a printer that works with clear sheets.
Then tear up some small pieces of tissue paper. Using watered-down glue or a bit of rubber cement, gently fill in the spaces with color. You don’t need to cover every bit — just enough to let the light through.
Once it’s dry, cut out the owl carefully. Then make a small hole near the top and loop a piece of string or ribbon through it.
We hung ours in the kitchen window. It’s soft and simple, and the light brings it to life in the nicest way.

